Related Topics
Boot Displaying Error Message 「S.M.A.R.T Status Bad」
Applicable Products: Notebook, Desktop, All-in-One PC, Gaming Handheld
Modern hard drives come equipped with the S.M.A.R.T feature, which stands for Self Monitoring Analysis and Reporting Technology. During startup or when performing cloud recovery, the device executes an S.M.A.R.T hard drive test. If there are potential issues with the hard drive, you may encounter an error message on the screen.
- When the hard drive detects abnormal conditions, an error message such as 「S.M.A.R.T Status Bad, Backup and Replace. Press F1 to Resume…」 will be displayed upon booting.

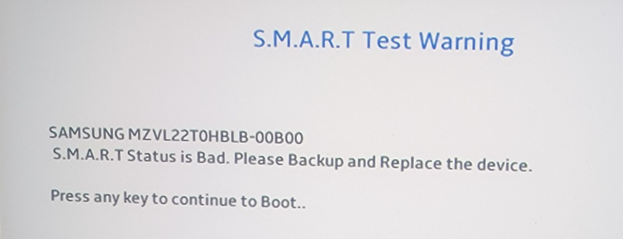
- Pressing F1 (or any key) allows you to bypass this screen and enter the system. However, if the problem remains unresolved, this message will appear every time you boot.
Suggestion: When you see this error message, promptly back up your data and replace the hard drive to prevent more severe damage.
How to enable or disable the 「S.M.A.R.T」 feature in BIOS (this feature is enabled by default, and self-disabling is not recommended)
- Access the BIOS settings on your device. In a non-boot situation, press and hold the [F2] key on the keyboard, then press the [Power] button until the BIOS setup screen appears, and release the [F2] key. Learn more about How to enter the BIOS setup screen.
Note: Gaming handhelds require pressing the volume key (-) and then pressing the power button to boot. - Once in the BIOS setup screen, press the [F7] key on the keyboard or click [Advanced Mode]① on the screen.
Note: The following steps may vary slightly depending on the model.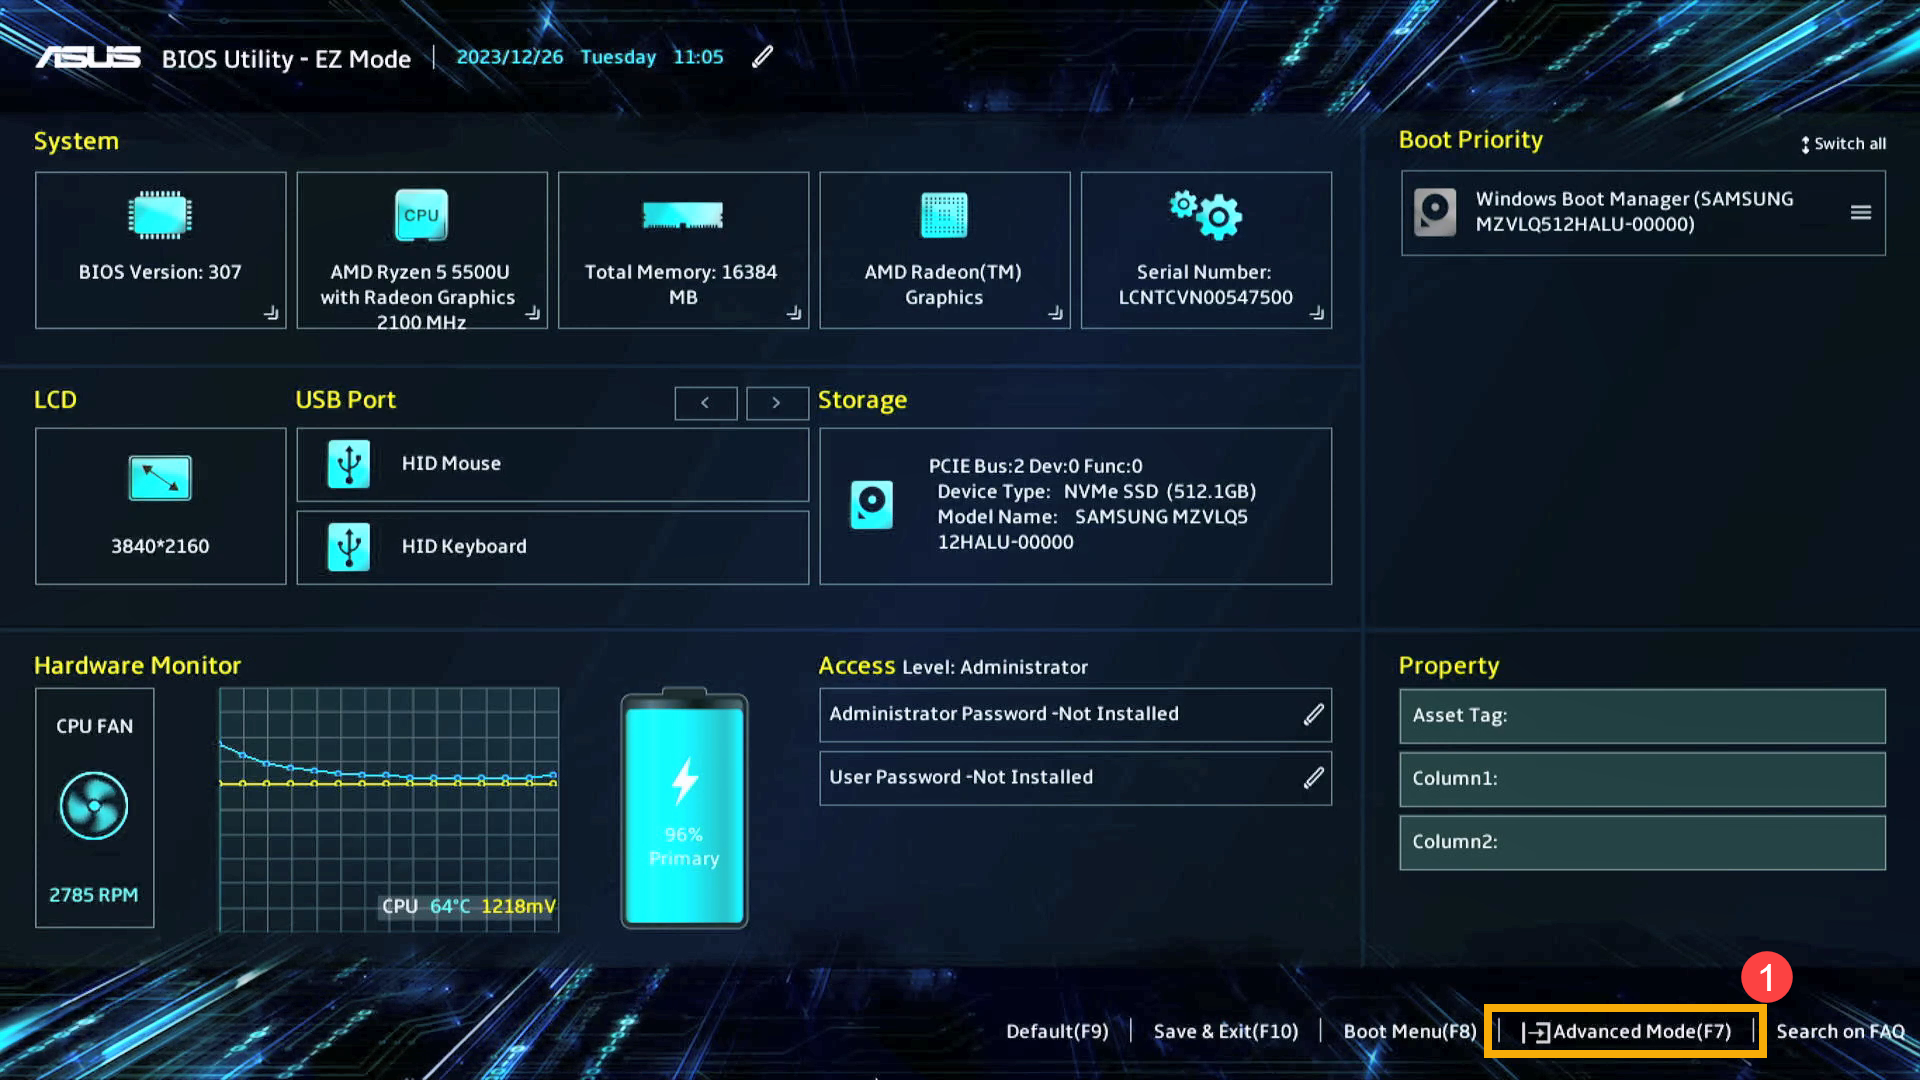
- Enter the [Advanced] page② and select [SMART Settings]③.
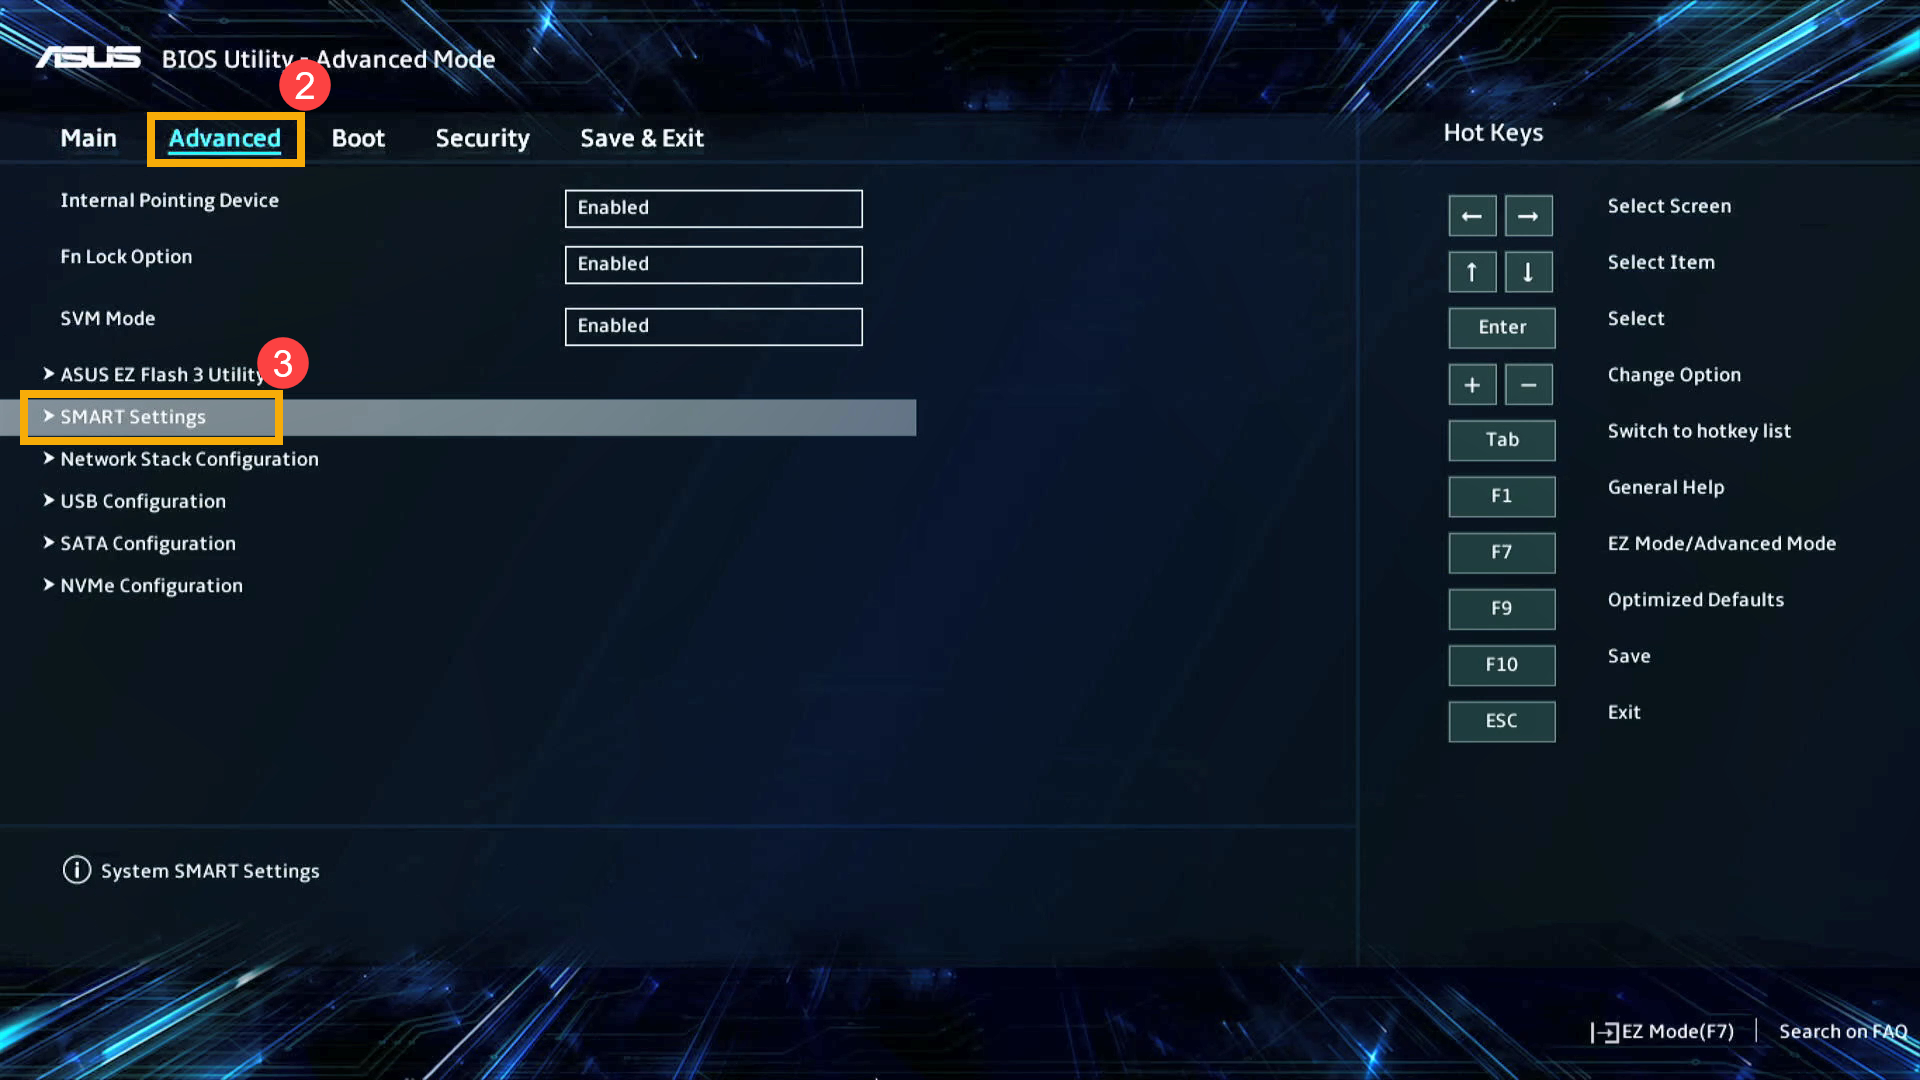
- On the SMART Settings page, choose SMART Self Test and adjust the settings according to your needs④.
Note: Set to On to enable the hard drive's self-testing. Set to Off to disable the hard drive's self-testing.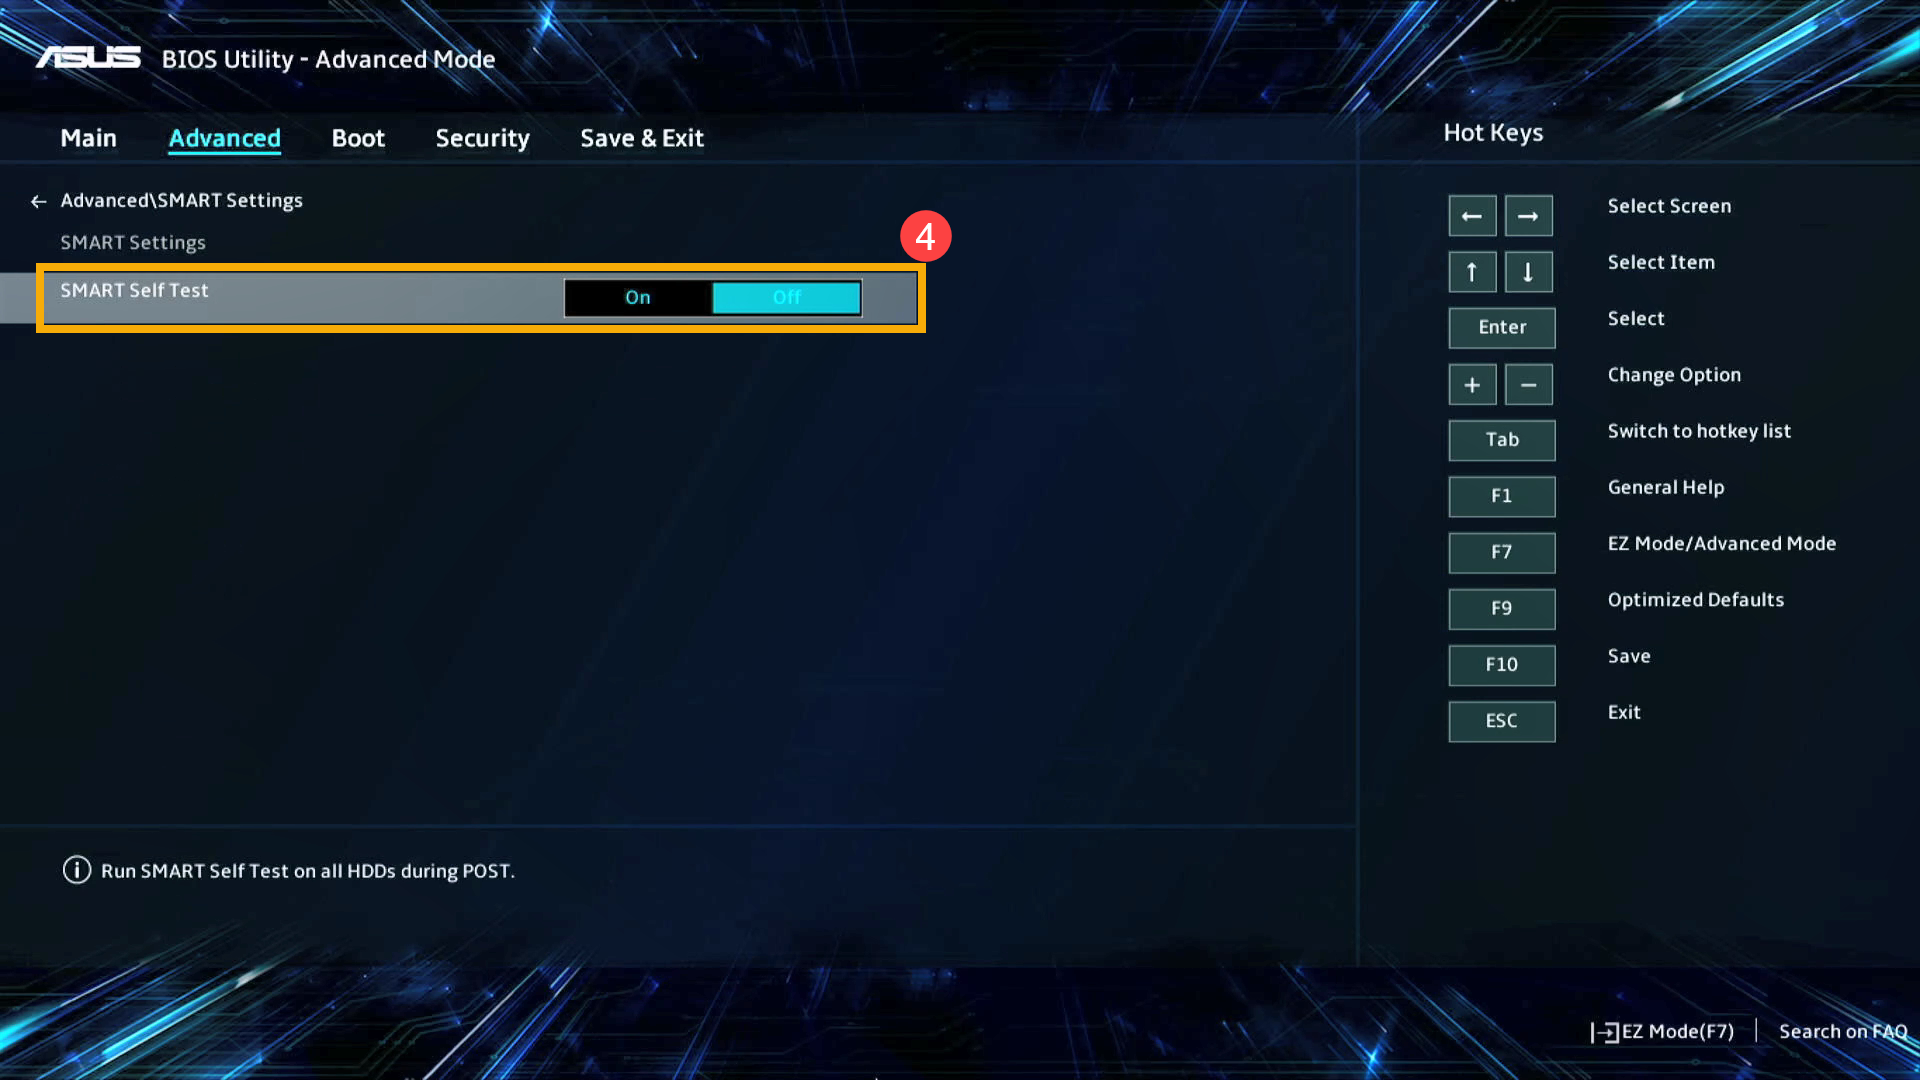
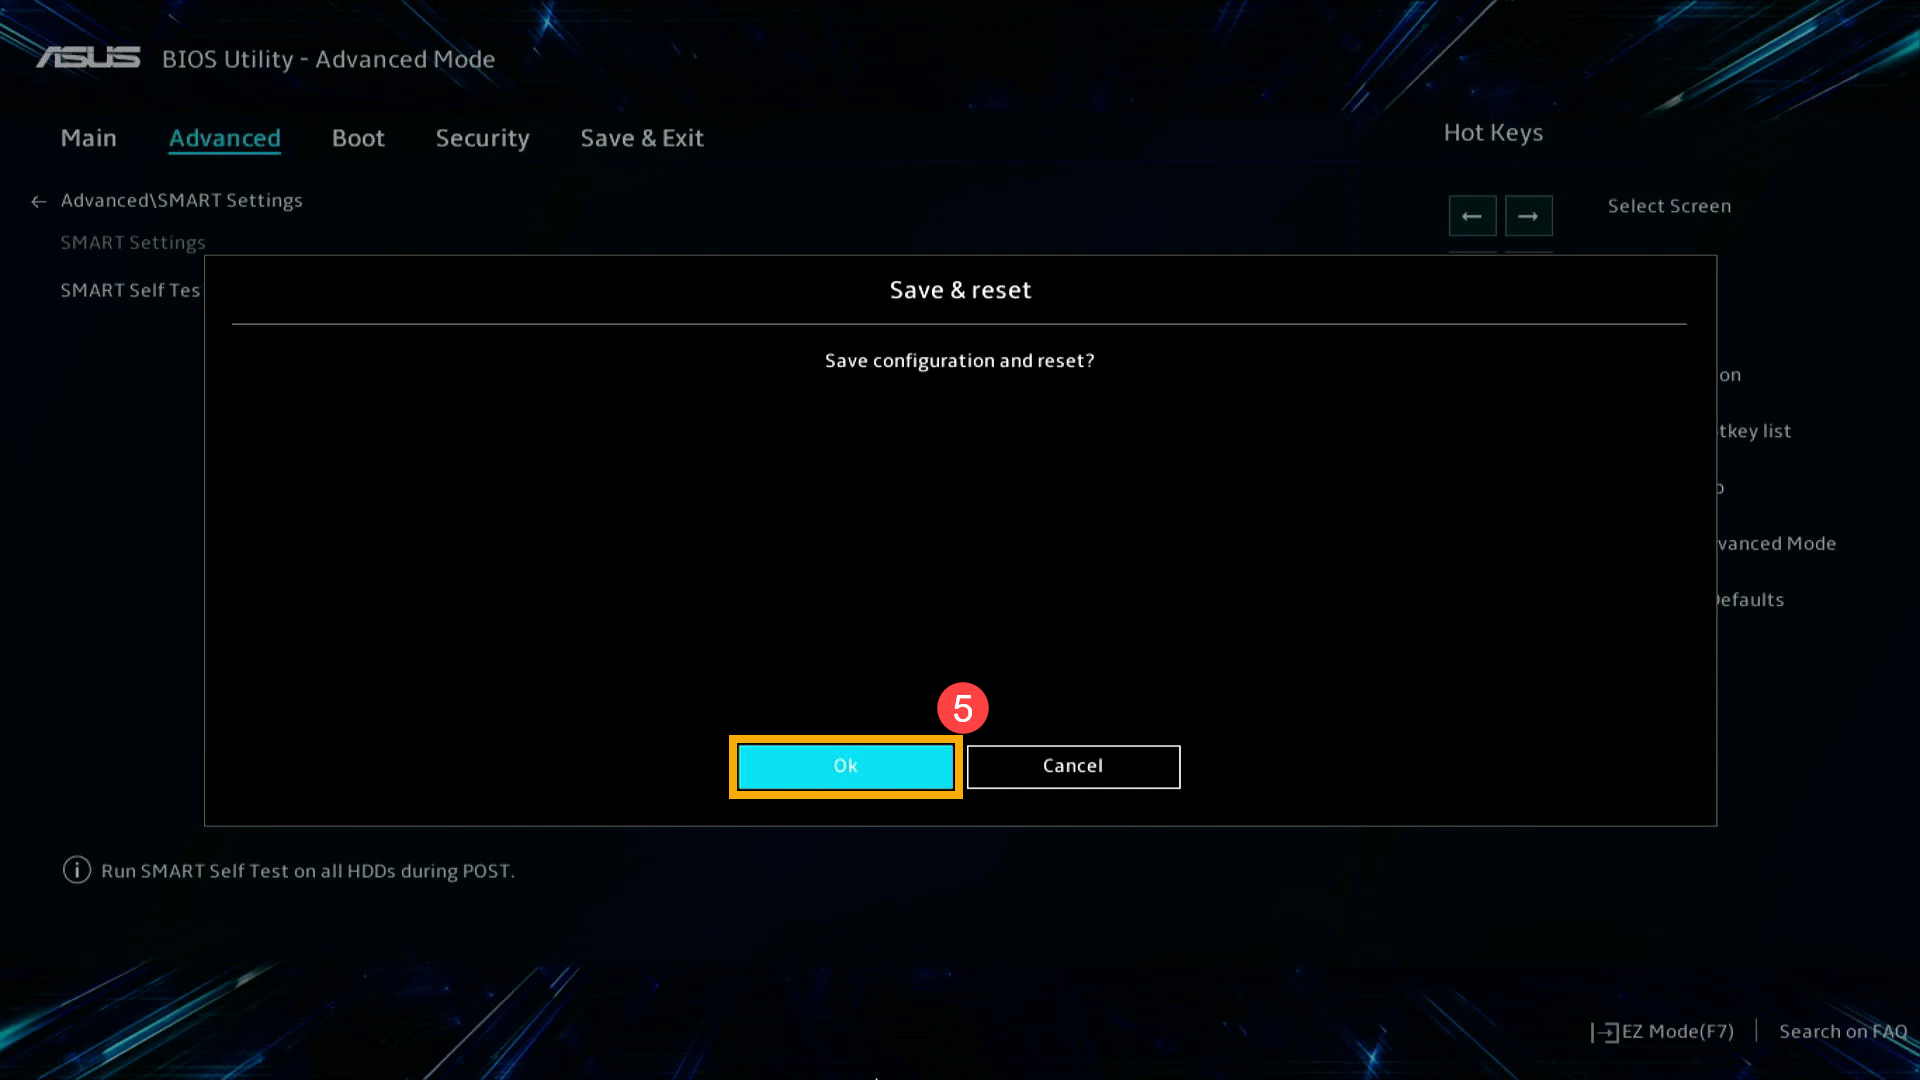
- Save the settings and exit. Press the [F10] key on the keyboard, click [Ok]⑤, and the device will reboot with the new settings in effect.
Alternatively, you can go to the Save & Exit page and choose the Save Changes and Exit option.