[USB Application] How to set up Servers Center - Media Server
To provide you more detailed instruction, you can also click ASUS Youtube video link below to know more about How to Set Up Media Server on ASUS Router
If you want to share your multimedia data at home (such as music, videos, photos, etc.), you can connect your USB storage device to ASUS router and finish simple settings to let other devices which also connected to ASUS router have access to multimedia data on your USB storage device.
This function supports both MAC and Windows OS. If a device connected to ASUS router is using MAC OS, you can set up [iTunes Server] to share your multimedia data. If a device is using Windows OS, you can set up [Media Server].
The following part will respectively introduce how to setup [iTunes Server] and [Media Server].
Introduction
Step1: Connect your computer to the router via wired or WiFi connection and enter your router LAN IP or router URL http://www.asusrouter.com to the WEB GUI.
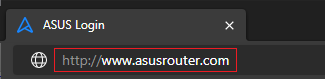
Note: Please refer to How to enter the router setting page(Web GUI) (ASUSWRT)? to learn more.
Step2: Key in your router's username and password to log in.
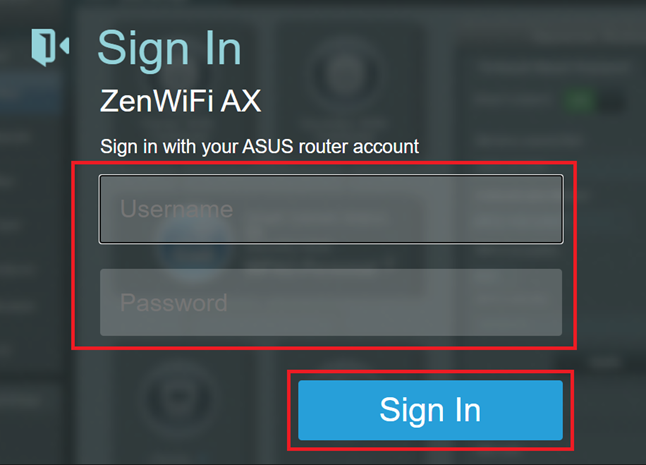
Note: If you forget the user name and/or password, please restore the router to the factory default status and setup.
Please refer to [Wireless Router] How to reset the router to factory default setting? for how to restore the router to default status.
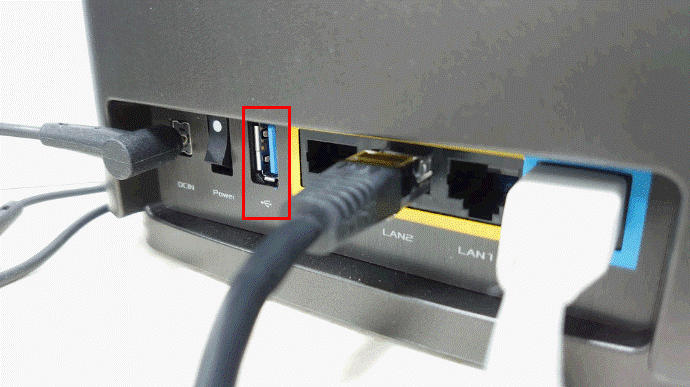
Step 3: Plug your USB storage device to the USB port on router.
As the picture showed below, we take ZenWiFi CT8 as an example. The position of your USB port will differ from models. Please check your product manual for confirmation.
Step 4: If router detects that your USB storage device is connected, you can see the top right corner  is lit on Network Map of WEB GUI.

Or, USB storage device is recognized and the name of it will be displayed in the middle page of Network Map.

Note: Please refer to ASUS Router Plug-n-Share Disks Compatibility List to learn more about formats of USB storage device supported by ASUS router.
Step 1: Please log in to WEB GUI first and click [USB Application] > [Media Server] tab.
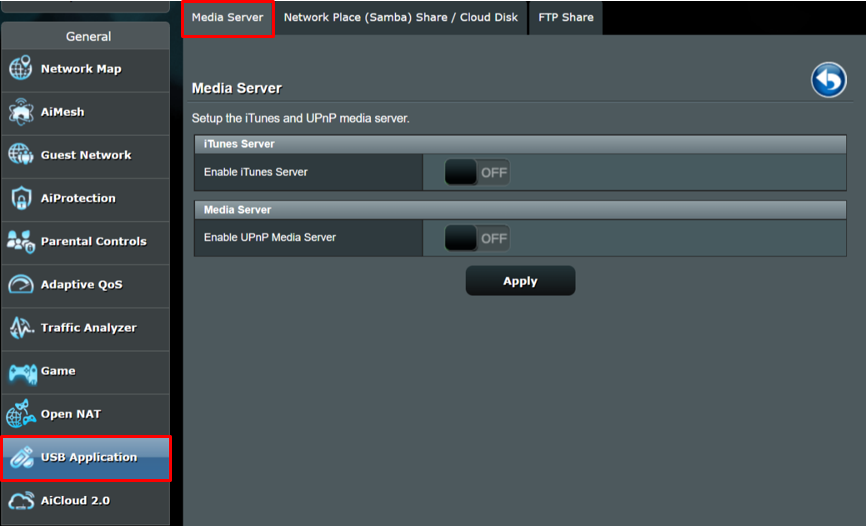
Step 2: Select iTunes Server to [ON] to enable it (default setting is [OFF]).
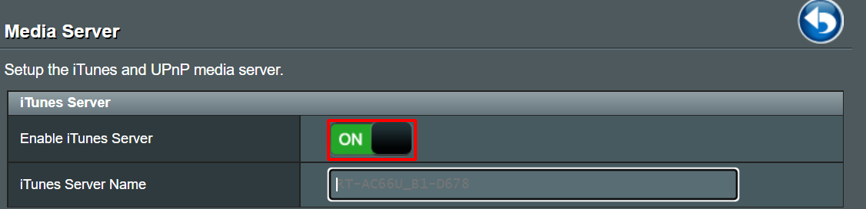
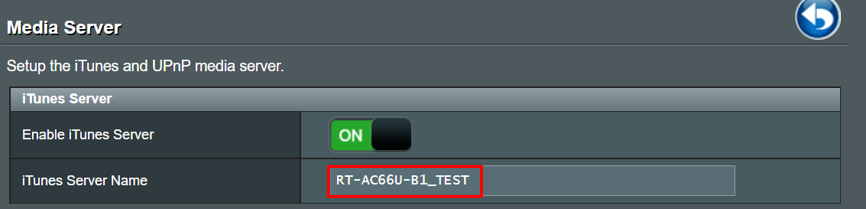
Step 3: Please name your iTunes server, and this name will show in your iTunes. After naming it, please click [Apply] to finish settings.
As the picture showed below, here we take [RT-AC66U-B1_TEST] as an iTunes server name example.

Step 4: If you would like to check your setting is finished, please open iTunes on your Mac first. Then, choose the iTunes server name you just set up, and you can start using iTunes server.
Step 1: Log in to WEB GUI first and click [USB Application] > [Media Server].
Select UPnP media server to [ON] to enable it (default setting is [OFF]).
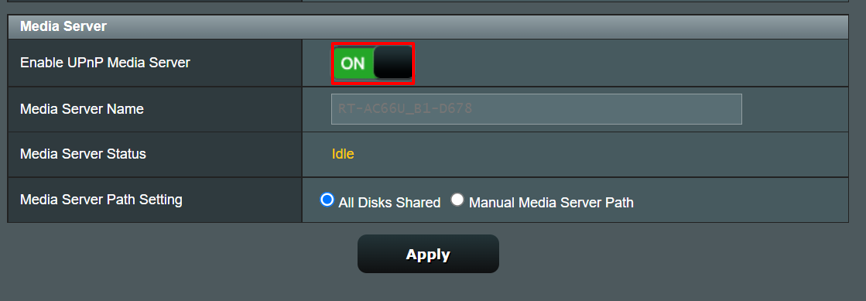
Step 2: Please name your media server, and this name will show in Network of File Explorer. As the picture showed below, here we take [RT-AC66U-B1_TEST] as a media server name example.
Step 3: Default media server path setting is all disks shared and then click [Apply] to finish setting.
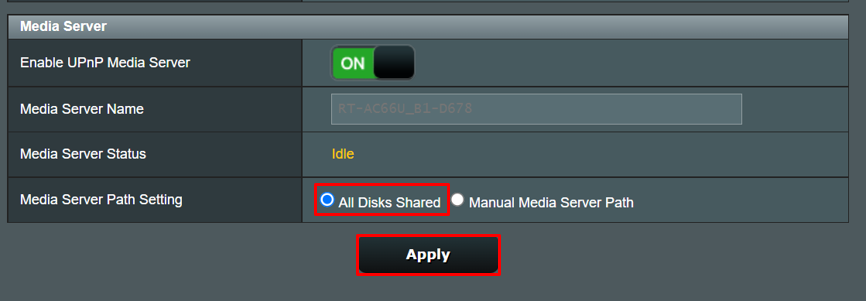
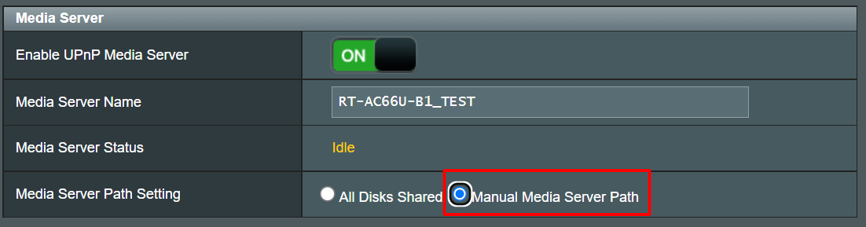
Step 4: As the picture showed below, you can select manual media server path based on your requirements.
Note: If you don't need to set up manual media server path, please go to Step 9 to check the setting is finished.
Step 5: Select the media server you would like to share
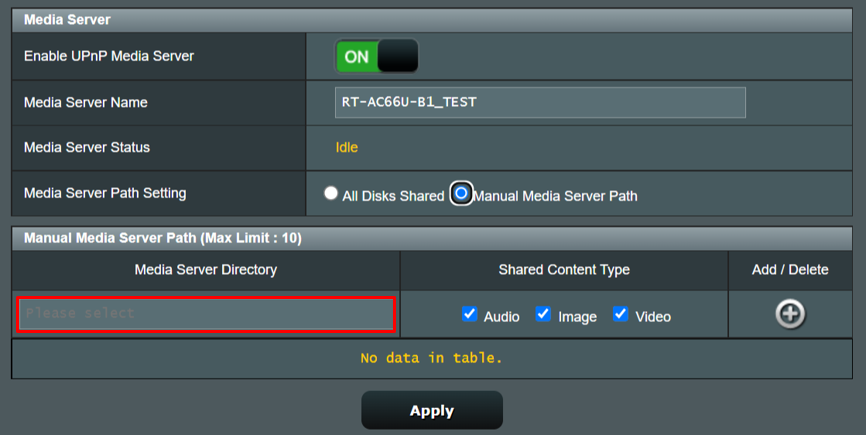
Step 6: Choose your contents of your media server and click [OK].

Step 7: Checkmark shared content type.
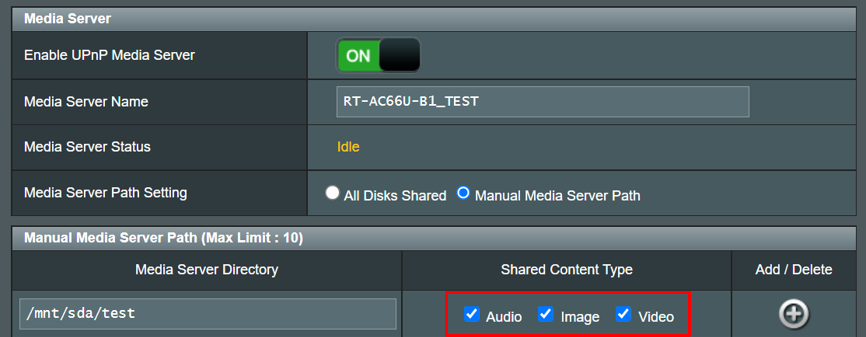
Note: Media server supports the following formats of audio streaming: [.mp3 .flac .wma .asf .fla .flc .m4a .aac .mp4 .m4p .wav .ogg .pcm .3gp .m3u .pls]
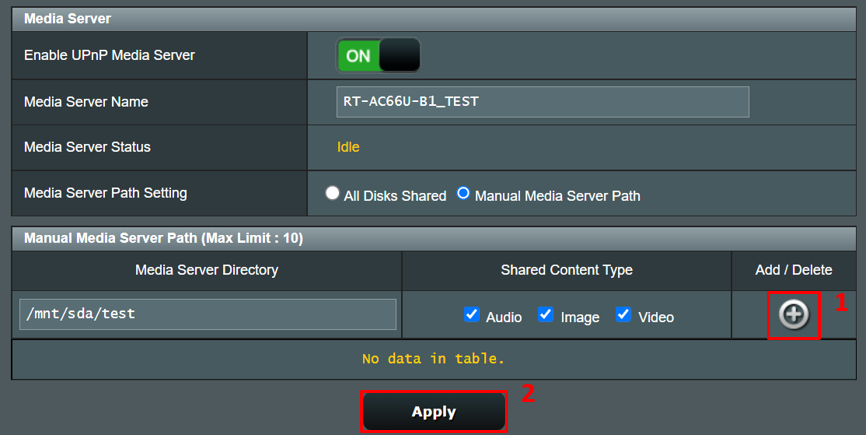
Step 8: Click [+] and [Apply] to finish setting.
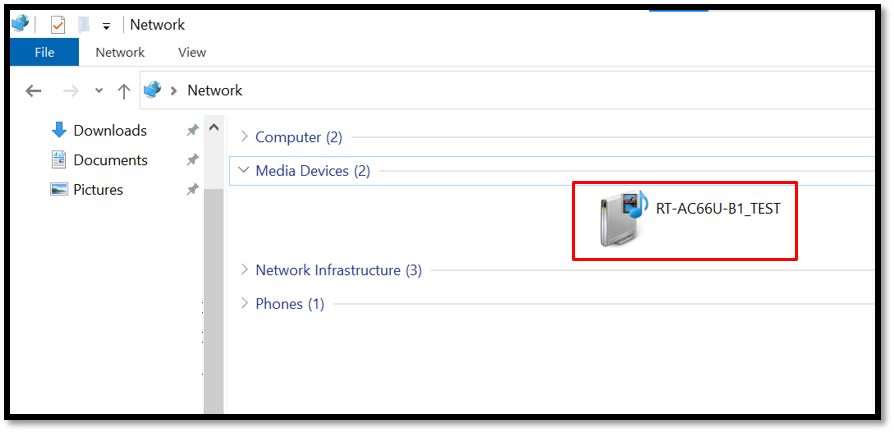
Step 9: If you would like to check your setting is finished, please open [File Explorer] > [Network] on Windows.
Select your media server name.
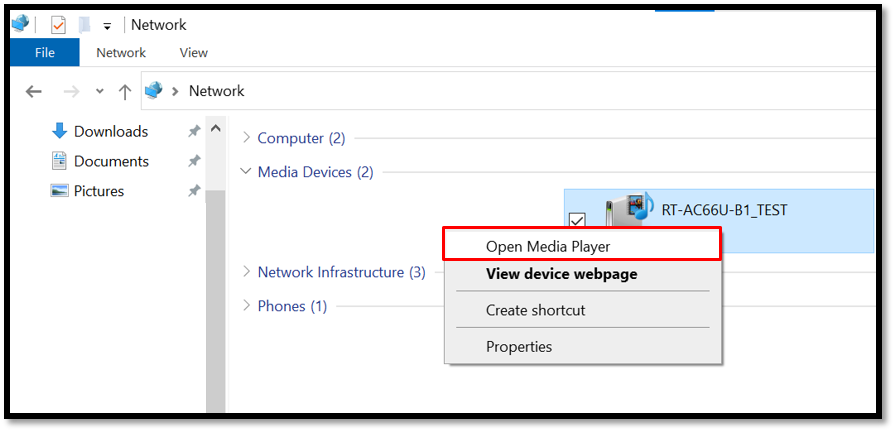
Step 10: Right-click your media server, click [Open Media Player], and you can start using media server.
FAQ
1. Does USB storage device (HDD) connected to ASUS router have size limits?
Yes, it should be at least larger than 2GB.
Please refer to ASUS Router Plug-n-Share Disks Compatibility List to learn supported maximum size of USB by your ASUS router.
2. If you follow the steps above but cannot use this function, please refer to the following ways to resolve the issue:
- Please update the firmware of your router to the latest version. Please refer to [Wireless] How to update the firmware of your router to the latest version ?
- Please check ASUS router supports the size and format of your USB storage device (HDD). Please refer to ASUS Router Plug-n-Share Disks Compatibility List to learn more.
- Please check your router detects your USB storage device (HDD) successfully. If not, please check your USB storage device (HDD) is connected to router directly without using other USB adapters. Please refer to [Wireless Router] How to monitor your USB hard drive on ASUS Router?
- Please test other USB storage devices (HDD). If only some of them cannot use this function, please format them first and then follow the steps above again. Note: Formatting will remove all data of your USB storage device. We suggest you back up your important data first before formatting your USB storage device.
- If you cannot to use this function, please reset your router to factory default status and follow steps above again. Please refer to [Wireless Router] How to reset the router to factory default setting?
How to get the (Utility / Firmware)?
You can download the latest drivers, software, firmware and user manuals in the ASUS Download Center.
If you need more information about the ASUS Download Center, please refer this link.