Relatív témák
Az AMD chipset illesztőprogramjainak telepítési eljárása
Alkalmazható termékek: Notebook, Desktop, All-in-One PC, Gaming Handheld
Az alábbiakban az AMD chipset-illesztőprogramok telepítésének részletes lépései találhatók. Ezek a lépések akkor alkalmazhatók, ha az ASUS hivatalos weboldaláról töltötte le az illesztőprogramokat. Az illesztőprogramok frissítése hozzájárul a rendszer stabilitásához és optimalizálásához, ezért ajánlott rendszeresen ellenőrizni, hogy a legújabb verziókat használja-e az eszközéhez.
Ha nem tudja, hogyan töltse le az illesztőprogramokat, olvassa el ezt a cikket: Hogyan keressünk és töltsünk le illesztőprogramokat.
Az AMD chipset illesztőprogramok letöltésekor az ASUS hivatalos weboldaláról kétféle fájltípussal találkozhat. Kérjük, válassza ki a megfelelő telepítési módszert az illesztőprogram fájltípusa alapján:
Alkalmazás formátumú illesztőprogramok telepítése (.exe)
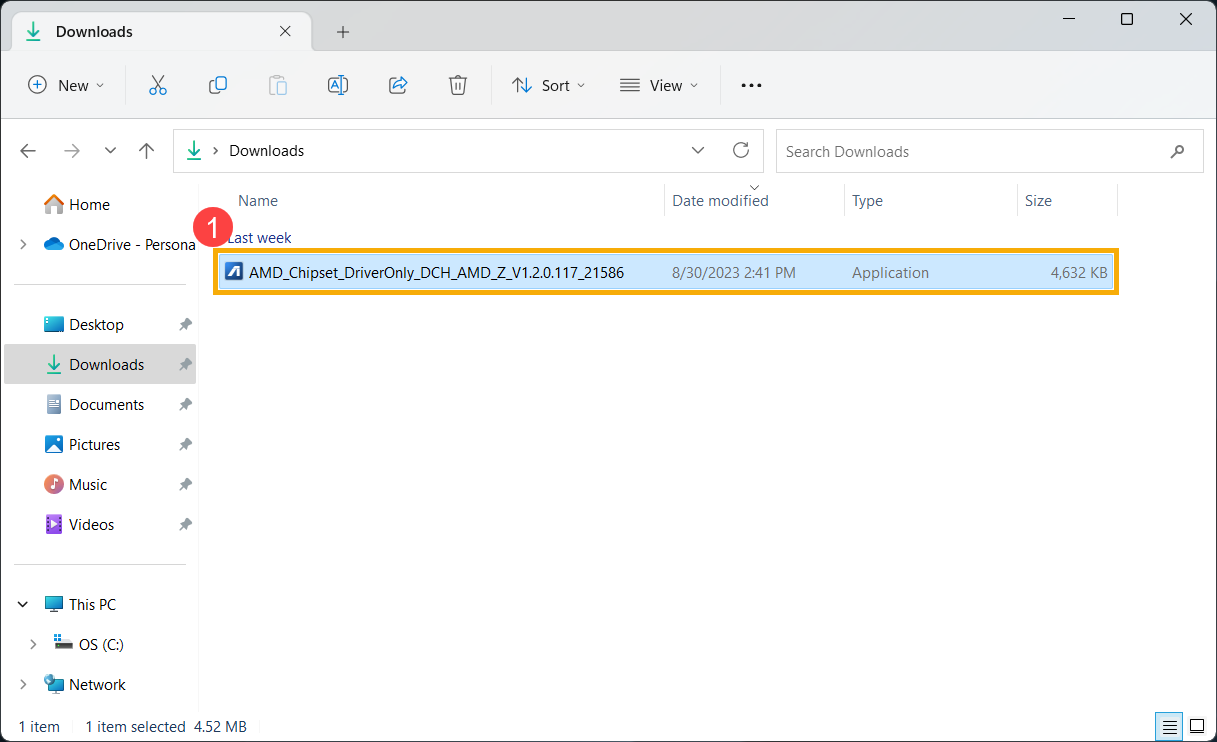
- Kattintson duplán az AMD chipset illesztőprogramjára, amelyet az ASUS-tól① töltött le, majd indítsa el a telepítési folyamatot.
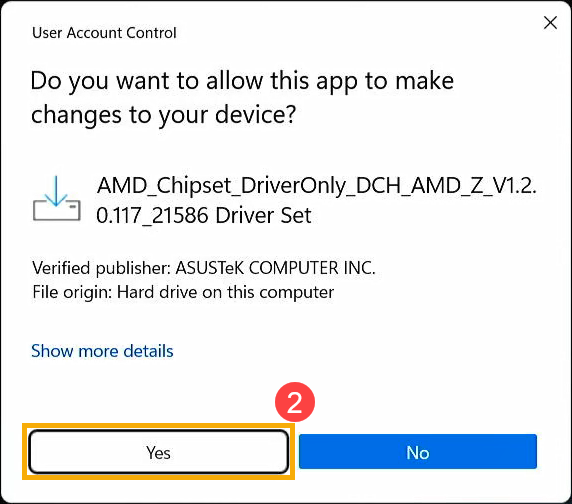
- Ha megjelenik a Felhasználói fiókvezérlés ablak, kattintson az [Igen]② gombra.
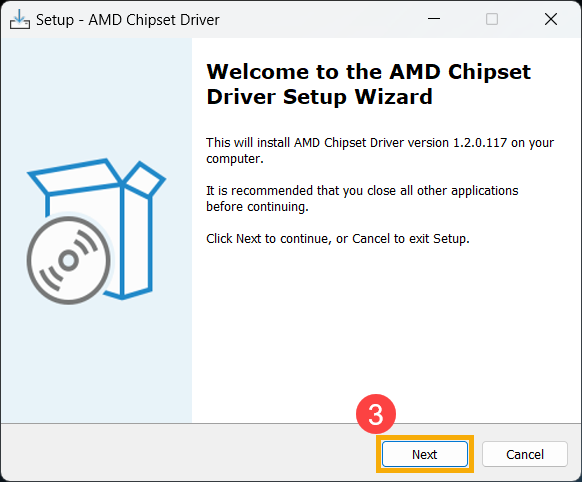
- A telepítőprogram megnyitása után kattintson a [Tovább]③ gombra a telepítés folytatásához.
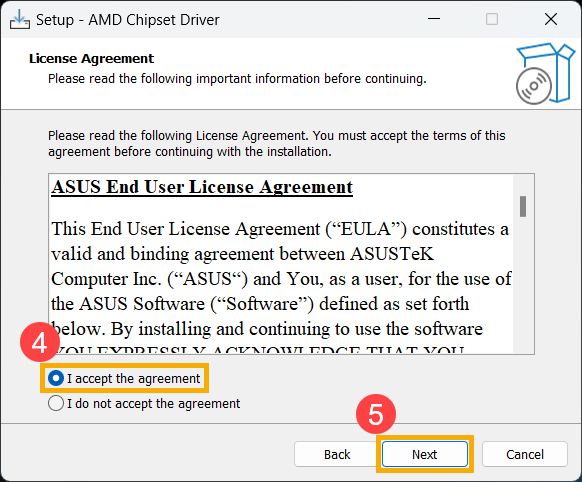
- Olvassa el a szoftver licencszerződést, majd jelölje be az [Elfogadom a szerződést] jelölőnégyzetet.t]④ and click [Next]⑤ to continue.
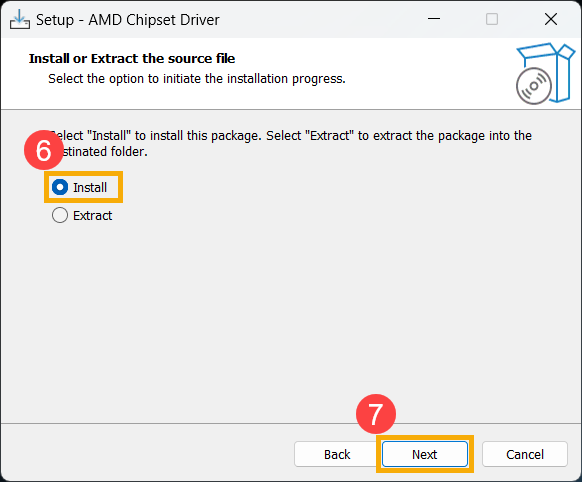
- Válassza az 【Telepítés】⑥ lehetőséget, majd kattintson a 【Tovább】⑦ gombra.
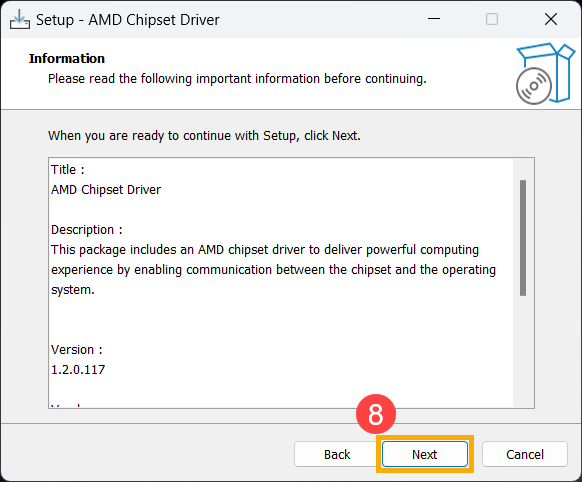
- Olvassa el a fontos információkat, majd kattintson a [Tovább]⑧ gombra a telepítés folytatásához.
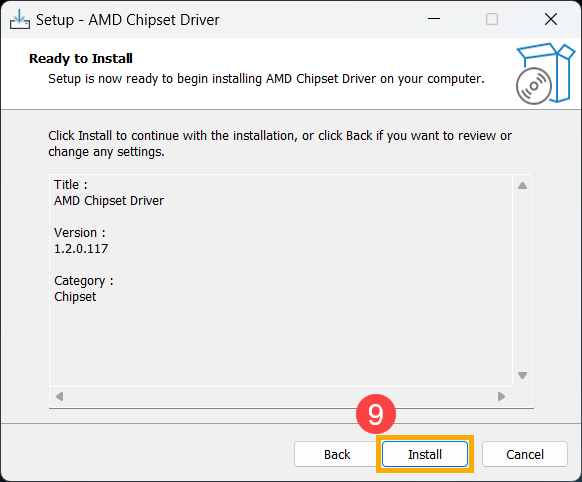
- Az telepítési folyamat előkészítése megtörtént. Kattintson az [Telepítés]⑨ gombra az illesztőprogram telepítésének megkezdéséhez.
- A telepítés után a számítógépet újra kell indítani. Válassza a [Igen, indítsa újra a számítógépet]⑩ lehetőséget, majd kattintson a [Befejezés]⑪ gombra. A számítógép újraindul.
Figyelmeztetés: Az adatok elvesztésének elkerülése érdekében az újraindítás előtt győződjön meg arról, hogy az adatokat elmentette.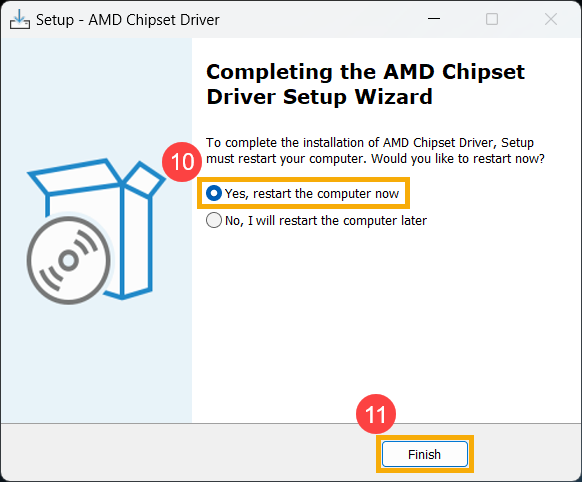
Illesztőprogramok telepítése tömörített (.zip) mappa formátumban
Ha az AMD chipset illesztőprogramokat tömörített formátumban töltötte le az ASUS hivatalos webhelyéről, akkor először el kell távolítania az eszközről az összes korábban telepített AMD illesztőprogramot az AMD hivatalos eltávolító eszközével. Ezután folytathatja az új illesztőprogramok telepítését. Kövesse az alábbi lépéseket:
- Először olvassa el az AMD Cleanup Utility használati útmutatóját, hogy letöltse az AMD Cleanup Utility programot..
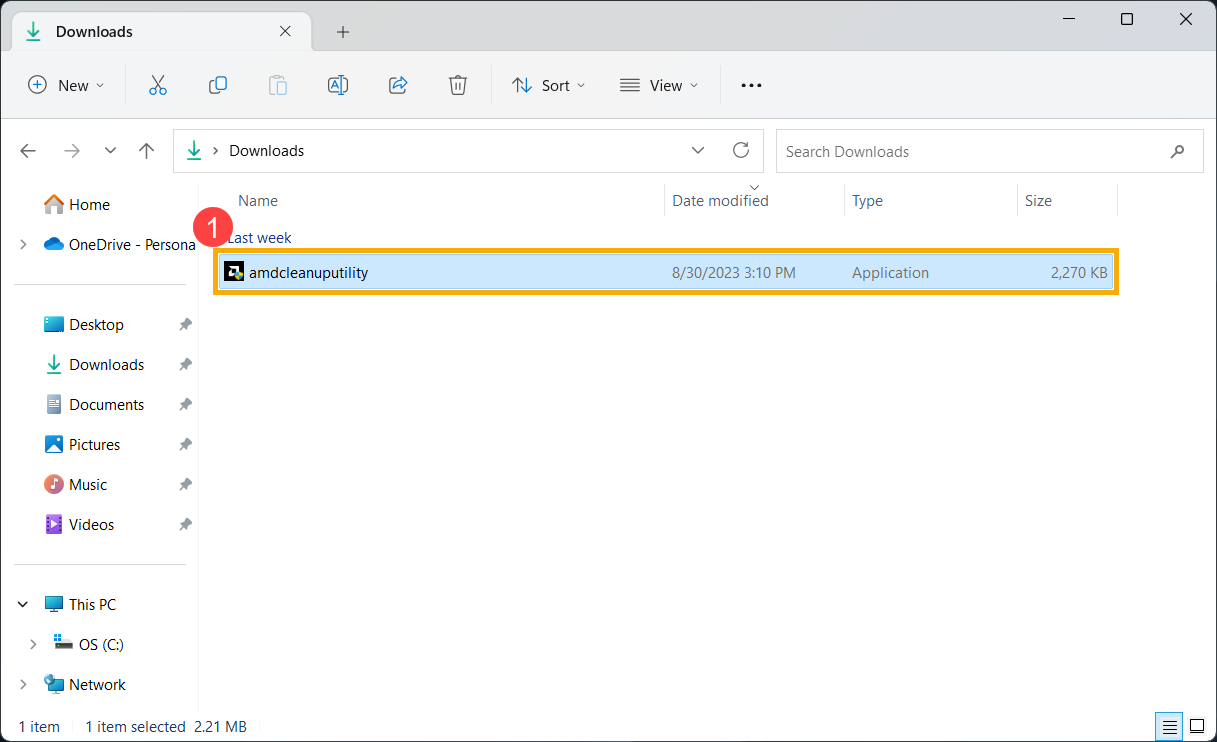
- A letöltés befejezése után kattintson duplán az amdcleanuputility alkalmazásra①.
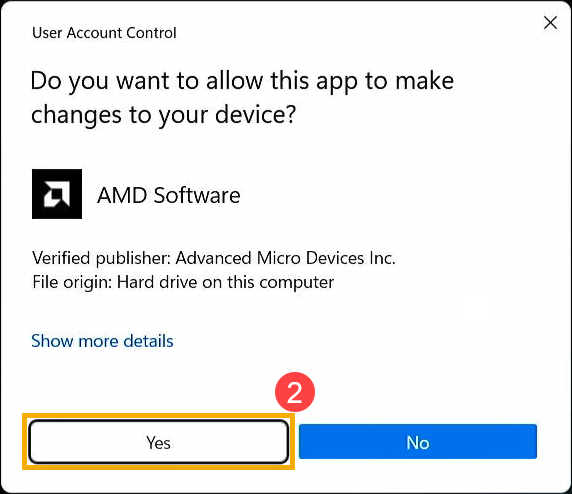
- Ha megjelenik a Felhasználói fiókok felügyelete ablak, kattintson az [Igen] gombra②.
- A rendszer kérésére a legjobb eredmény érdekében ajánlott ezt a műveletet Windows csökkentett módban futtatni. Kattintson az [Igen]③ gombra, és a készülék újraindul és csökkentett módba lép.
Figyelem: Az adatok elvesztésének elkerülése érdekében indítás előtt győződjön meg arról, hogy az adatok mentve vannak.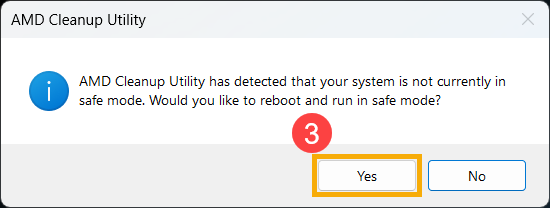
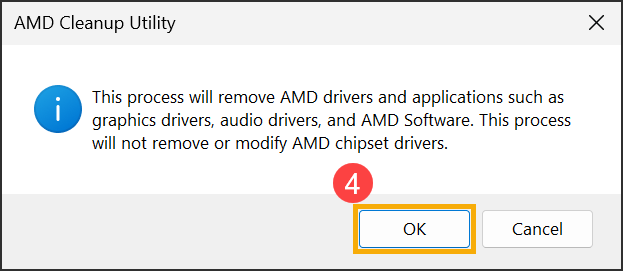
- Amikor a készülék csökkentett módba lép és megjelenik a figyelmeztetés, kattintson az [OK]④ gombra az AMD illesztőprogramok eltávolításának megkezdéséhez..
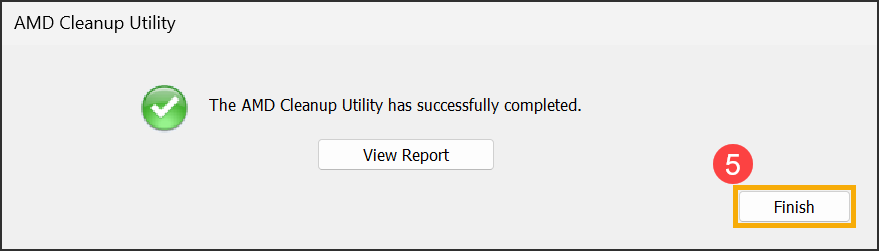
- Amikor az AMD Cleanup Utility sikeresen befejezi a feladatát, a következő üzenet jelenik meg. Kattintson a [Befejezés]⑤ gombra az ablak bezárásához.
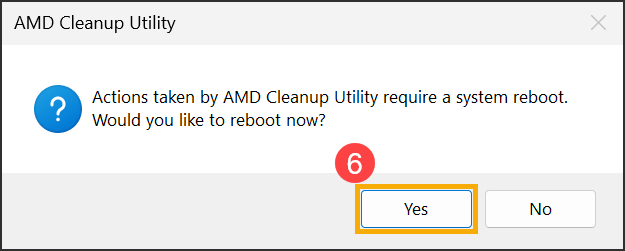
- Az eltávolítás befejezése után a készüléket újra kell indítani. Kattintson az [Igen]⑥ gombra a készülék újraindításához..
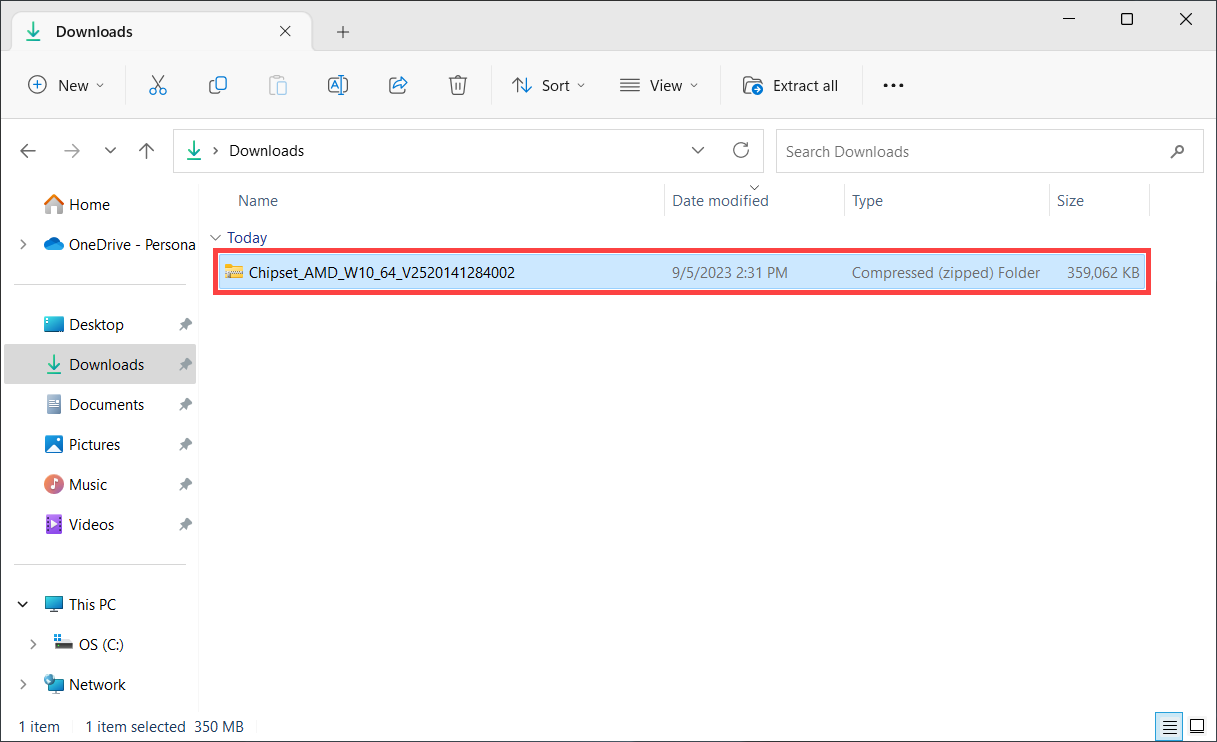
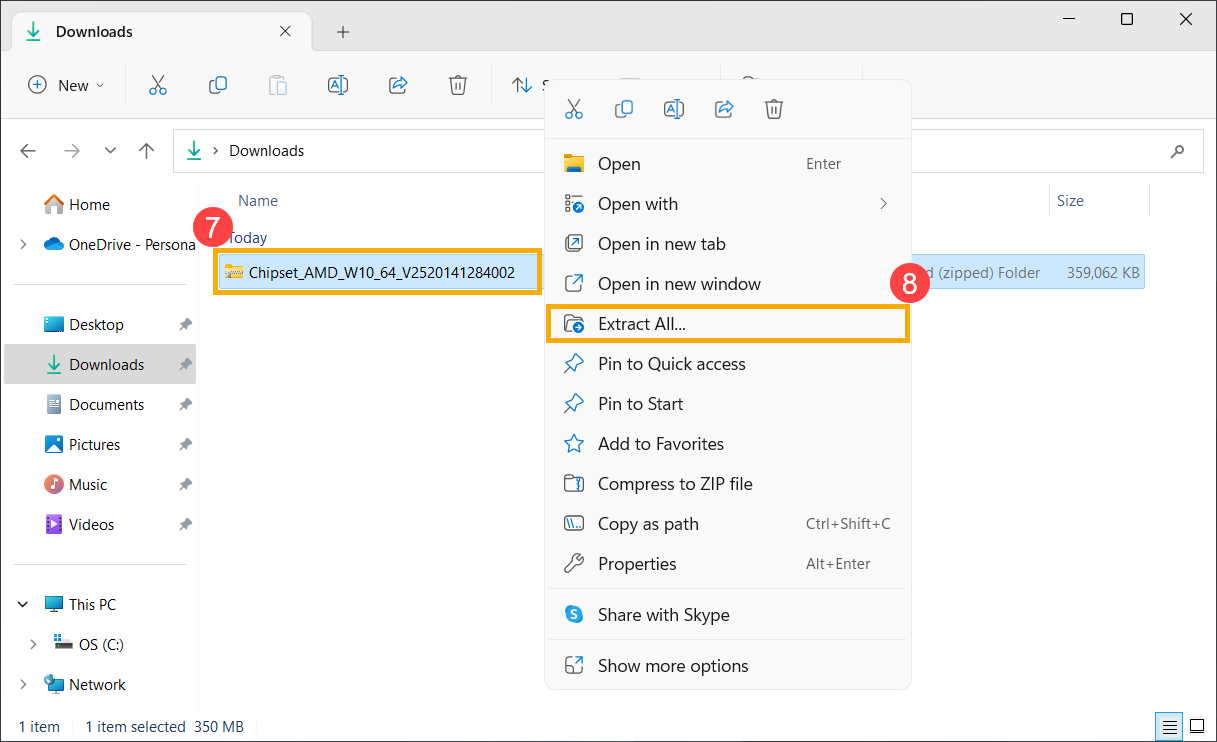
- A korábban telepített AMD illesztőprogramok eltávolítása után megkezdheti az új illesztőprogramok telepítését. Kattintson a jobb gombbal az AMD chipset illesztőprogram fájljára⑦, majd válassza az [Összes kicsomagolása]⑧ lehetőséget.
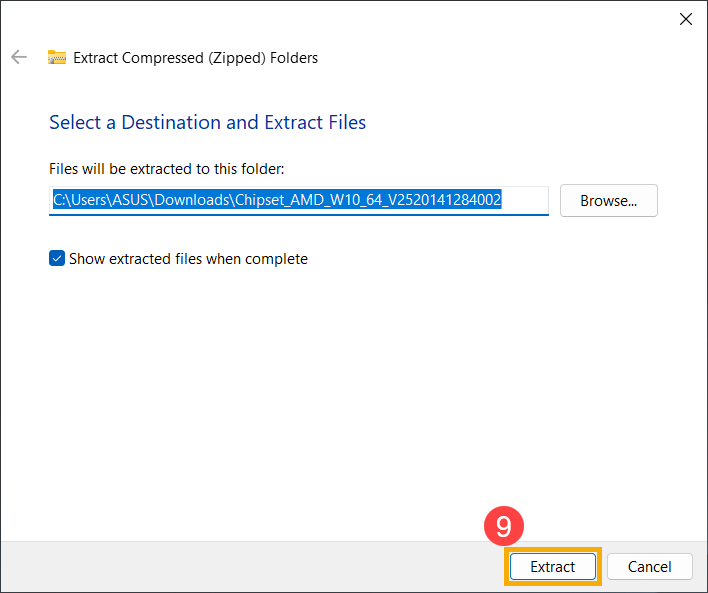
- Kattintson a [Kicsomagolás]⑨ gombra.
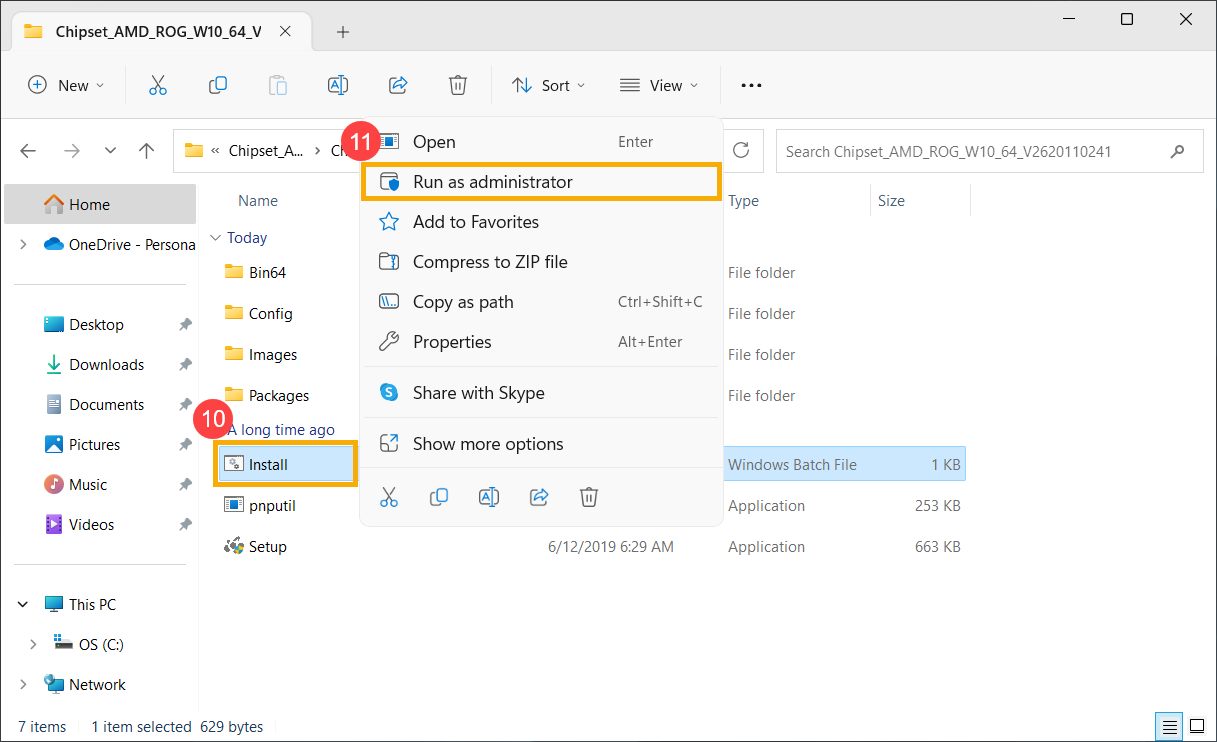
- Miután a kicsomagolás befejeződött és megnyílt az AMD chipset illesztőprogram mappája, kattintson a jobb gombbal ide: Windows kötegelt fájl [Telepítése] ⑩, majd válassza a [Futtatás rendszergazdaként]⑪ lehetőséget.
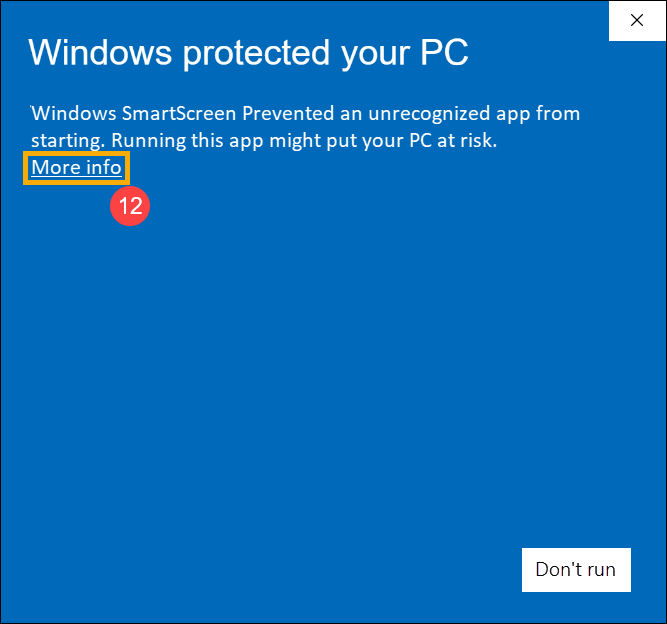
- Ha megjelenik a 『Windows megvédte a PC-t』 üzenet, kattintson a [További információk]⑫ gombra.
Kattintson a [Futtatás mindenképp]⑬ gombra.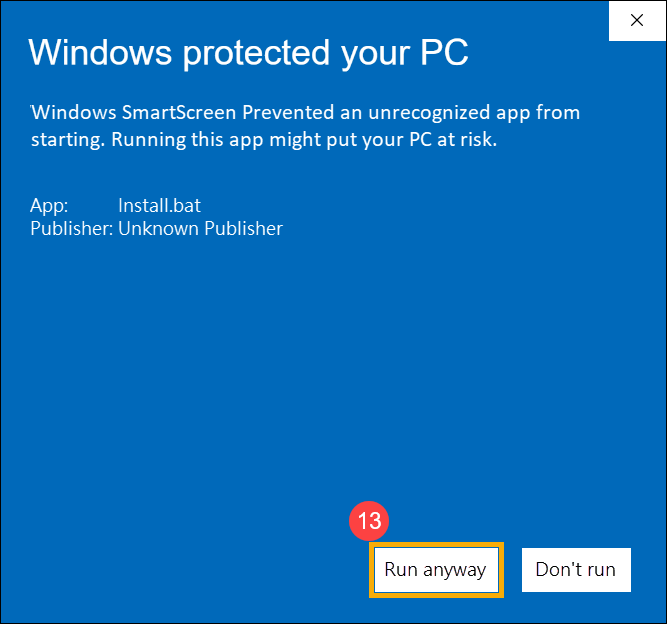
- Ha a megjelenik a Felhasználói fiókok felügyelete ablak, kattintson az [Igen]⑭ gombra.
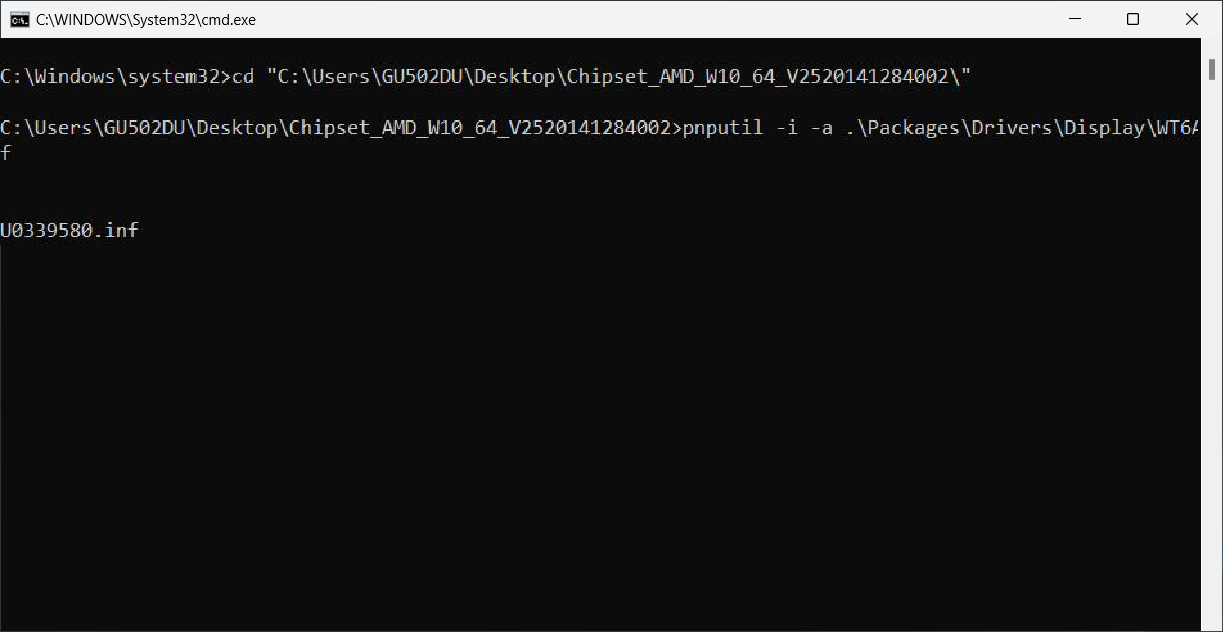
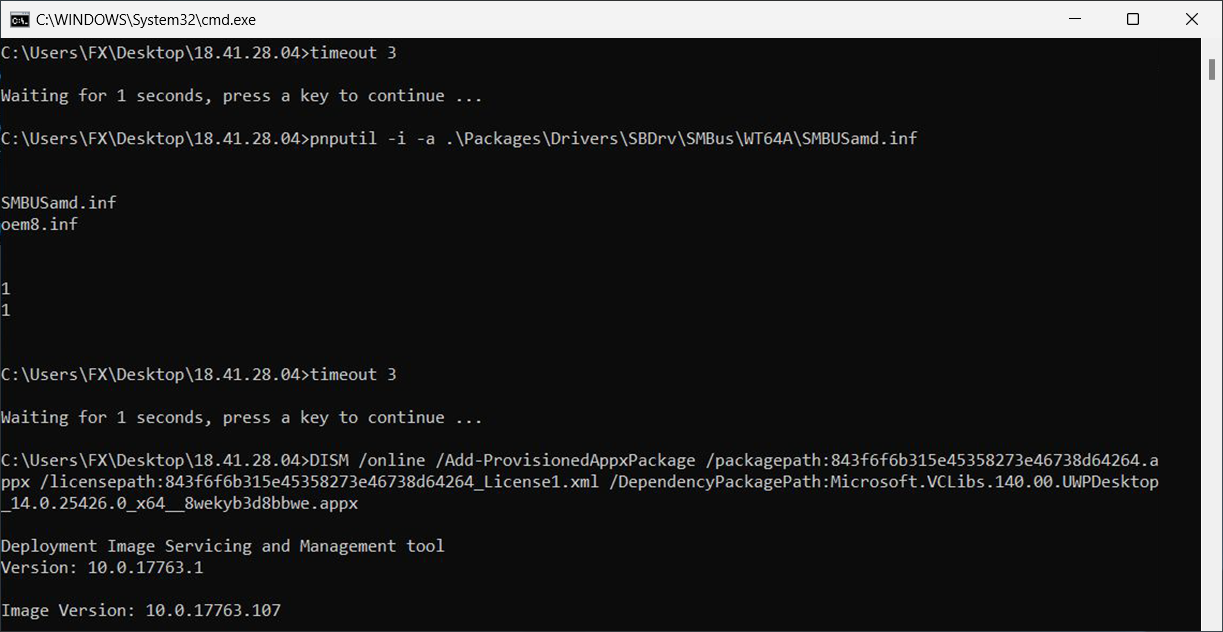
- A rendszer megkezdi az AMD chipset illesztőprogram telepítését.
- A telepítés sikeres volt. Kérjük, indítsa újra a készüléket a beállítás befejezéséhez.
Ha a probléma továbbra is fennáll, kérjük, forduljon az ASUS ügyfélszolgálatához további segítségért.