[ProArt Display] ASUS Chroma Tune introduction
ASUS Chroma Tune Introduction
ASUS Chroma Tune software allows you to control the scene mode of the ASUS ProArt monitor, and through [App Sync] function to switch to different scene modes when opening various applications, according to personal needs and preferences for optimal adjustment.
Support Models:
PA148CTV
PA247CV
PA248QV
PA278CV
PA278QEV
PA278QV
PA279CV
PA328CGV
PA328QV
PA329CV
PA348CGV
PA169CDV
System requirements:
Windows 10 / 7
Function Description
How to get(ASUS Chroma Tune)?
You can get the latest software, manuals, drivers and firmware at the ASUS Download Center.ASUS Download Center
If you need more information about ASUS Download Center,you can refer to this link.
steps:
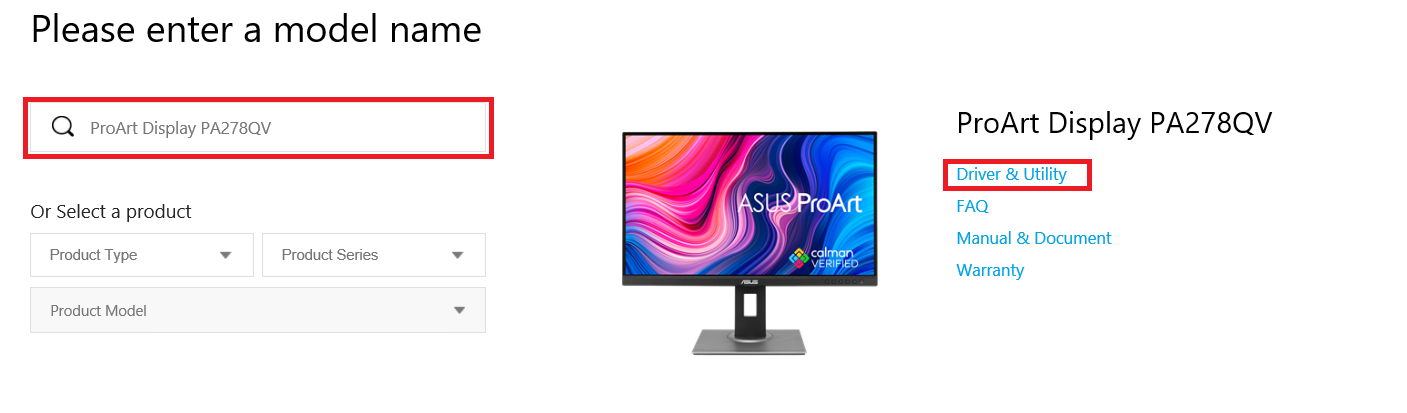
- Download the latest utility corresponding to your monitor model from ASUS Download Center,
Enter the model-> click Driver & Utility.
(Ex: ProArt Display PA278QV)
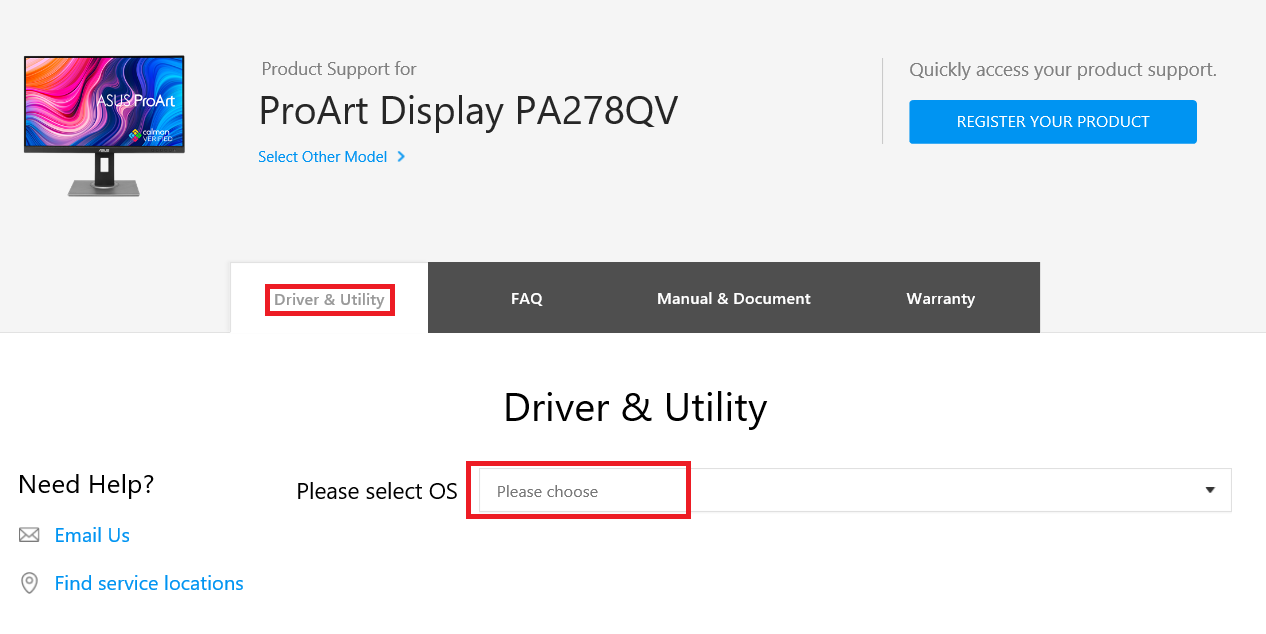
- Click Driver & Utility-> Select OS.
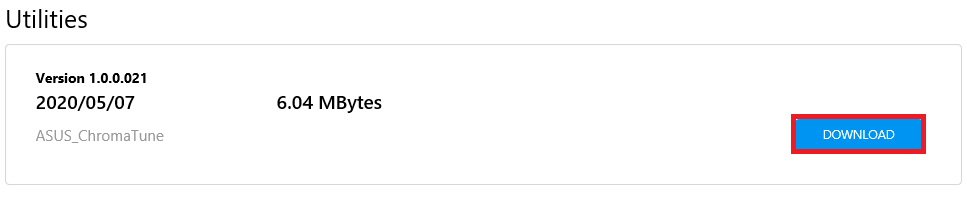
- Find ASUS Chroma Tune in Utilities category, and click DOWNLOAD to download the file.
- Double-click Chroma Tune
 icon to start the installation.
 - Select a language you want to use.
- Read license agreement,and click[I agree].

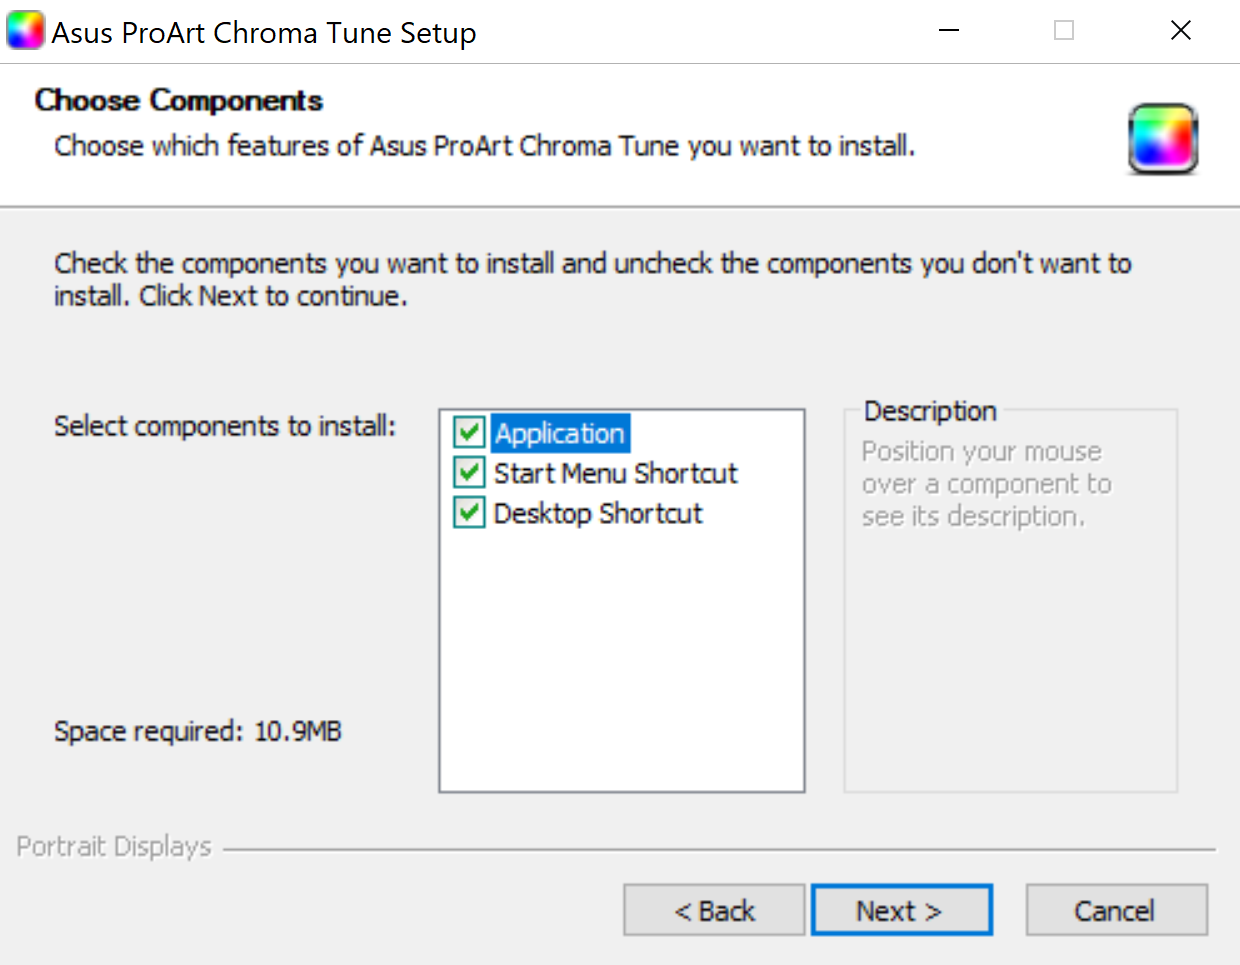
- Select the components you want to install,and click[Next>].
- Choose install location,and click[Install].

- Waiting for the installation.
Start ASUS Chroma Tune
After the installation is complete, double-click the Chroma Tune icon on the desktop to start the application.
You can choose according to your needs, control the scene mode of the screen from the computer
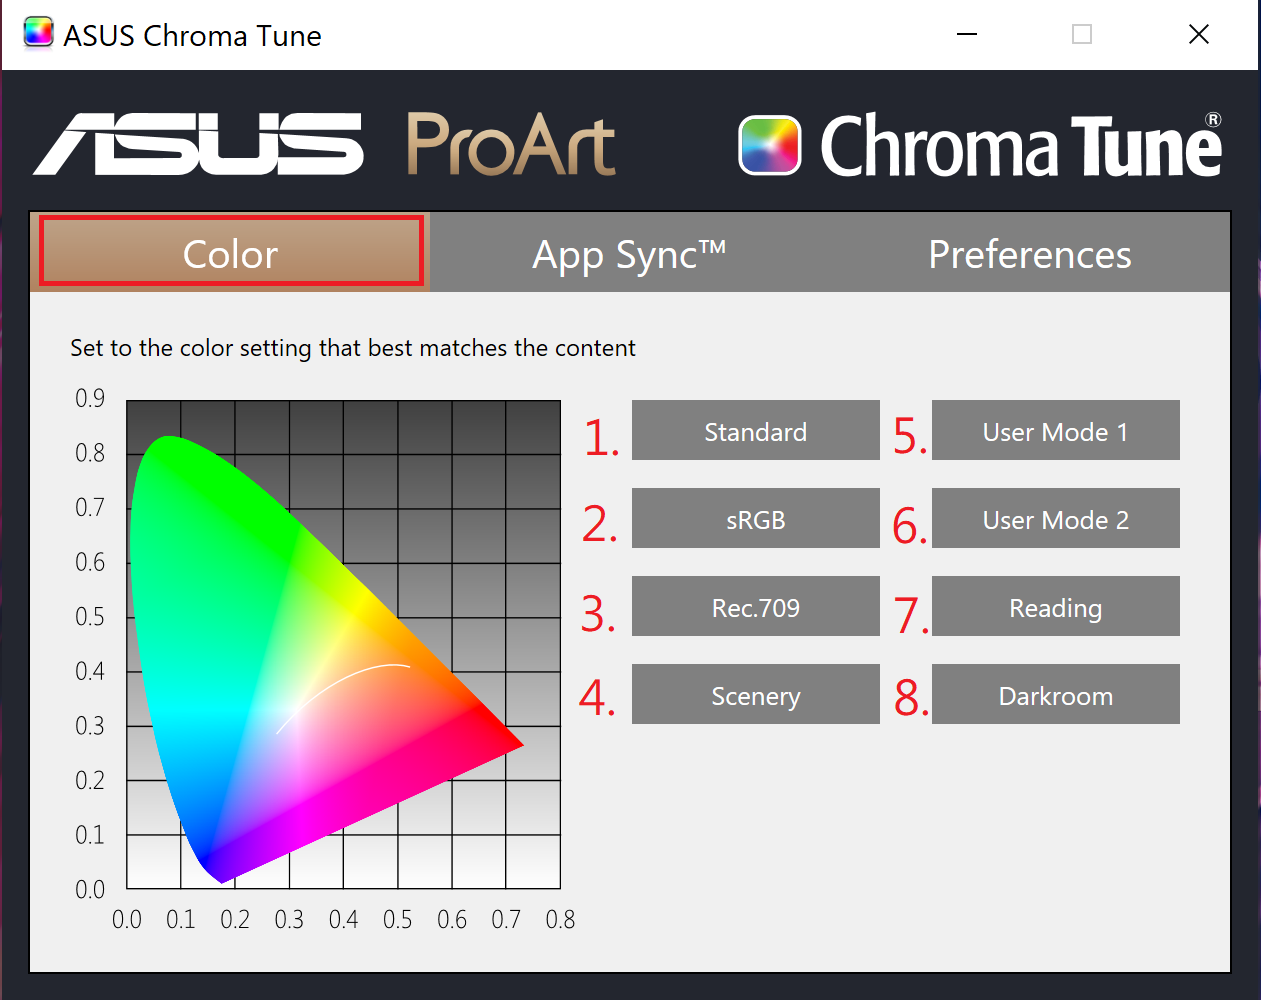
- Standard mode:Best choice for document editing.
- sRGB mode:Compatible with sRGB color space, sRGB mode is the best choice for document editing.
- Rec.709 mode:Compatible with Rec. 709 color space,is recommended for making and playing movies.
- Scenery mode:Best choice for scenery photo display.
- User Mode 1:Allows you to make color adjustments in the Advanced Setting.
- User Mode 2:Allows you to make color adjustments in the Advanced Setting.
- Reading mode:This is the best choice for book reading.
- Darkroom mode:This is the best choice for a weak ambient light environment.
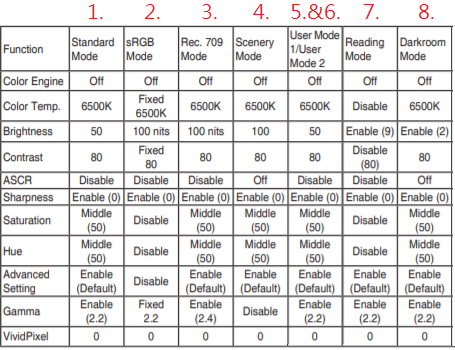
The following list is the settings of each scene mode:
![]()
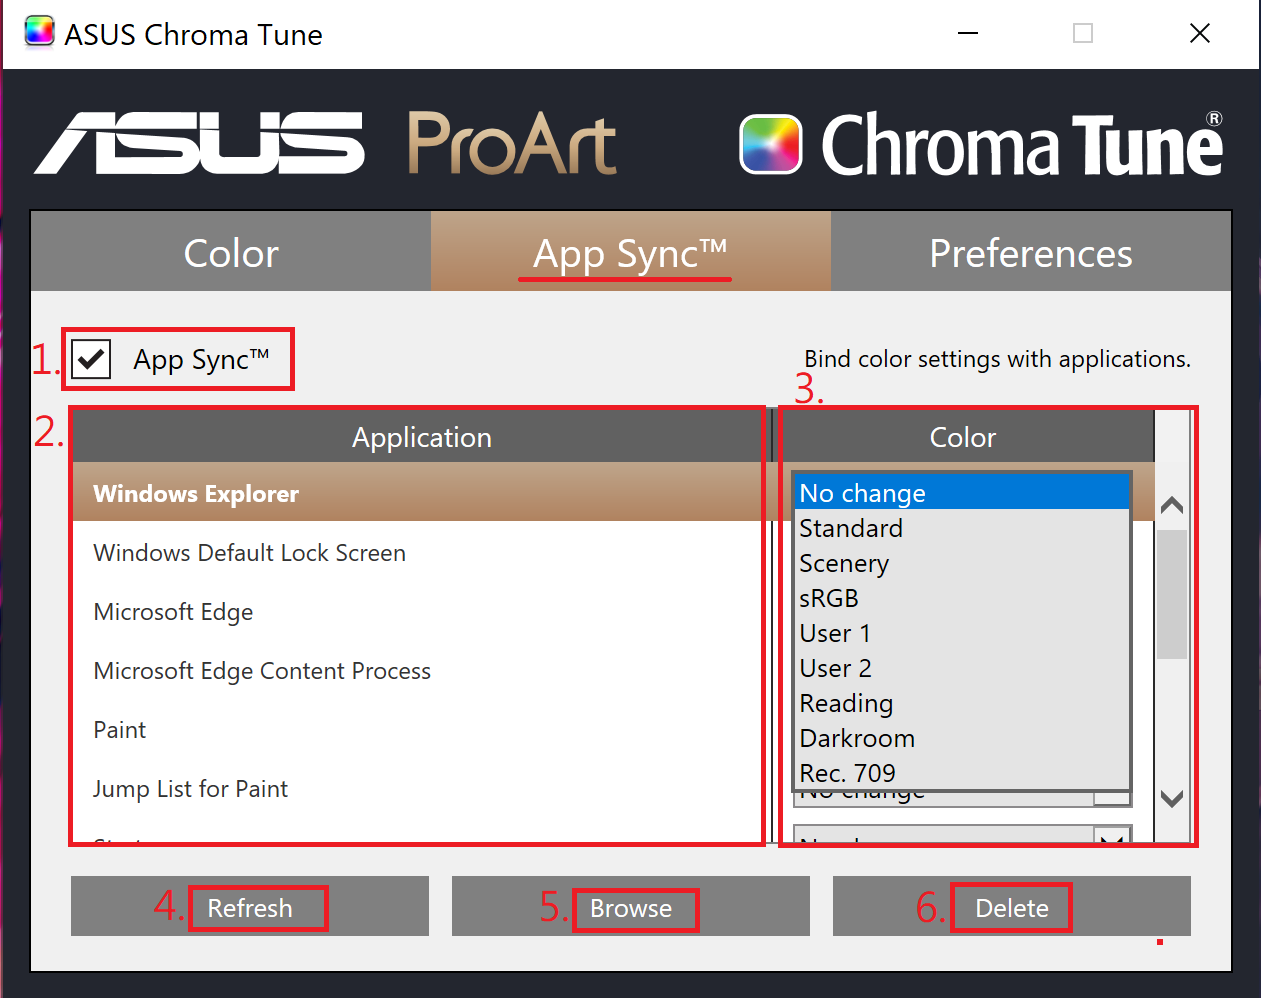
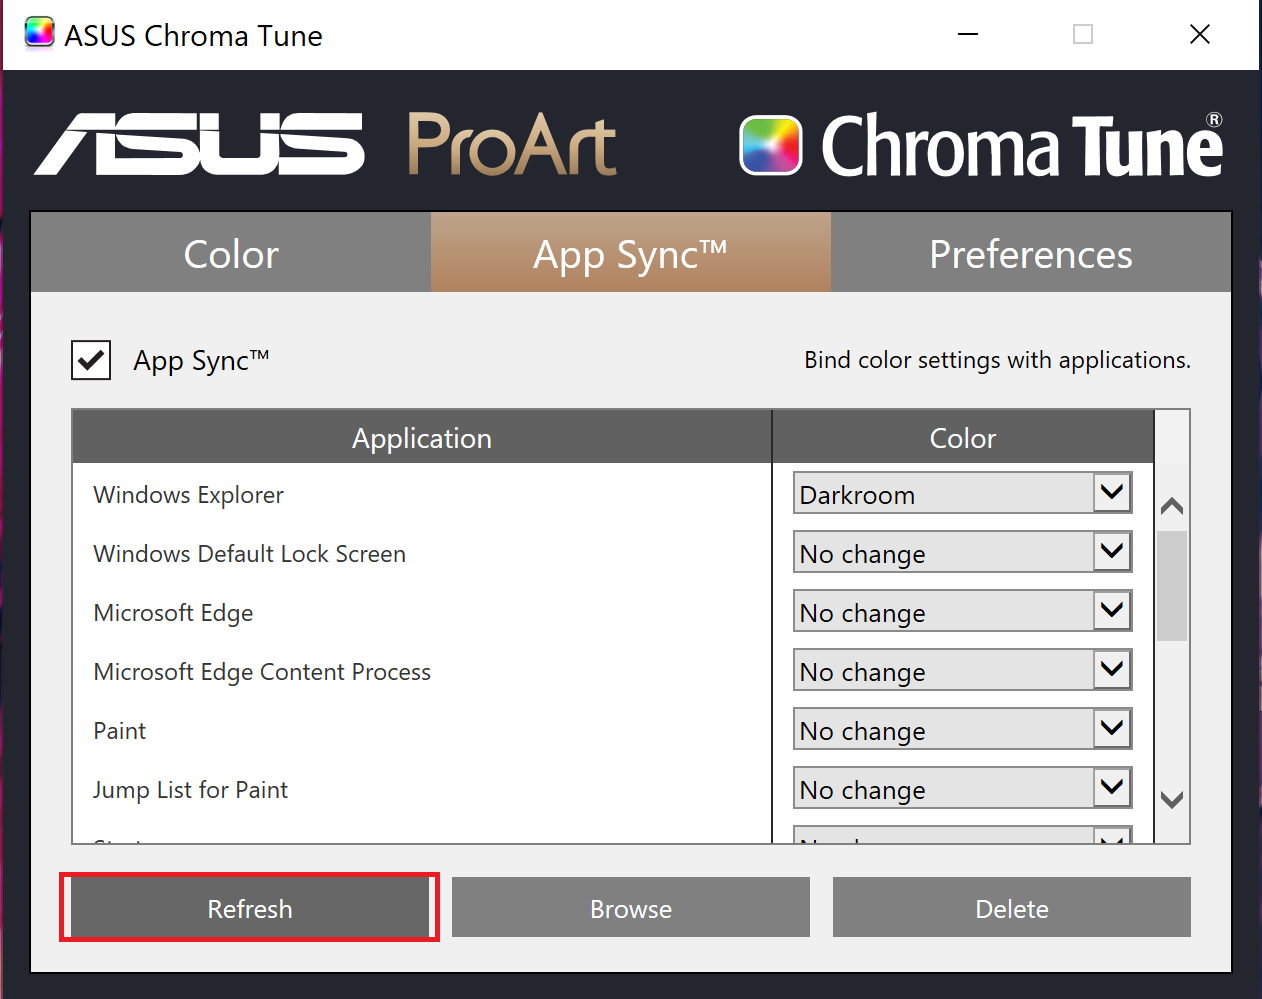
App Sync function can help us to achieve when you open each application, switch to the favorite scene mode to adjust the monitor to make the best visual adjustments to the content.
The monitor will automatically change the visual adjustment according to the application you are using, so you can easily view different contents with the correct color settings.
1. Turn on-off: App Sync function can be turned on / off through this option.
2. Application list: You can select the application you want to set from this list.
3. Color list: You can select the scene mode you want to set in the list.
4. [Refresh] option: Click this option to re-identify the opened application and add it to the application list.
5. [Browse] option: Click this option to select the program you want to set from the folder and add it to the application list.
6. [Delete] option: Click this option to delete unnecessary applications from the list.
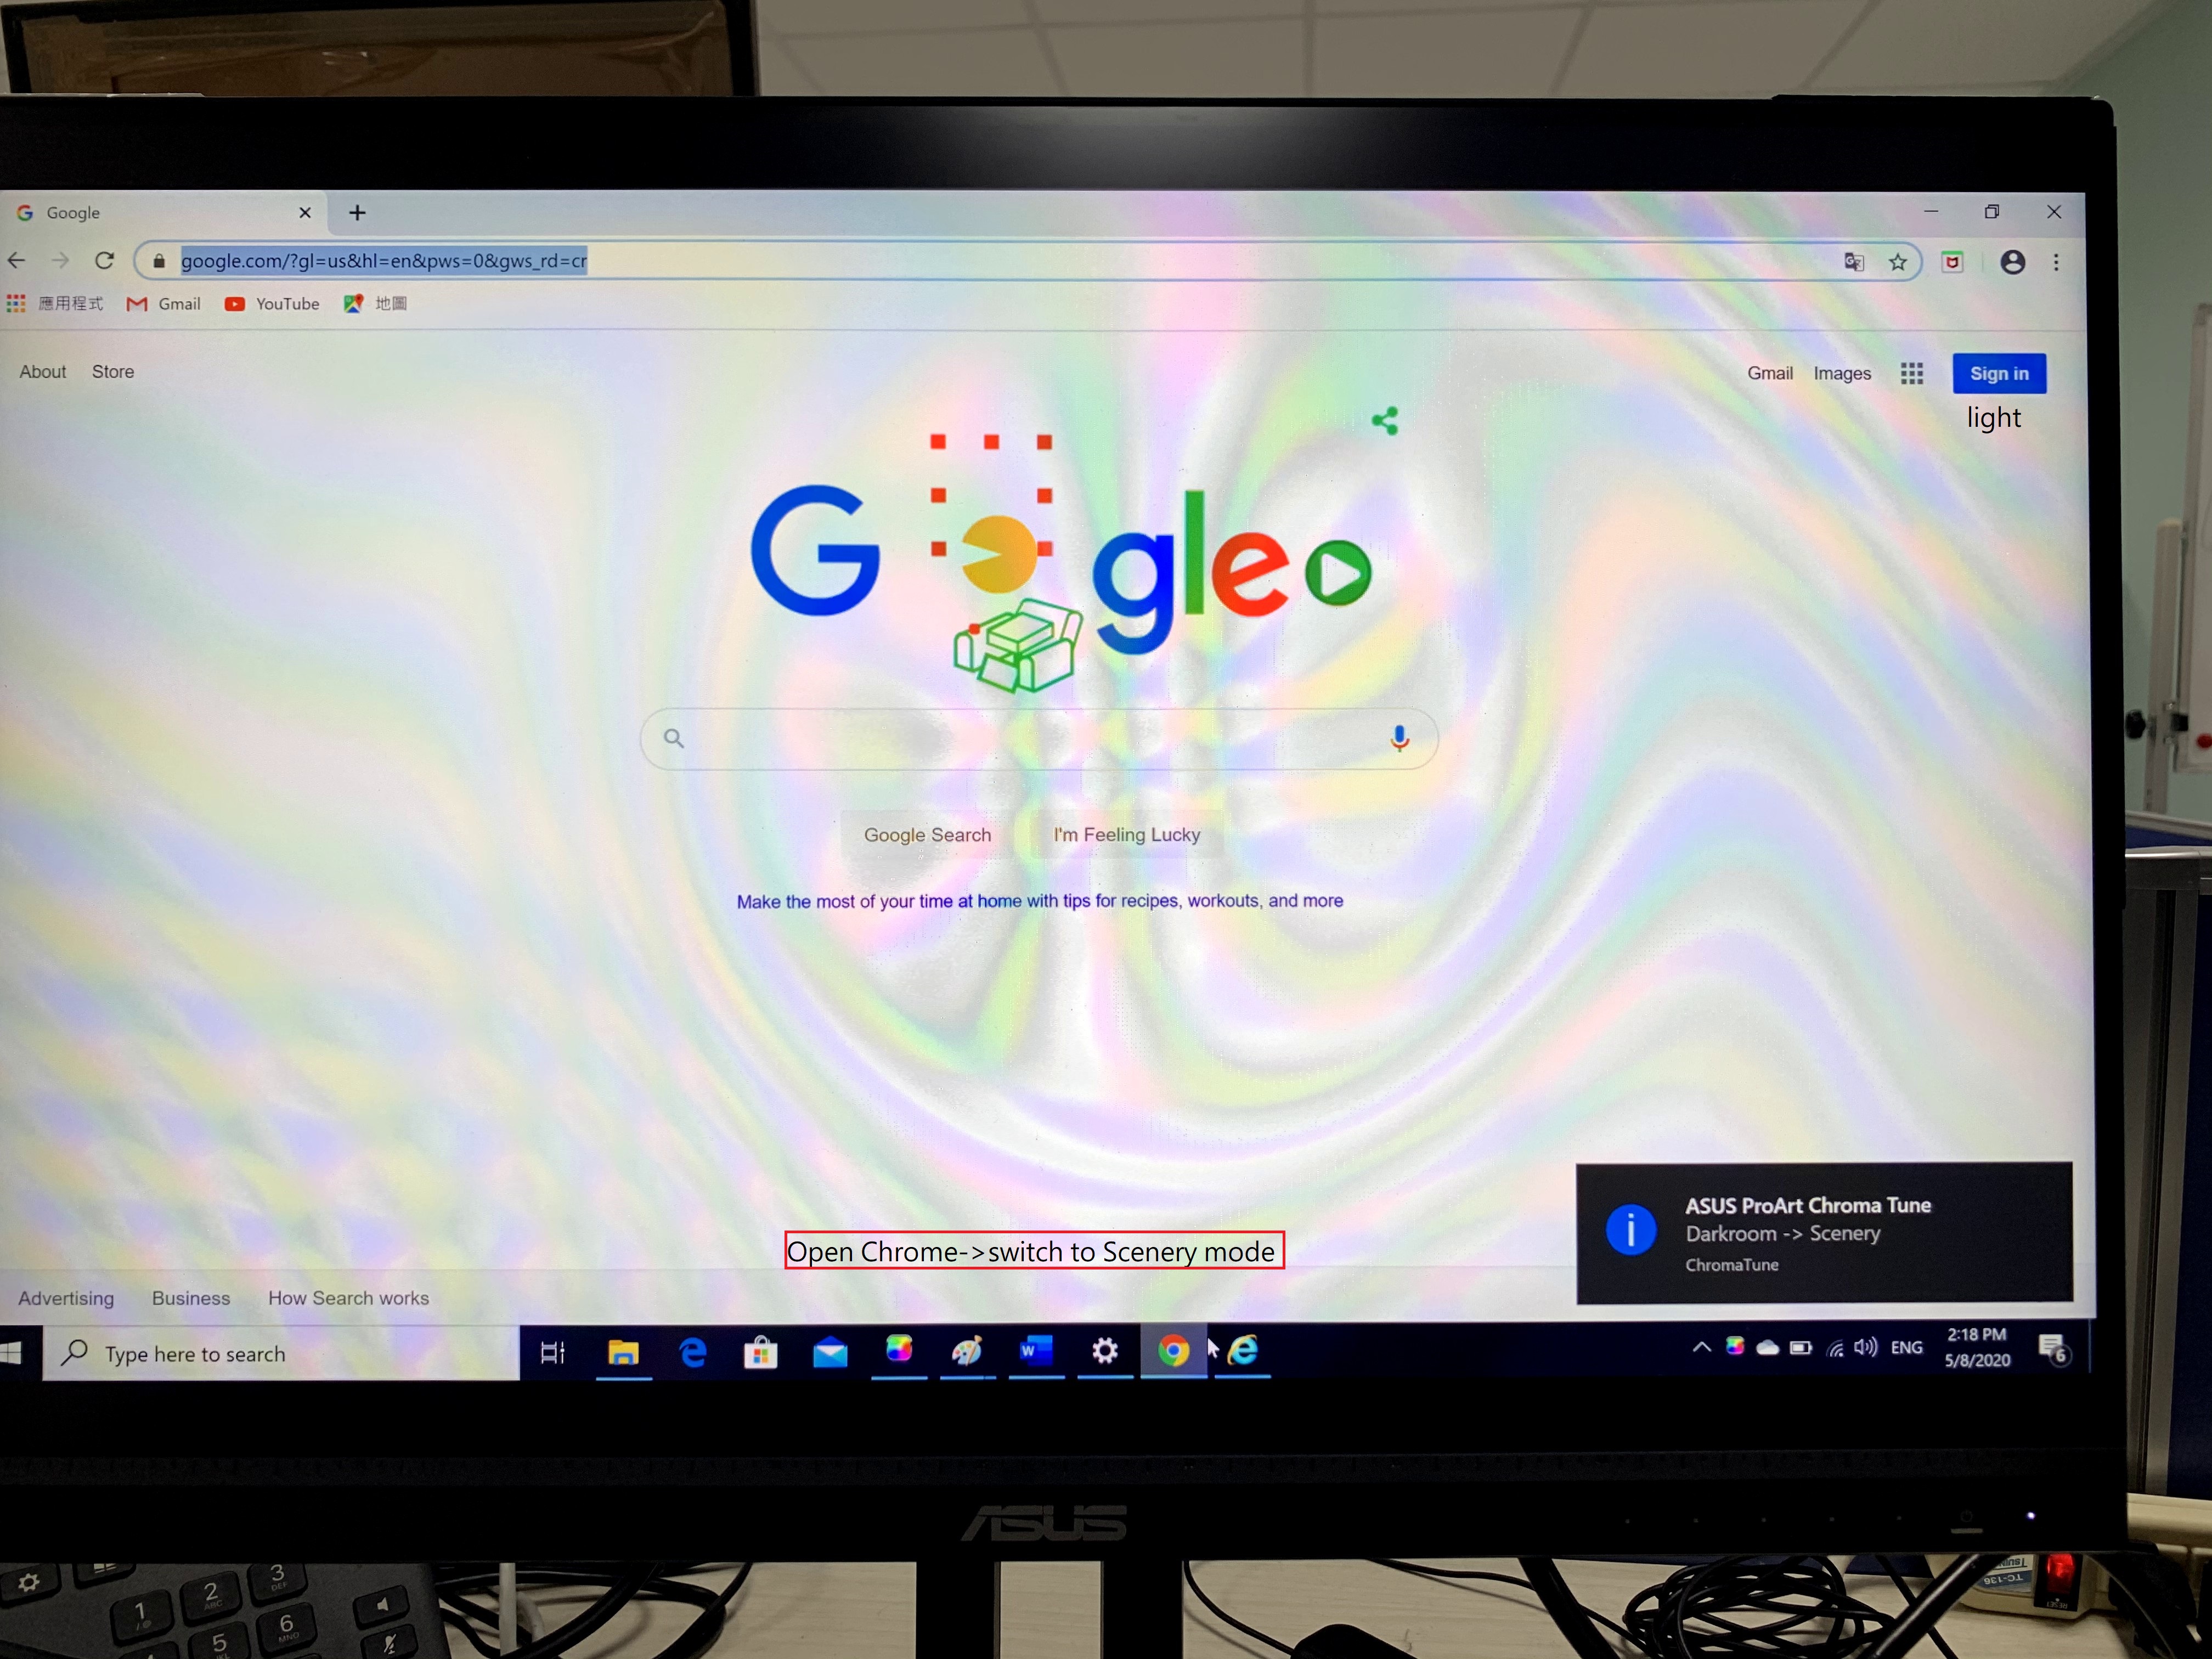
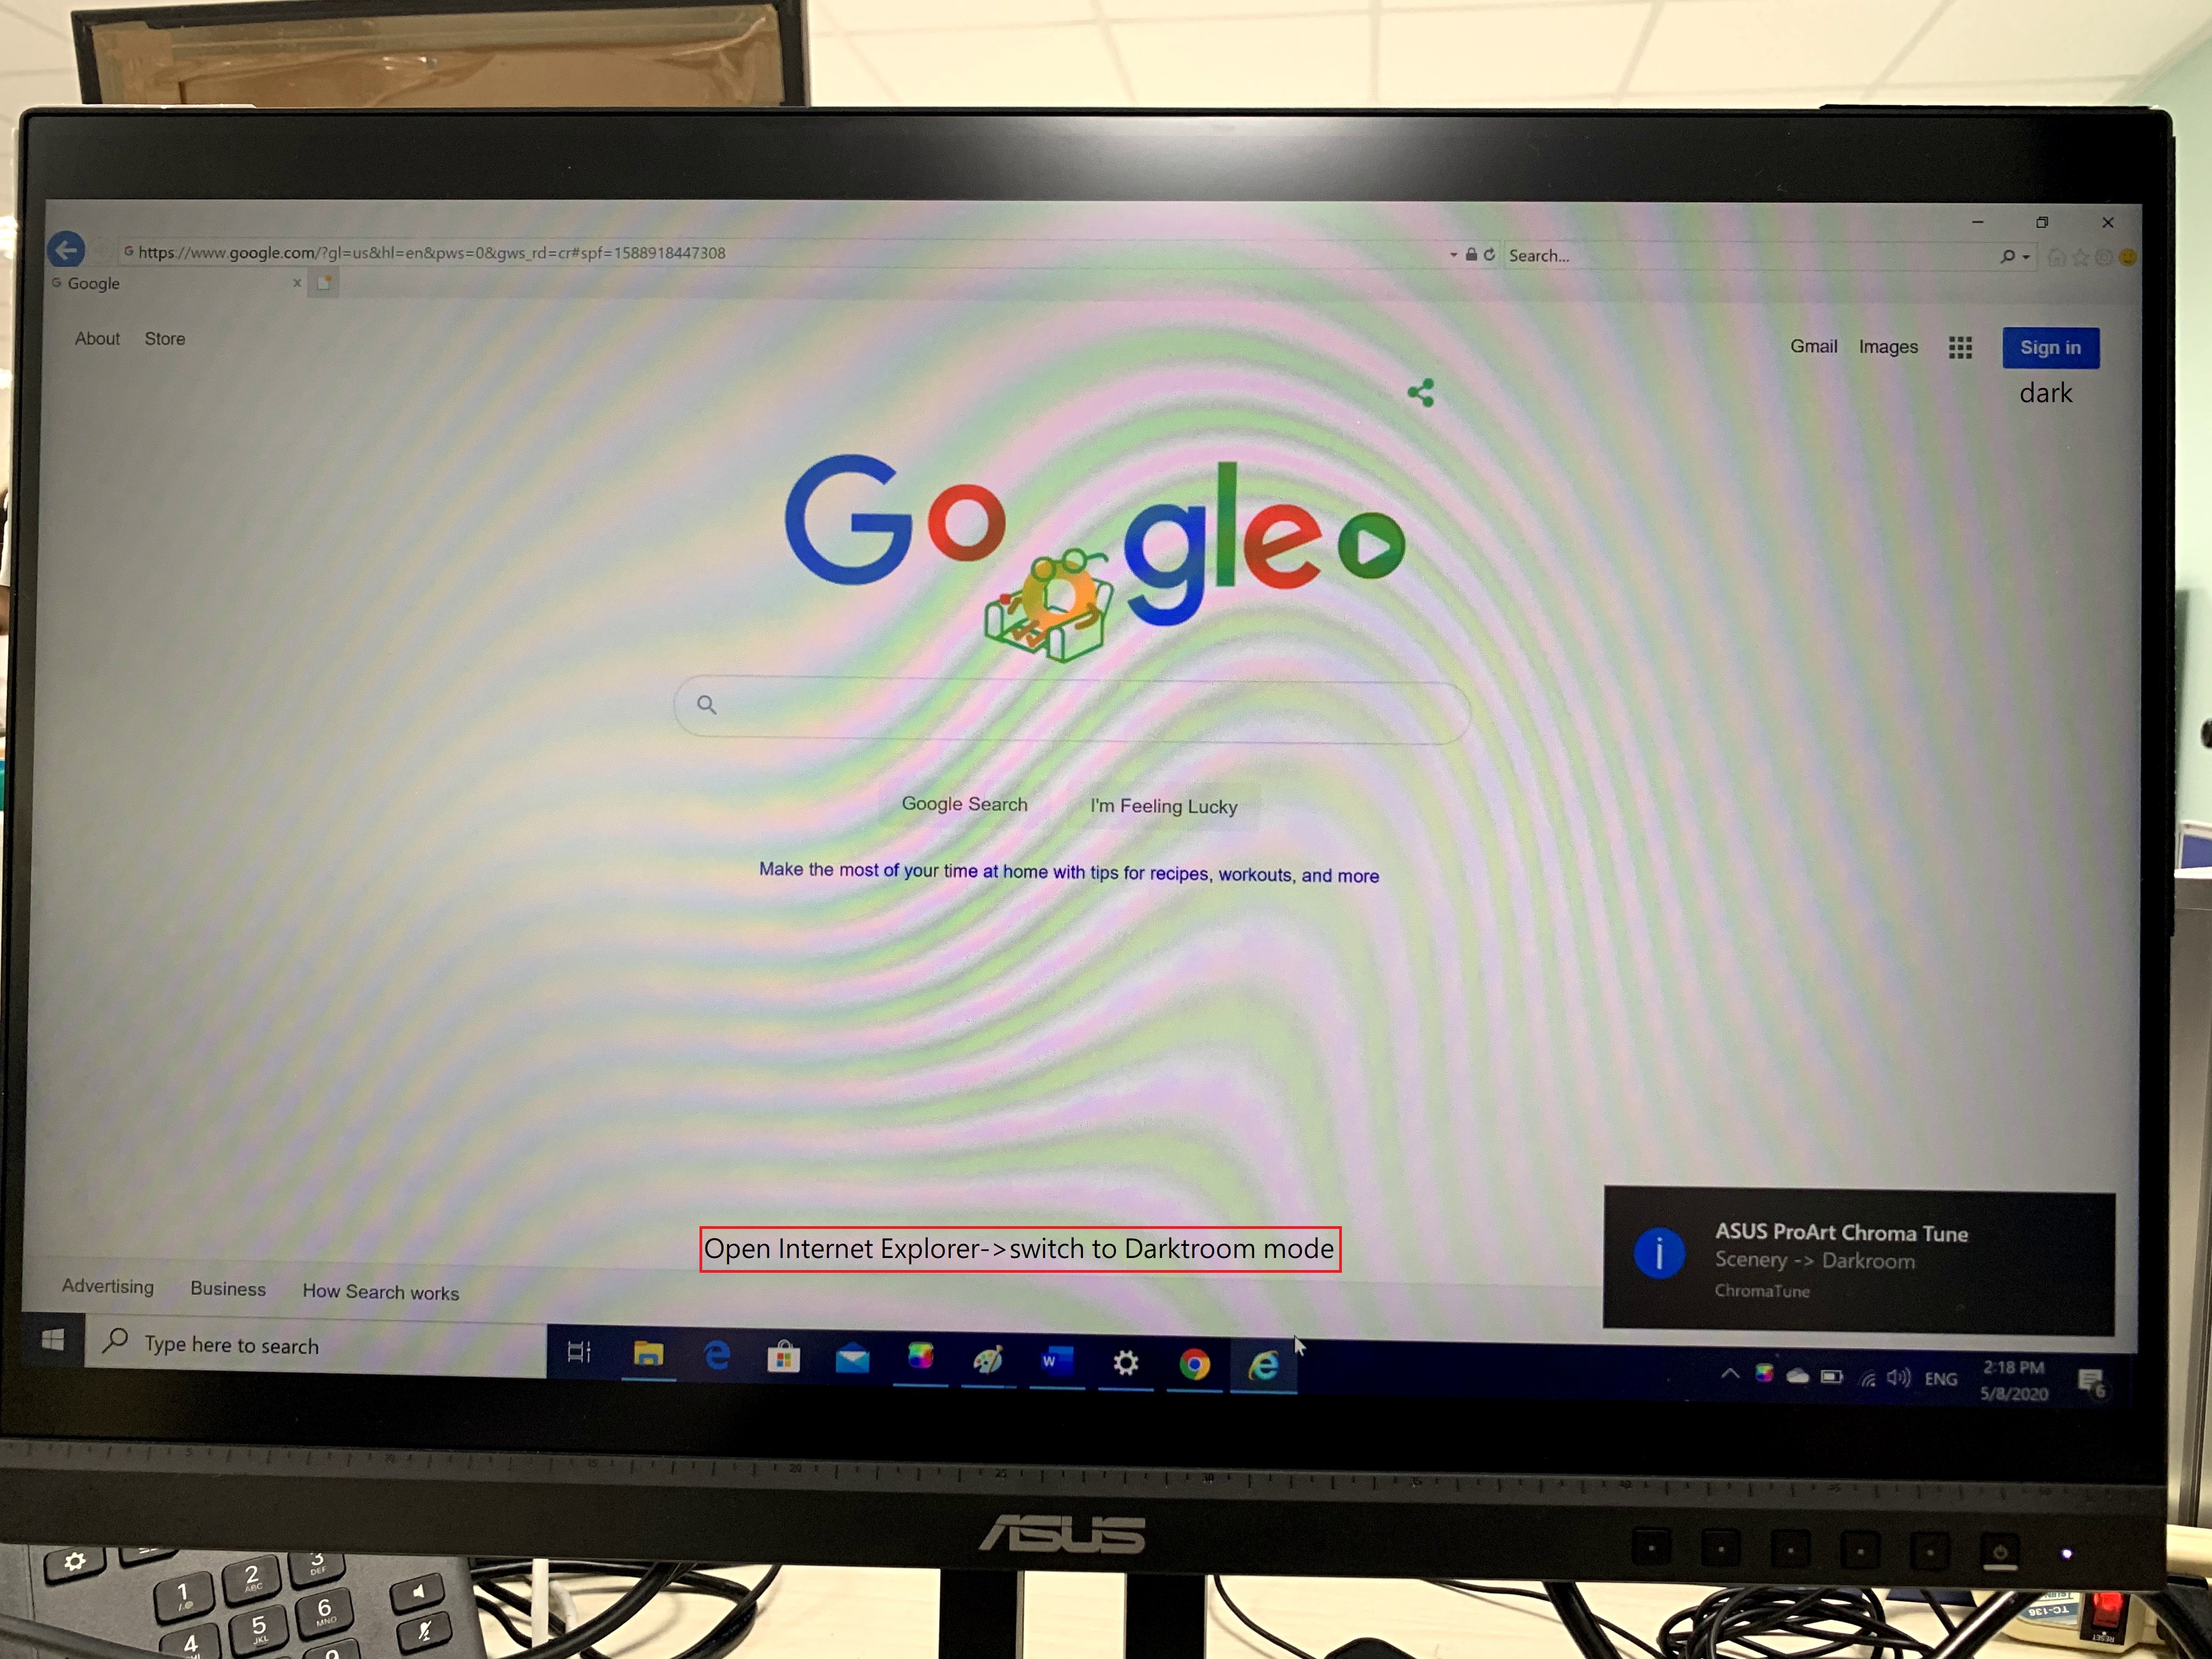
App Sync function example:
Set Chrome to Scenery mode and Internet Explorer to Darkroom mode. The actual shooting in the picture below shows that the brightness is obviously dimmed when switching to Darkroom mode when Internet Explorer is turned on:
- Find 1.Google Chrome,set it to 2.Scenery mode.
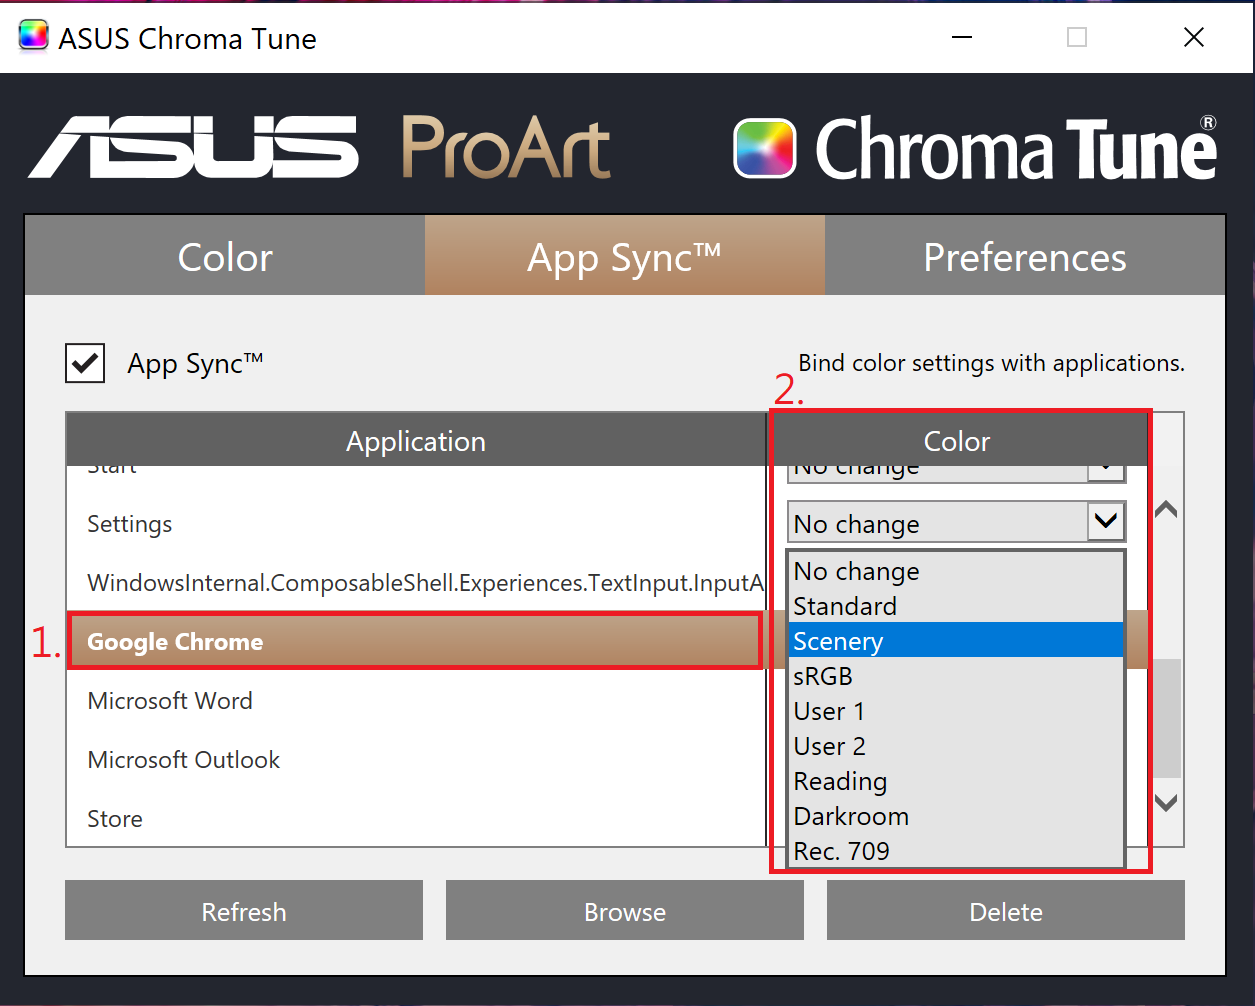
- Find 1.Internet Explorer,set it to 2.Darkroom mode.

- After setting, open Chrome, the display will switch to Scenery mode; open Internet Explorer, it will switch to darkroom mode as shown below:
App Sync [Refresh] function example:
How to use the [Refresh] option to set the opened application to App Sync:
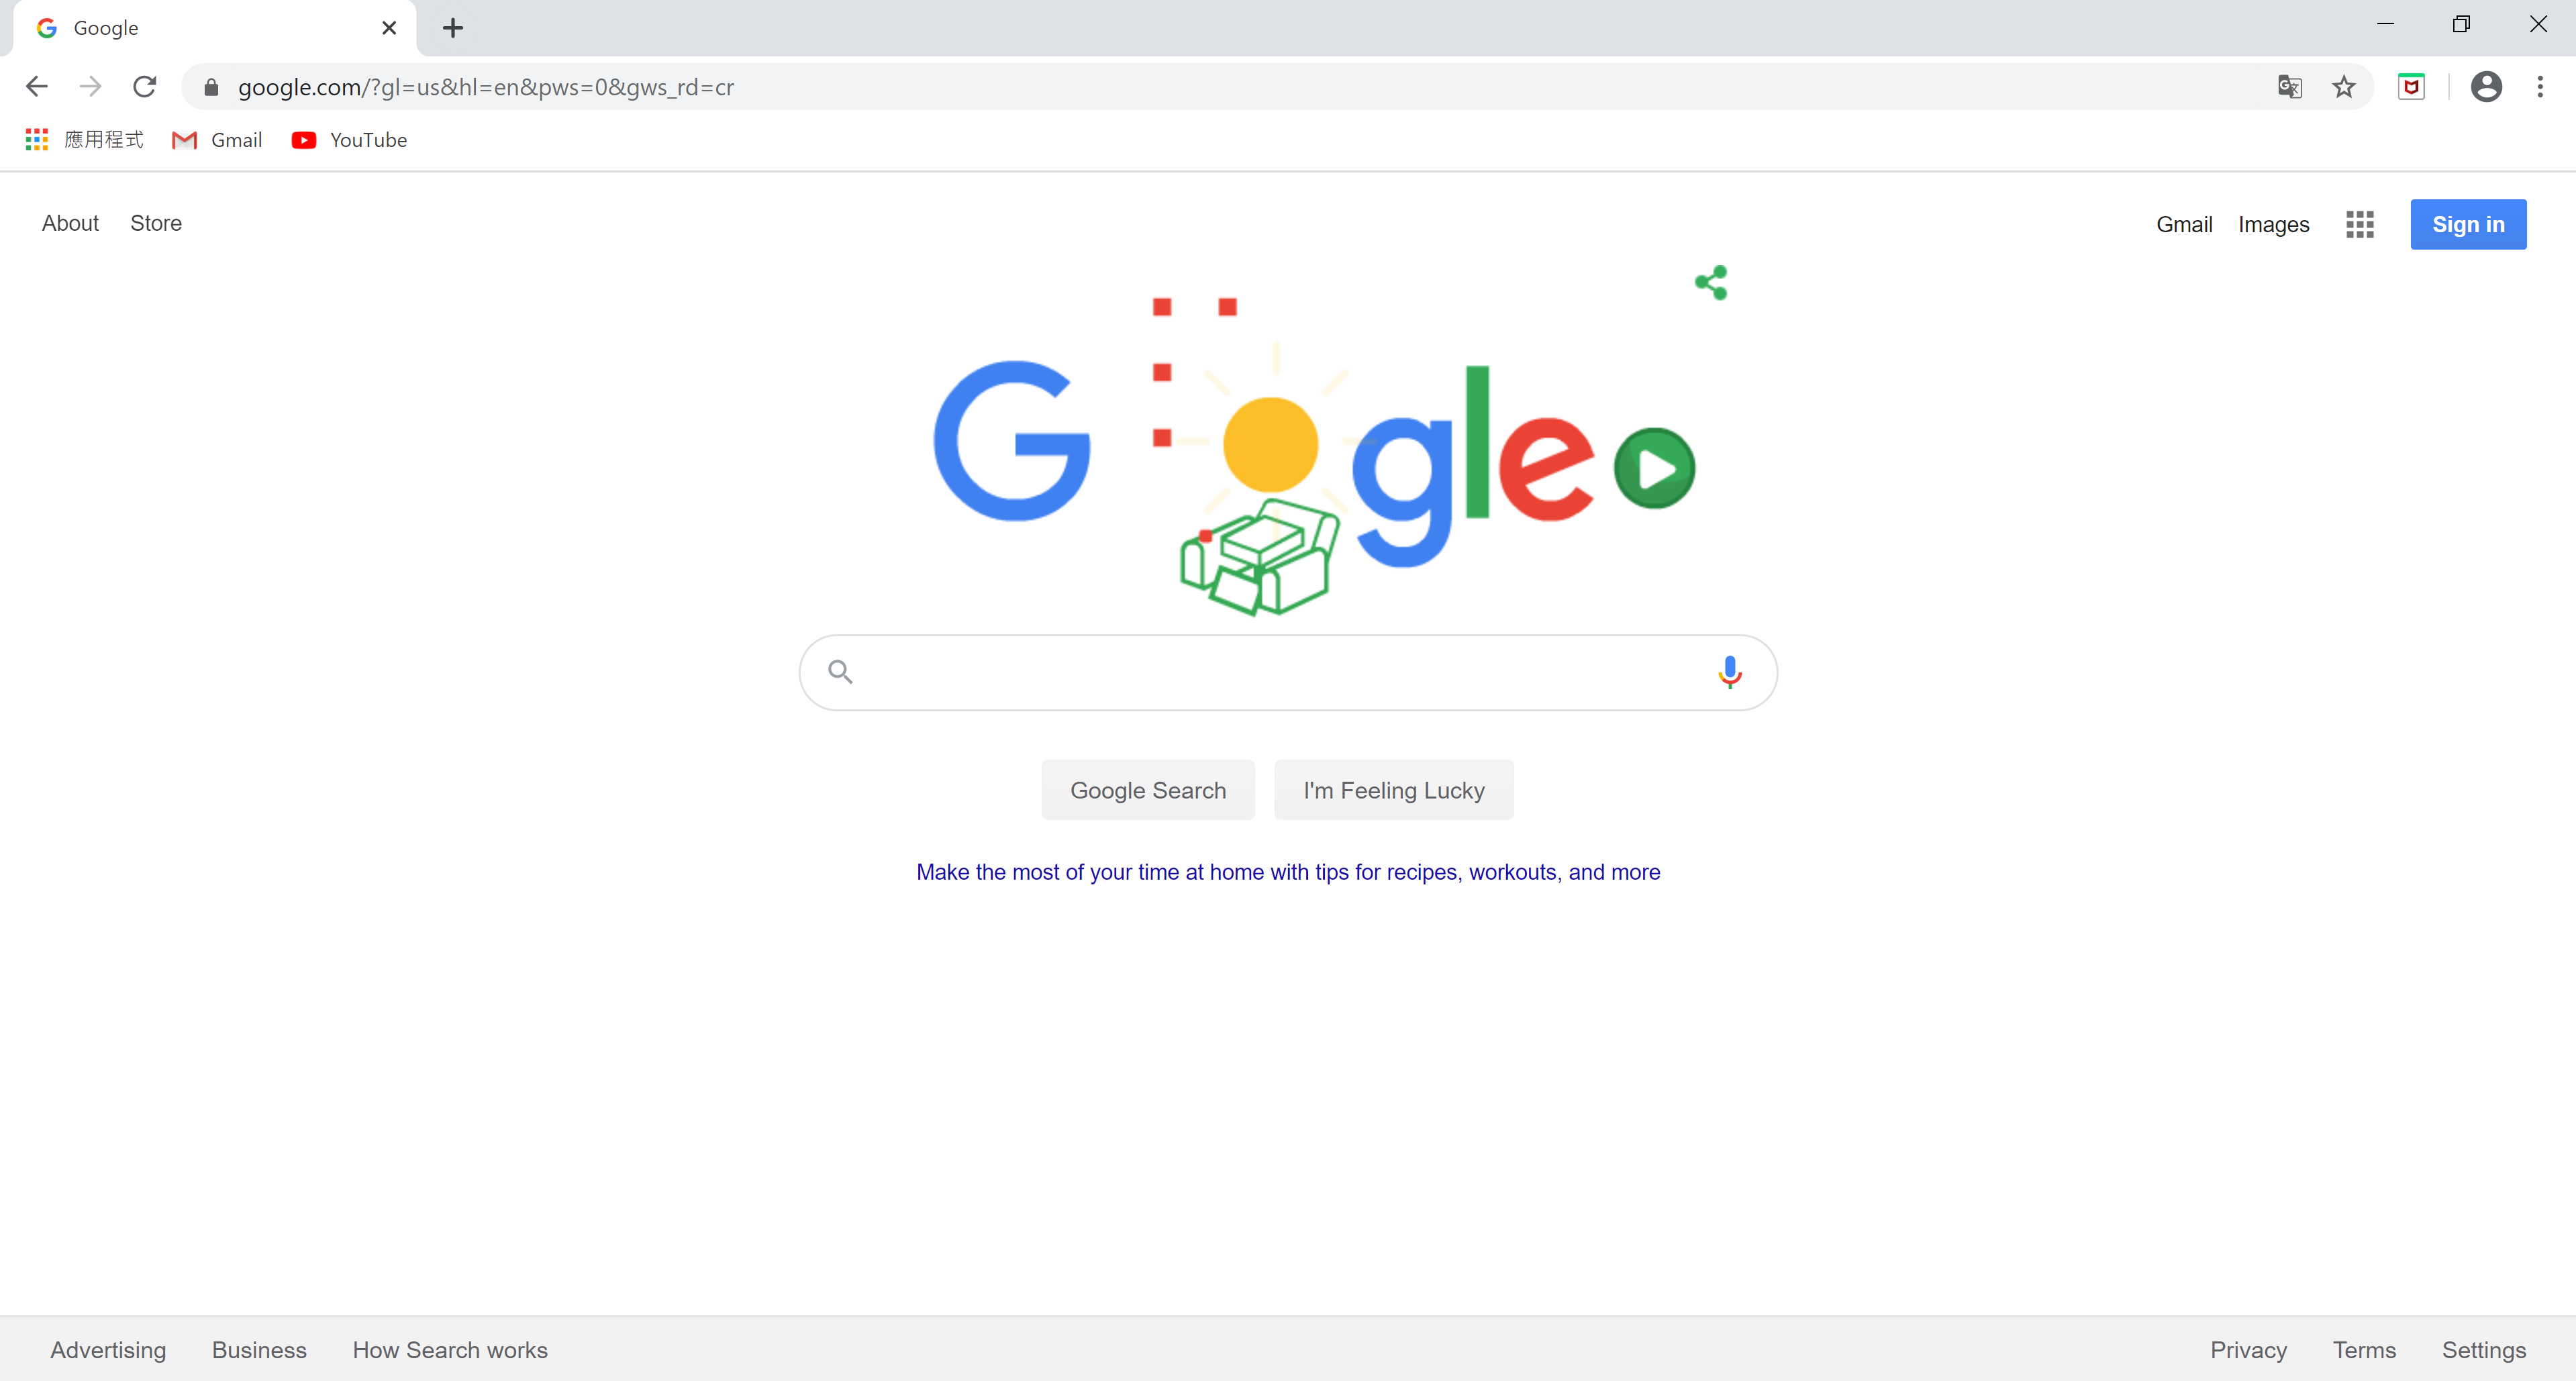
- Open Google Chrome application:
- Open App Sync.
- Select the [Refresh] option.
- The application list appears 1. The name of the target application:
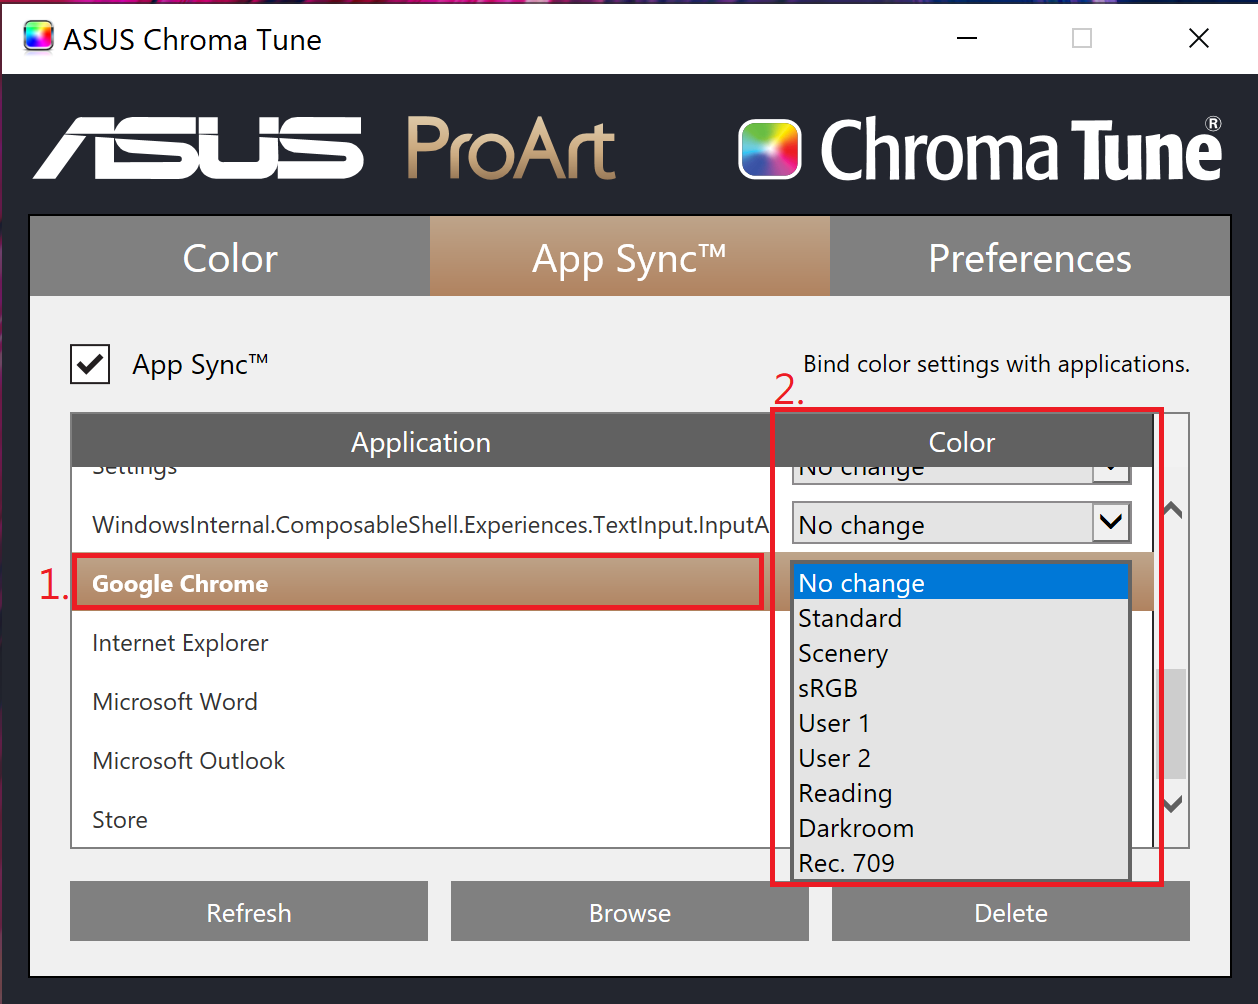
- Select the target application and select 2. Color list.
App Sync [Browse] function example:
How to use the [Browse] option to add an application to set up App Sync:
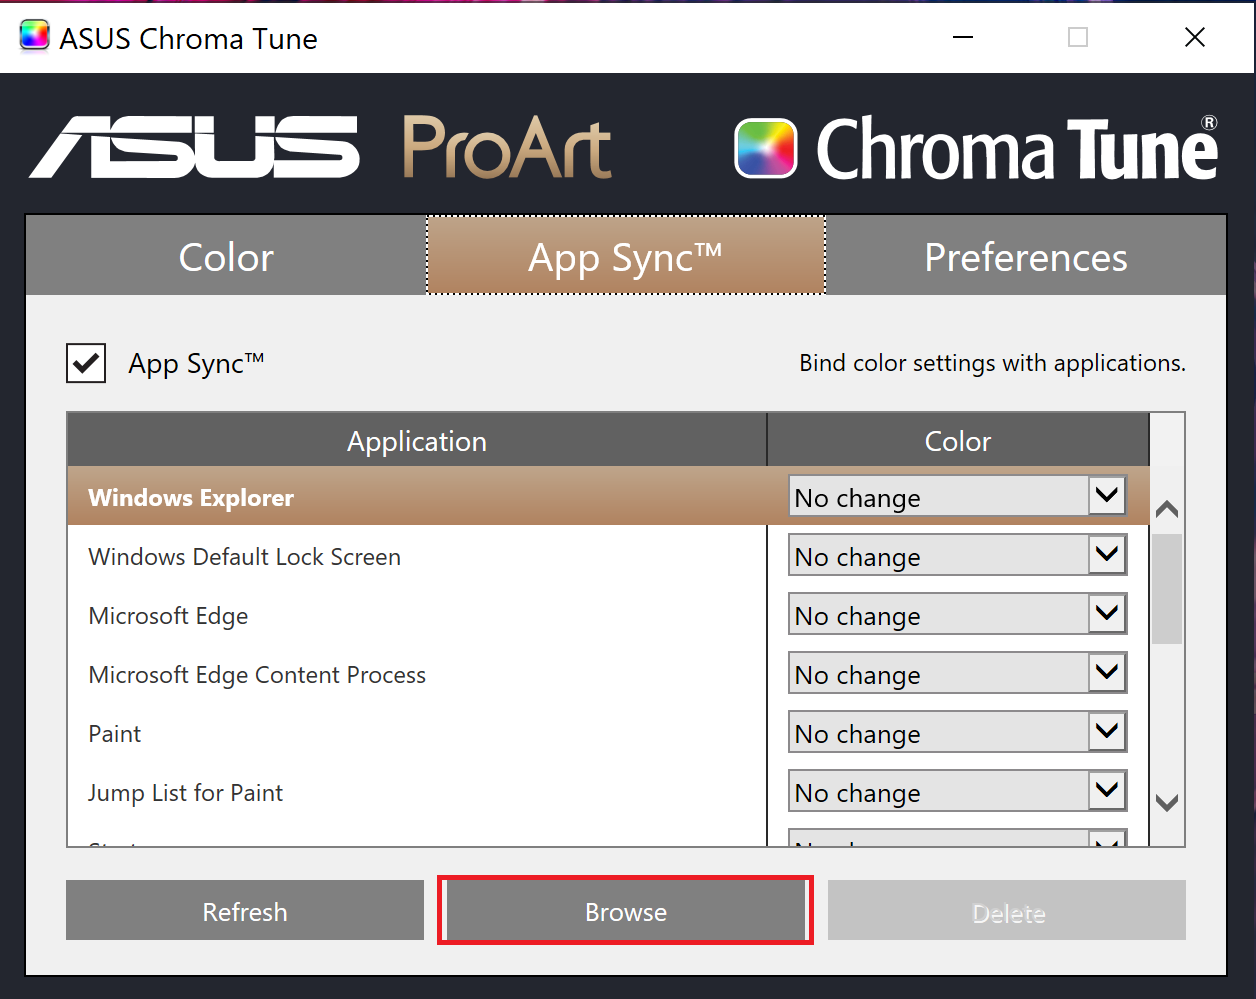
- Open App Sync.
- Select the [Browse] option.
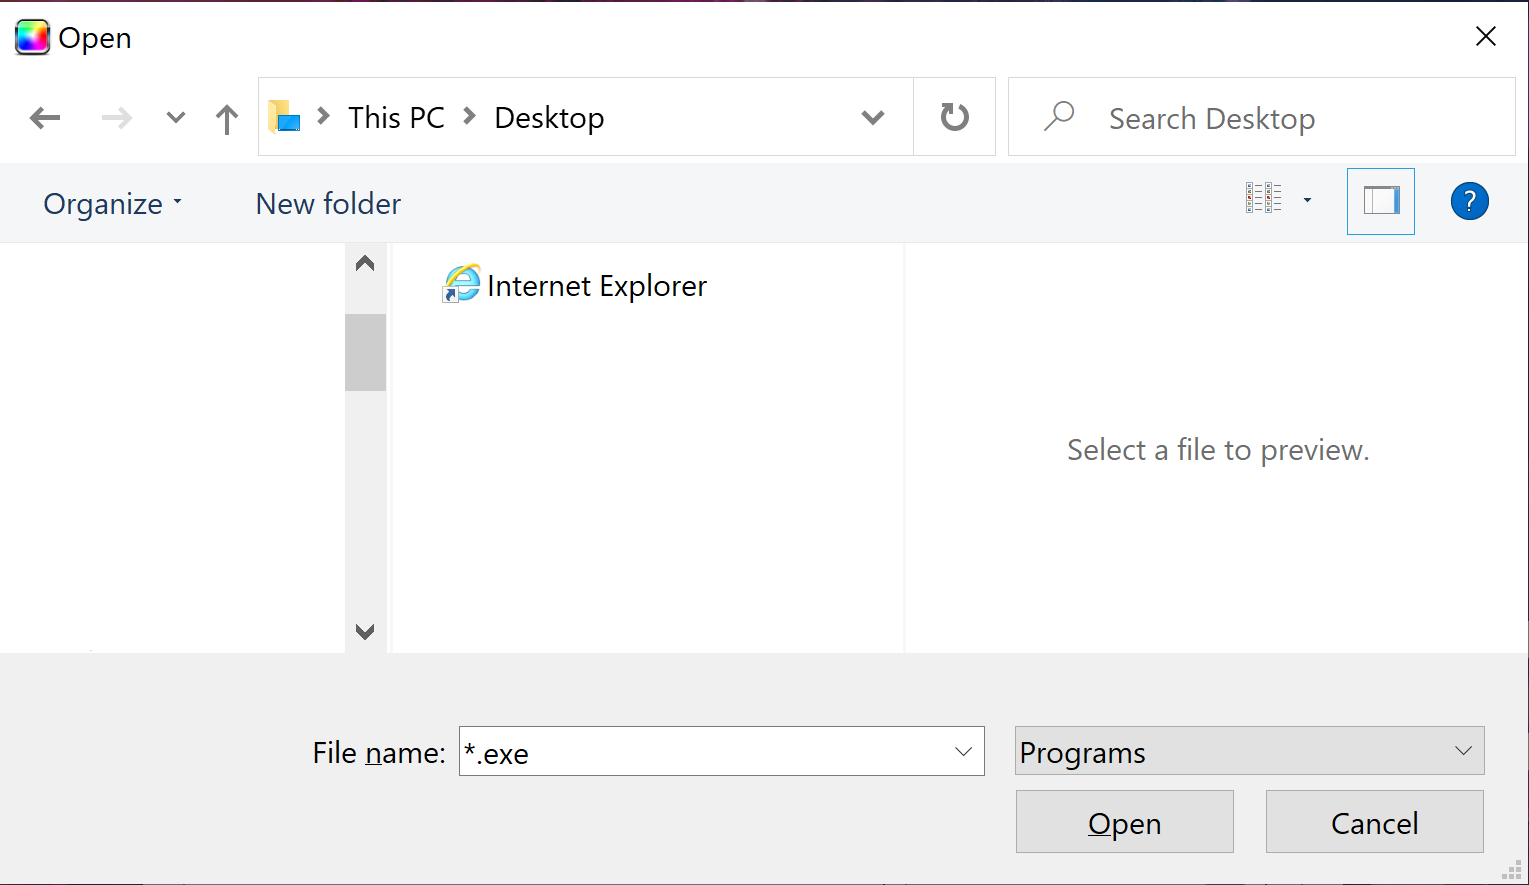
- Browse the folder and find the application you want to set up. Example select Internet Explorer:
- The application list appears 1. The name of the target application:
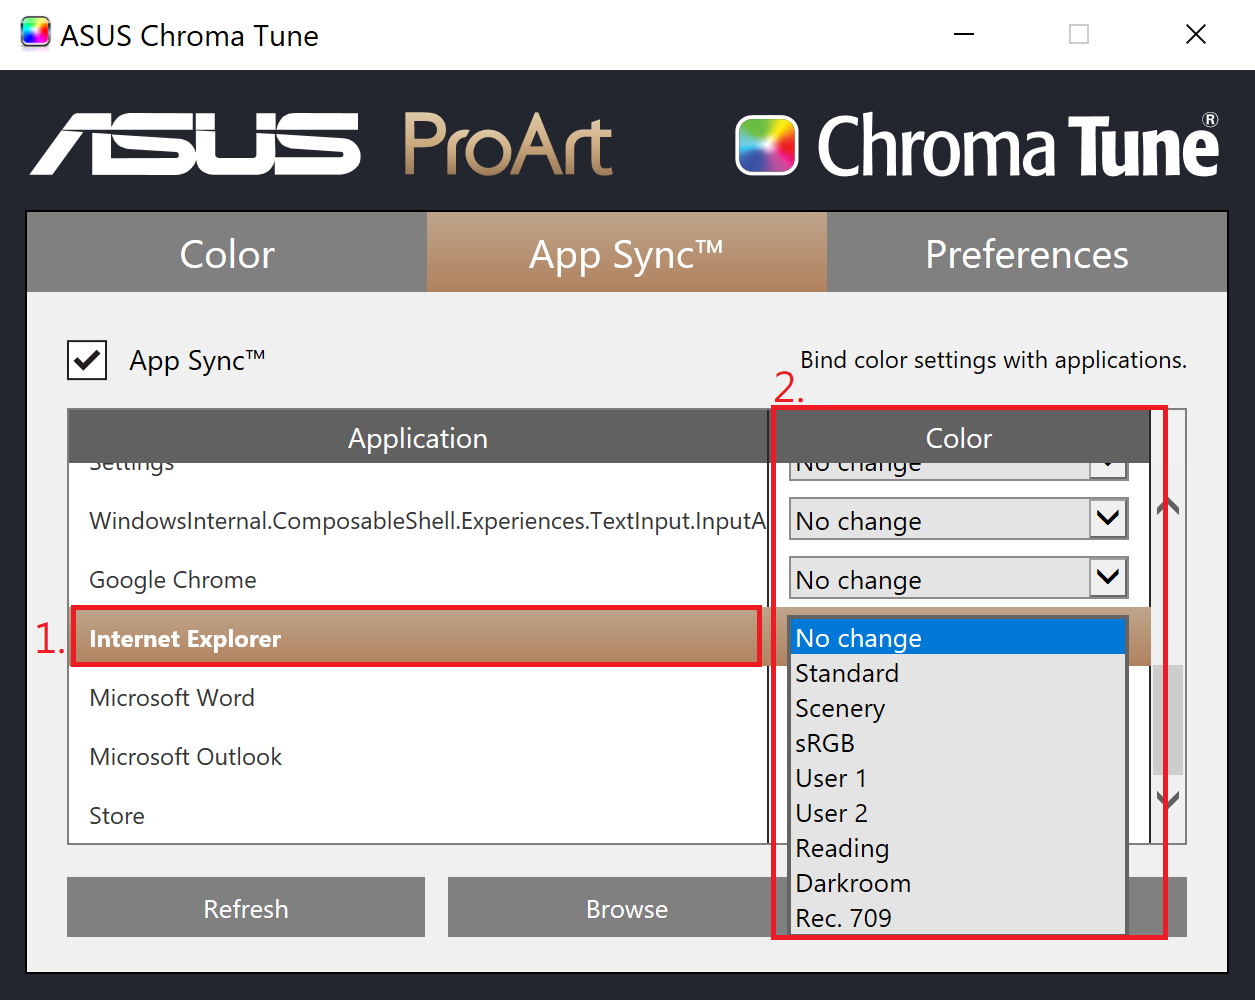
- Select the target application and select 2. Color list.
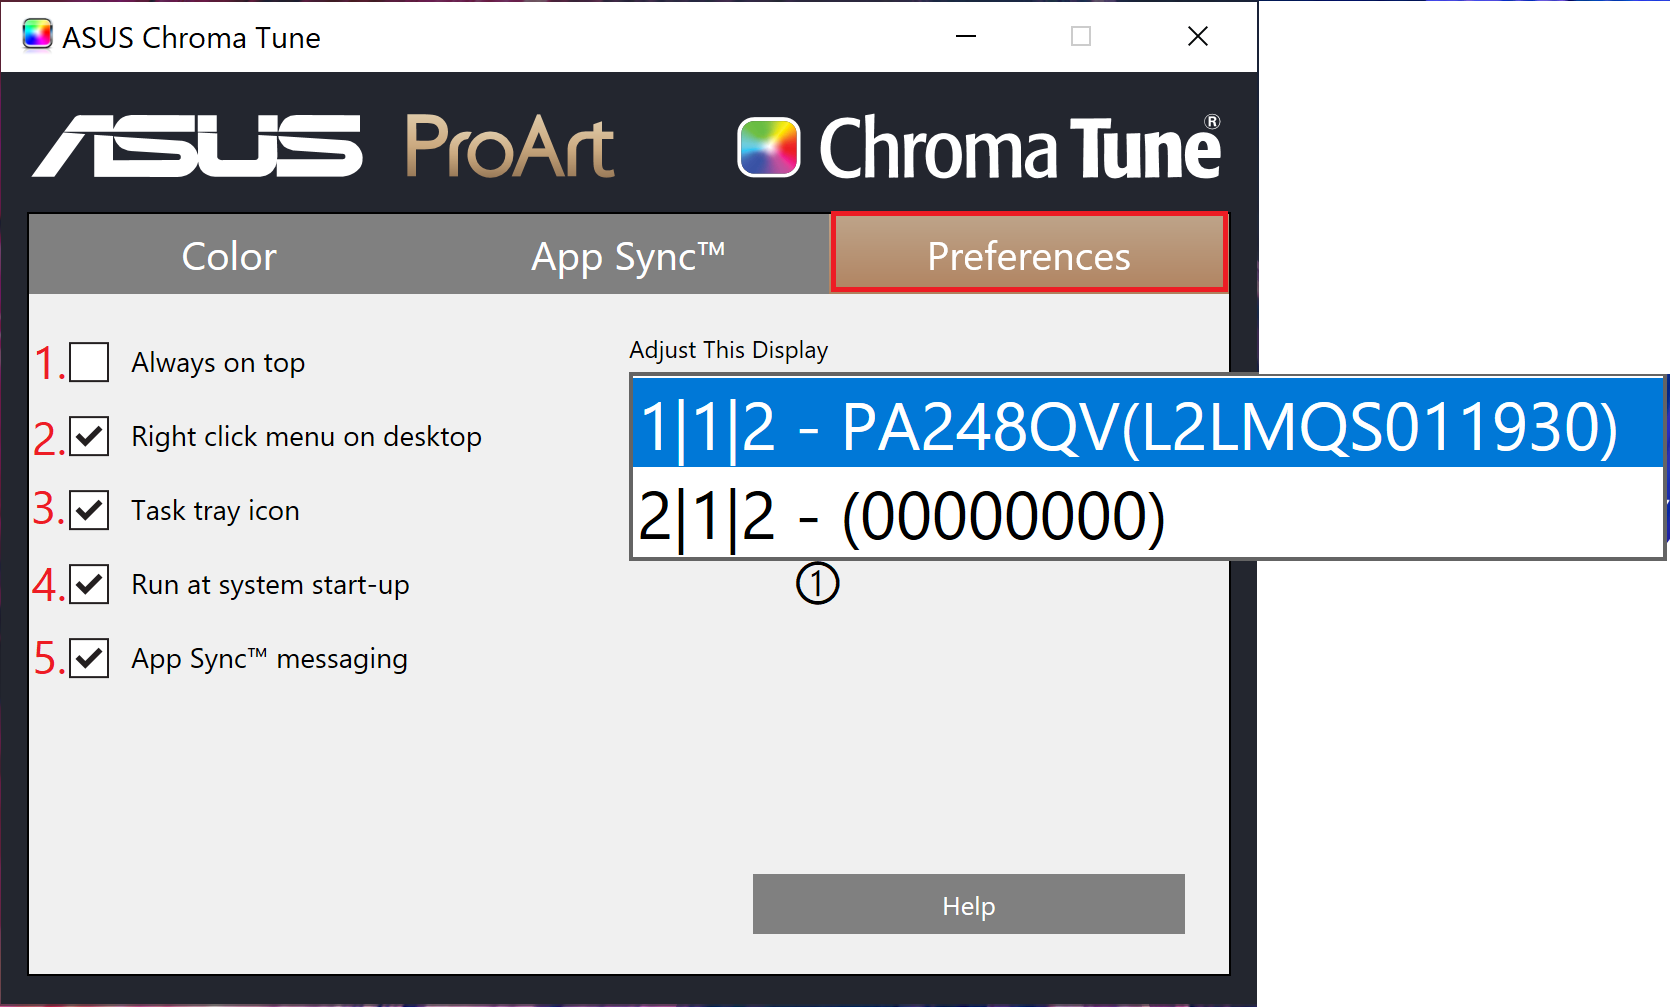
To turn on or off any Preference,position the cursor over the box and click.
Screen list ① can select the screen you want to set.
- Always on top:When enabled,the application windows always appears on top of all other applications.
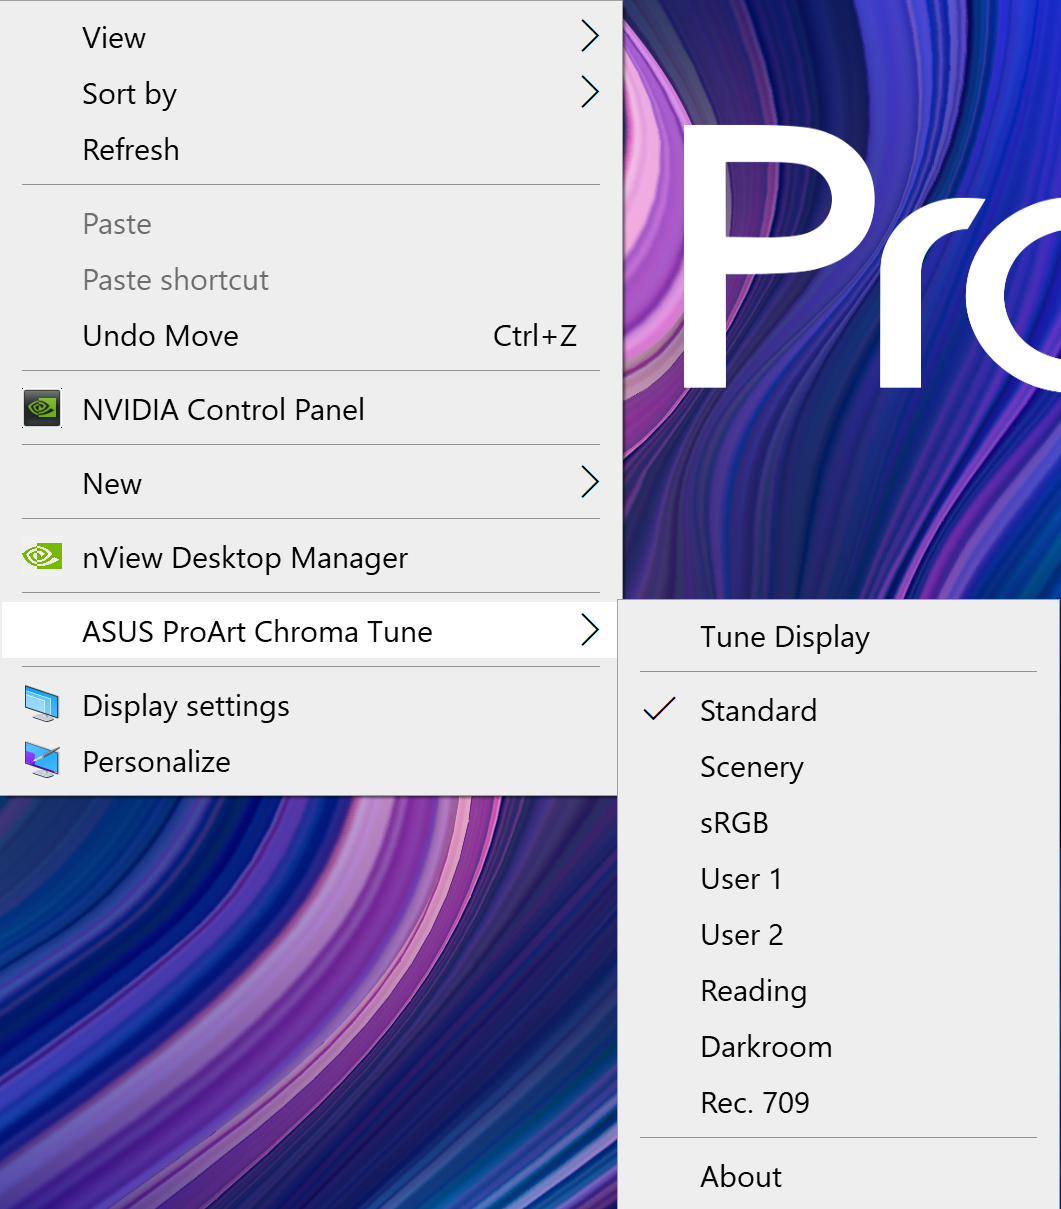
- Right click menu on desktop:Puts the application options in the right click context menu.To run the application,simply right click anywhere on the desktop.
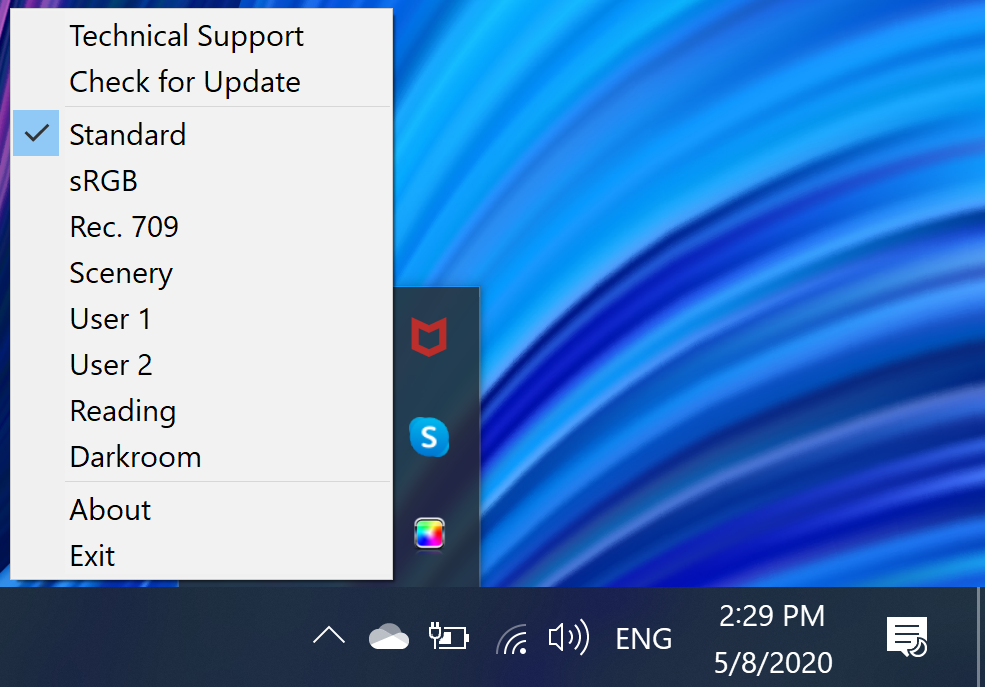
- Enable Task Tray icon:When enabled,the application will be accessible from the Task Tray.When disabled,the application icon is no longer available in the task tray.
- Run at system start-up:When enabled,the application will launch each time the system is restarted.
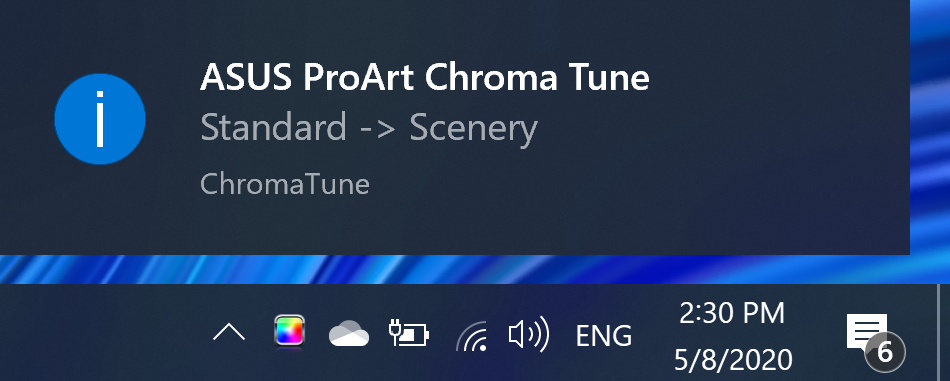
- APP Sync messaging:A notification appears in the Task Tray when the Mode is changerd while switching from one application to another.
Q1.How to uninstall ASUS Chroma Tune?
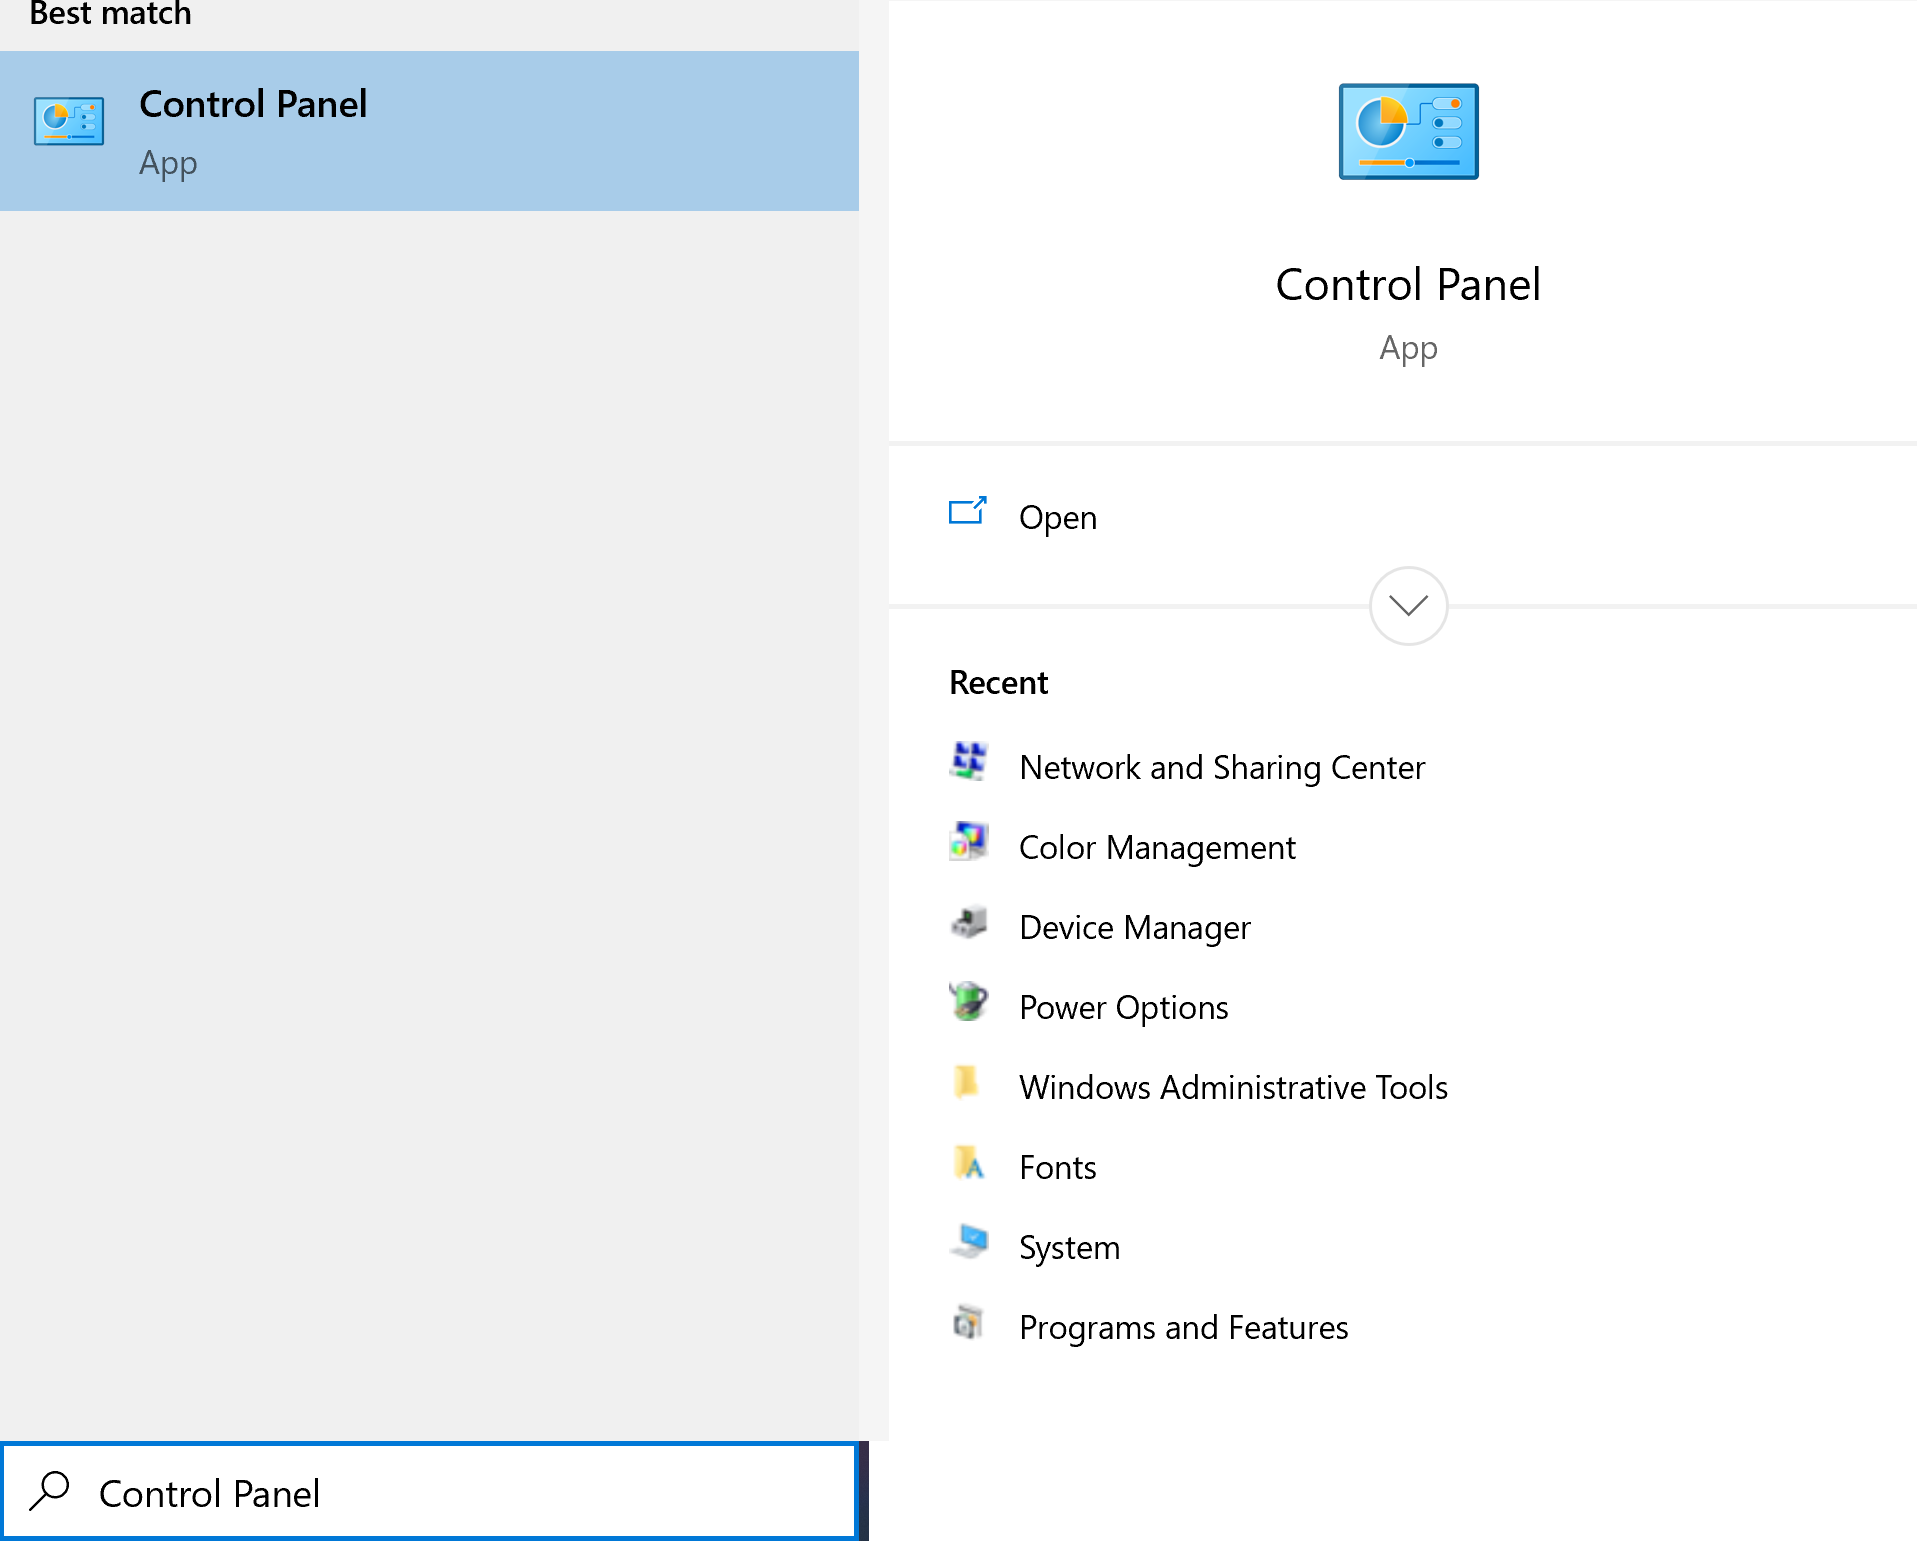
- Search[Control Panel] and open.
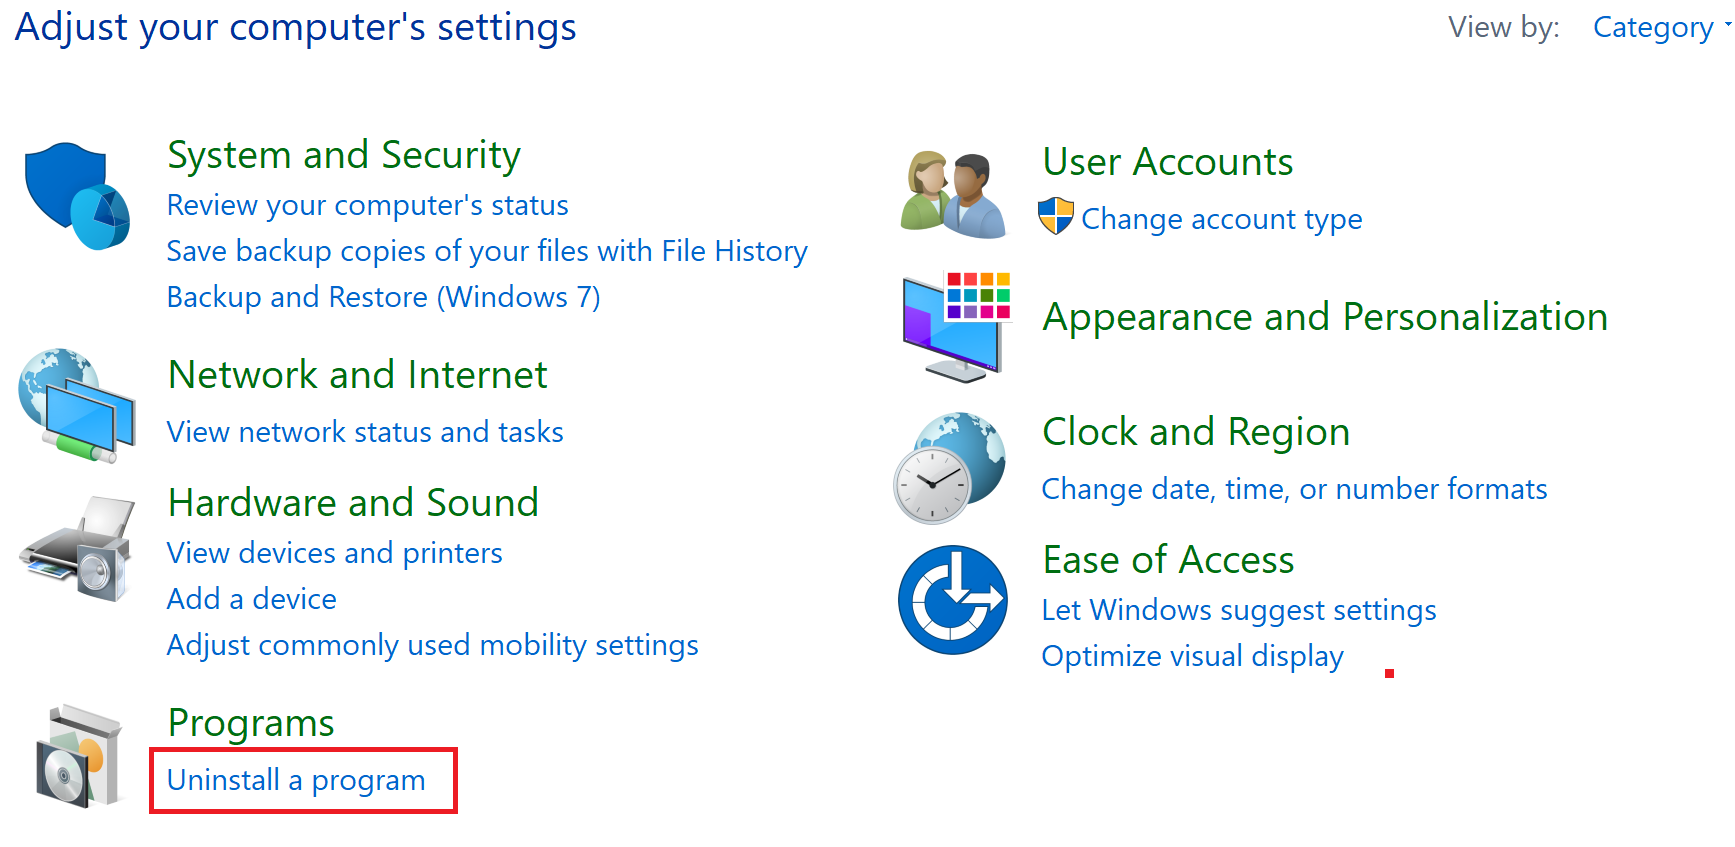
- Click[Uninstall a program].
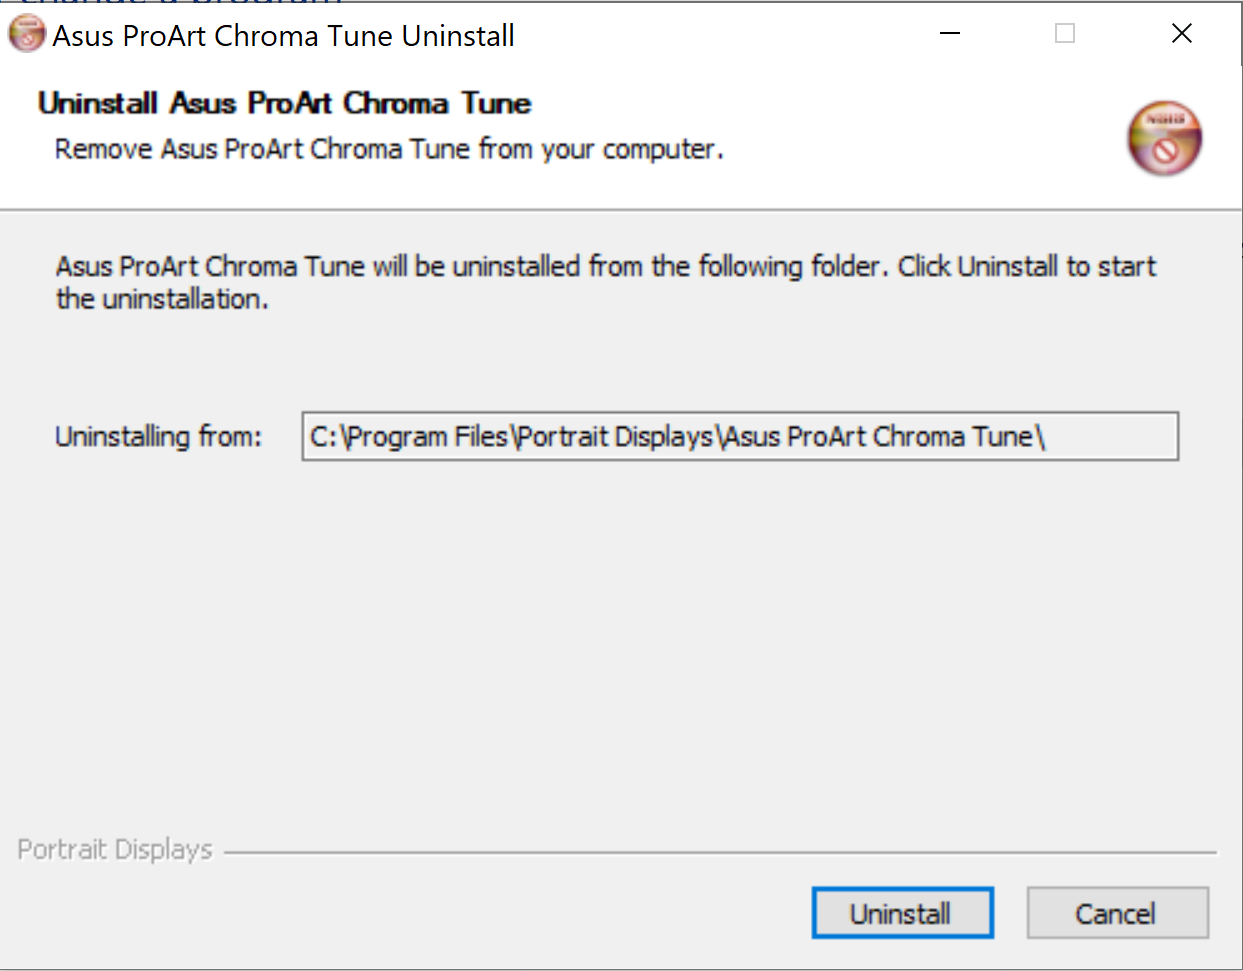
- Choose[Asus ProArt Chroma Tune]and click[Uninstall].

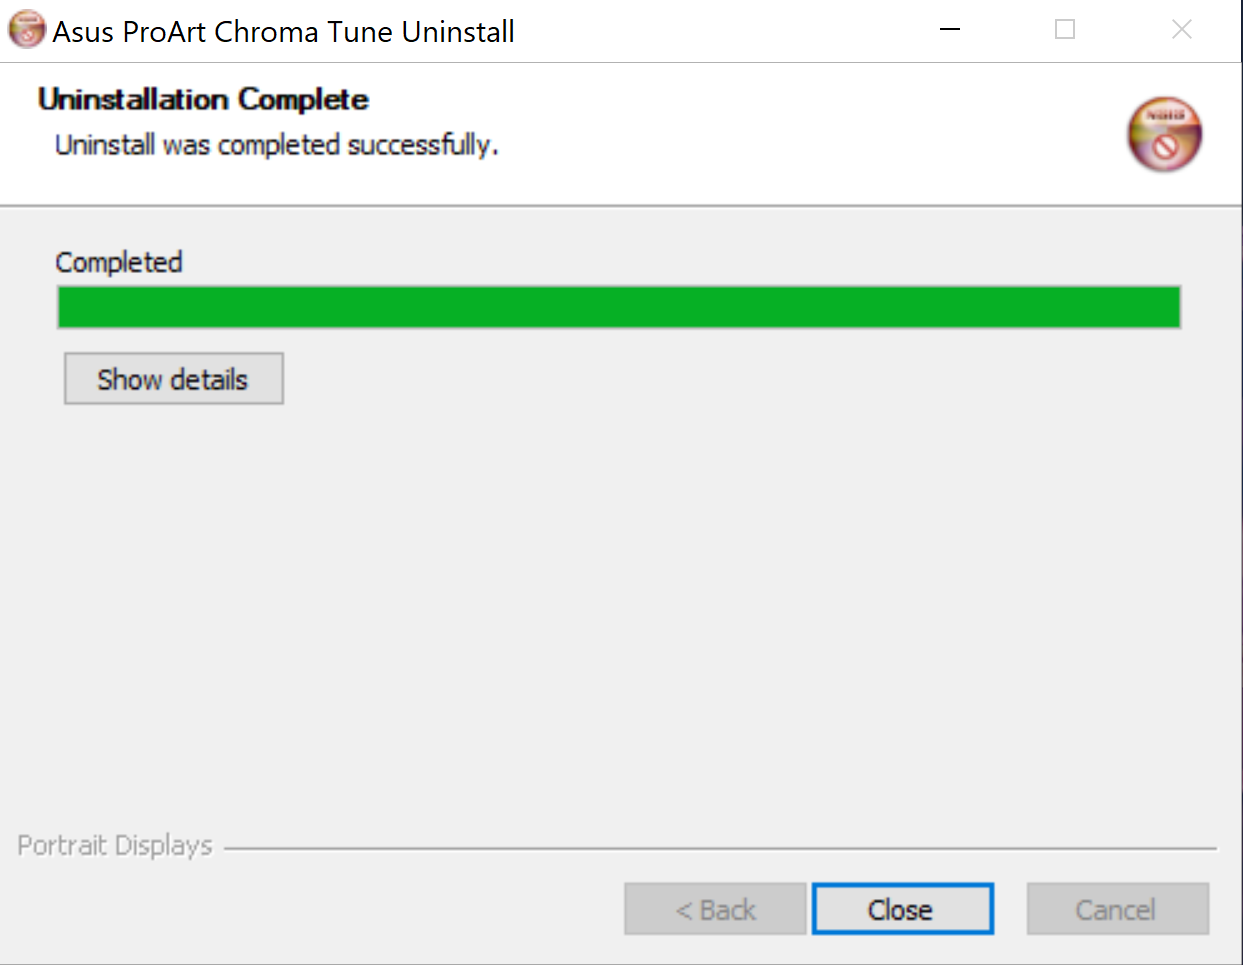
- Click [Uninstall].
- Wait for the uninstallation to complete, click [Close].