[Motherboard] ThunderboltEX 3-TR Card - Introduction
ThunderboltEX 3-TR card supports up to 40 Gbps of aggregate interface bandwidth. ThunderboltEX 3-TR card can support up to six devices and one 8K Ultra HD in a daisy-chain, and provides up to 100 watts of power for quick-charging the devices.
ThunderboltEX 3-TR Card Input /Output Ports
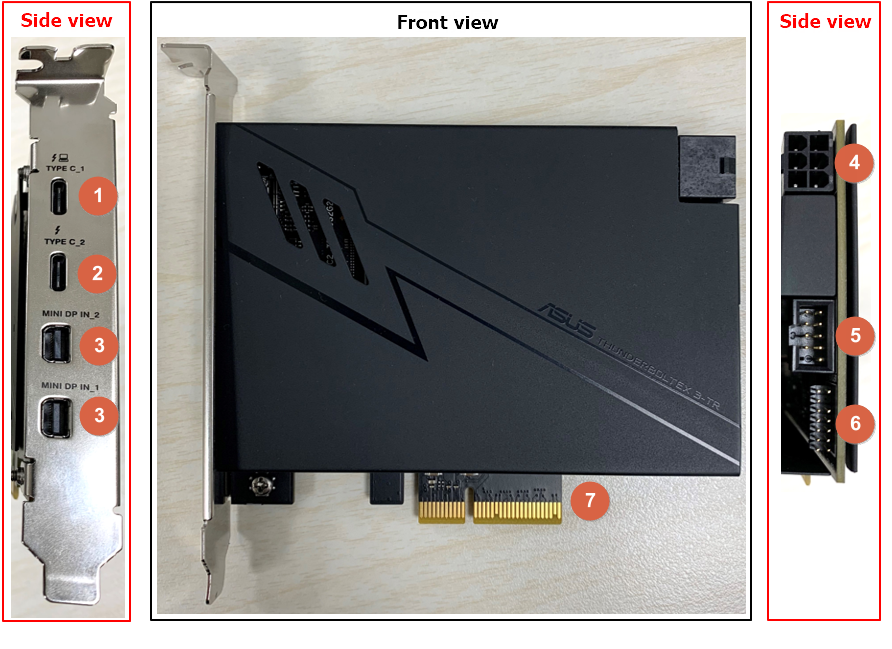
 Thunderbolt™ 3 USB Type-C® port. (Supports up to 20V/5A, 100W quick charge)
 Thunderbolt™ 3 USB Type-C® port. (Supports up to 9V/3A, 27W quick charge)
 Mini DisplayPort IN ports.
 6-pin PCIe power connector.
 USB 2.0 header.
 14-1 pin Thunderbolt header.
 PCIE 3.0 X4 interface.
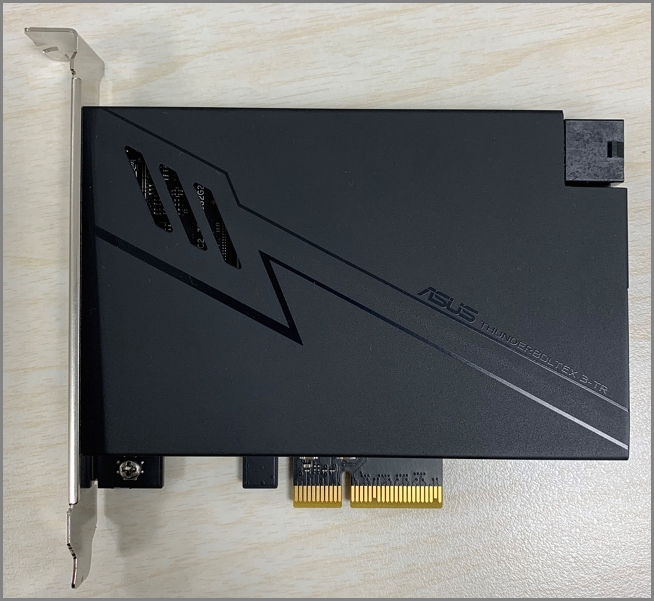
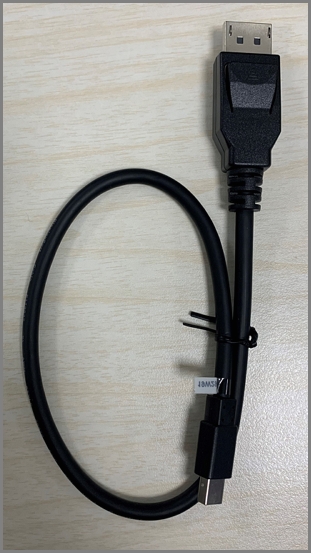
ThunderboltEX 3-TR Package content
1. ThunderboltEX 3-TR Card.
2. Mini DisplayPort cable.
3. USB 2.0 cable.
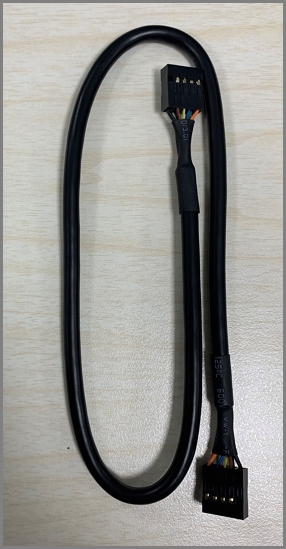
4. 14-1 pin Thunderbolt cable.

How to install ThunderboltEX 3-TR Card ?
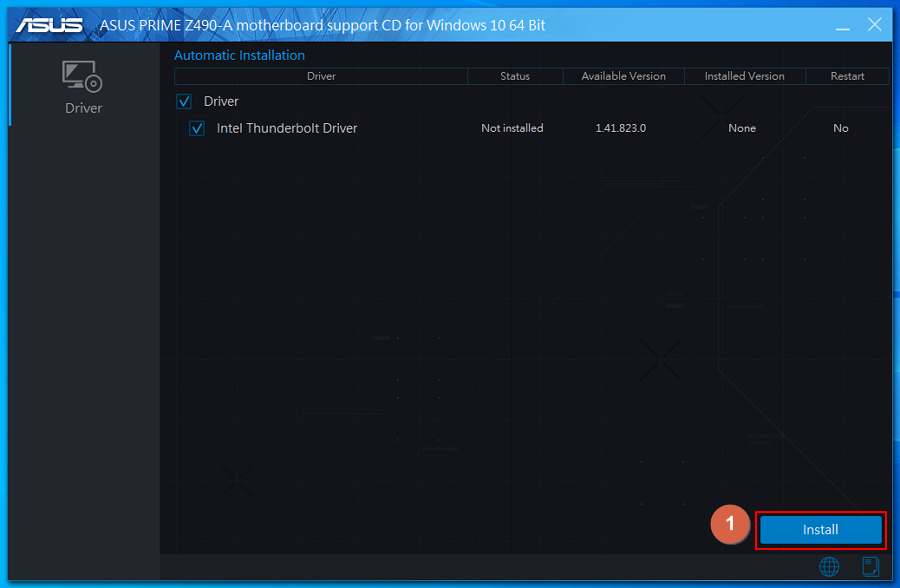
1. Insert the Support DVD to install ThunderboltEX 3-TR driver.
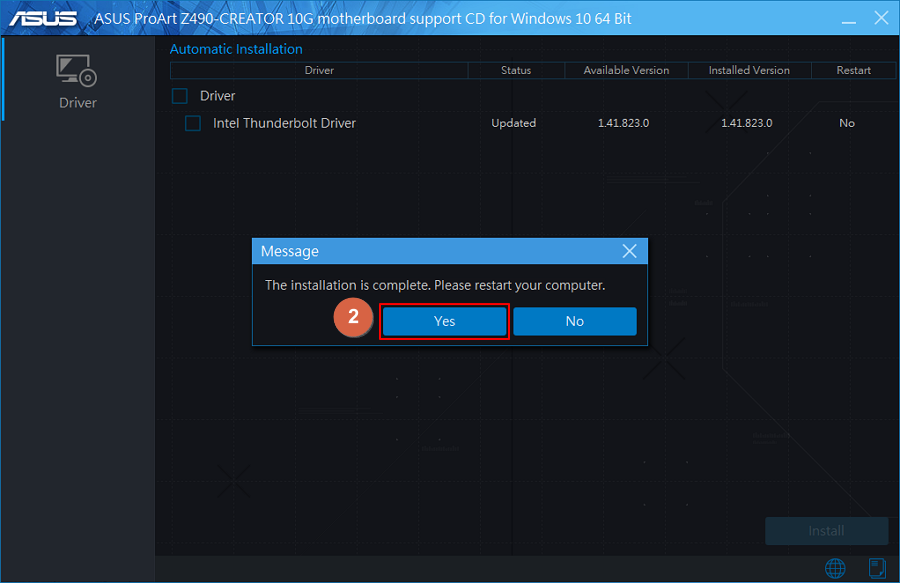
2. Follow the instruction to install the driver. Restart your computer after the installation completes.
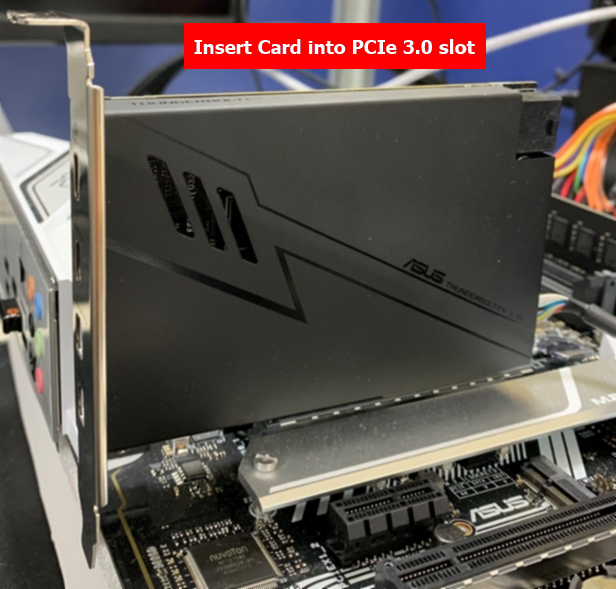
3. Shut down the computer. Insert the ThunderboltEX 3-TR card into a PCIe 3.0 slot.
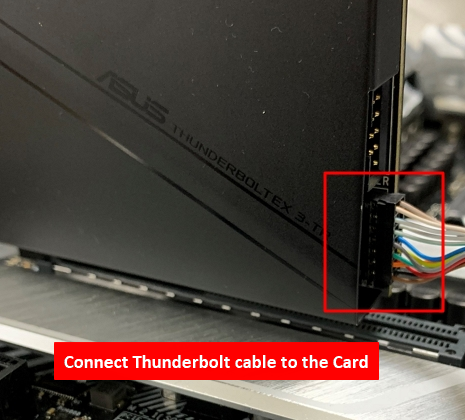
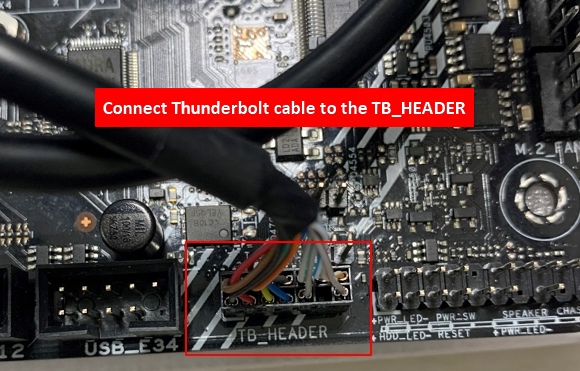
4. Connect the 14-1 pin Thunderbolt header cable to the ThunderboltEX 3-TR Card and to the TB-HEADER on the motherboard.
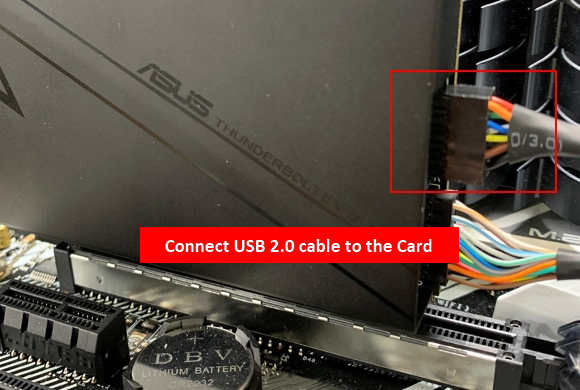
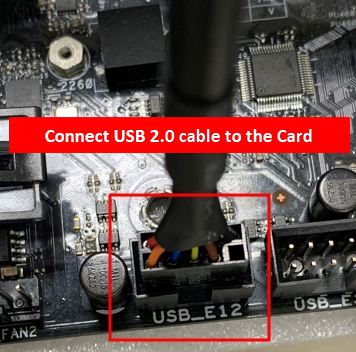
5. Connect the USB 2.0 cable to the ThunderboltEX 3-TR Card and to the USB header on the motherboard.
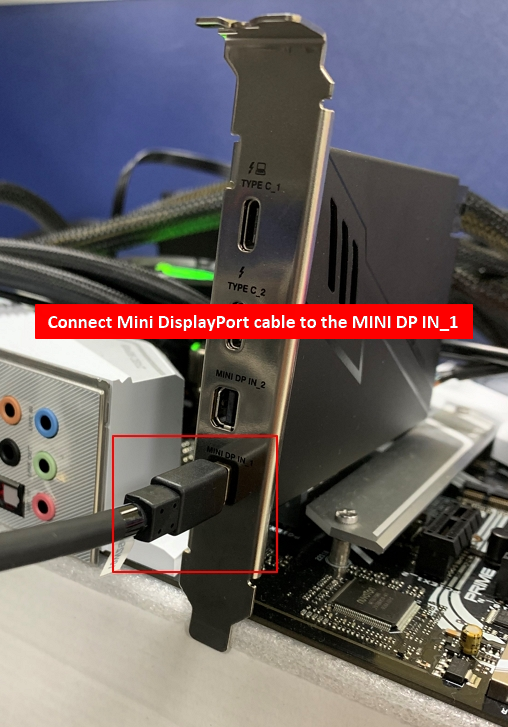
6. If you use the add-on graphic card, connect Mini DisplayPort cable to the add-on graphic card and MINI DP IN_1 on ThunderboltEX 3-TR card.
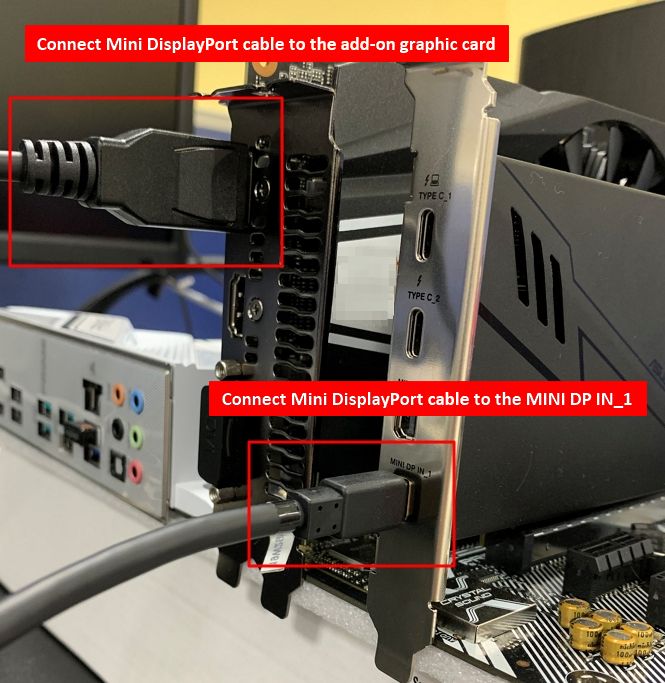
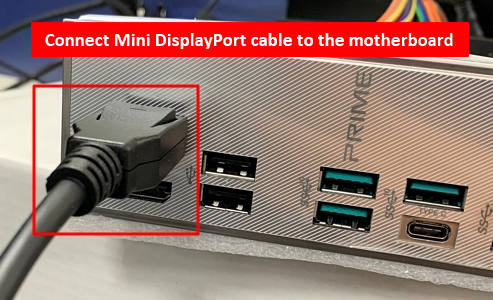
If you use on-board graphic card, connect Mini DisplayPort cable to the motherboard and MINI DP IN_1 on ThunderboltEX 3-TR card.
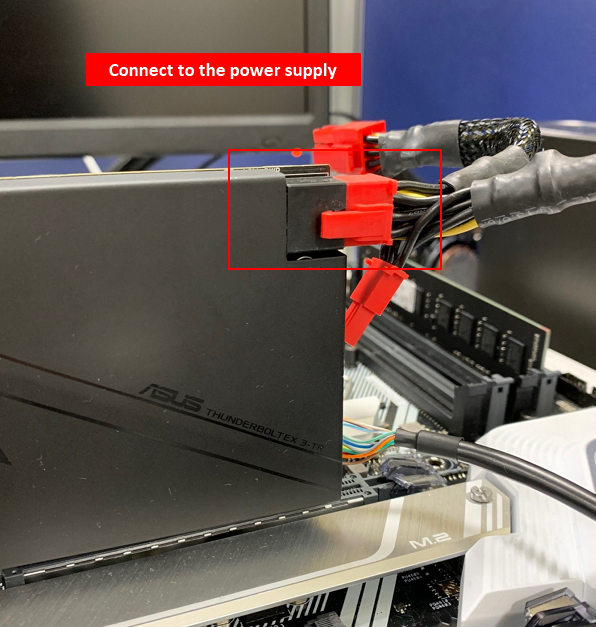
7. Connect power supply to the ThunderboltEX 3-TR Card.
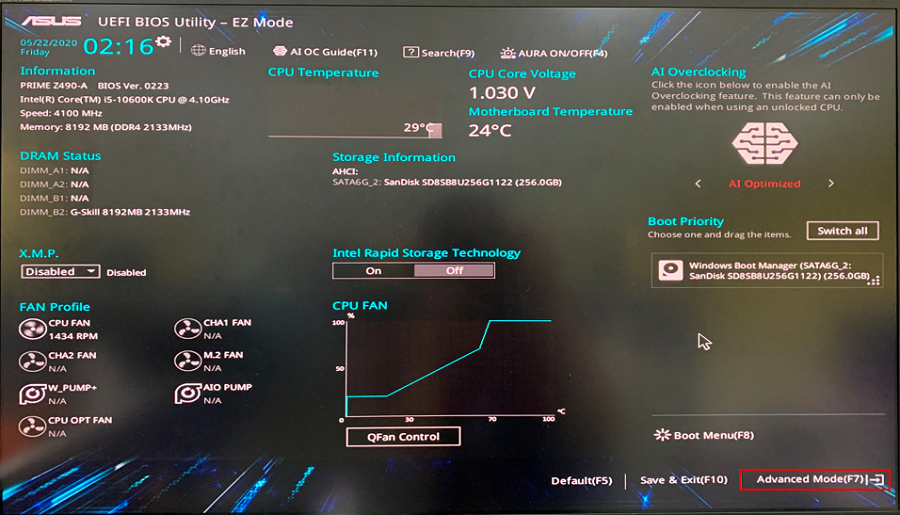
8. Turn on the computer, press DEL or F2 to enter BIOS Setup during the Power-On Self-Test (POST).
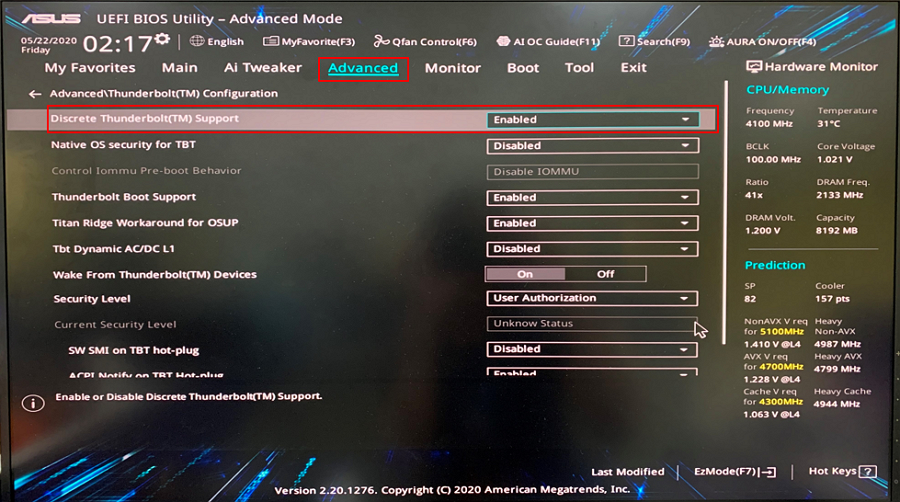
9. Click Advanced Mode(F7).
10. Enabled the Thunderbolt Support function.
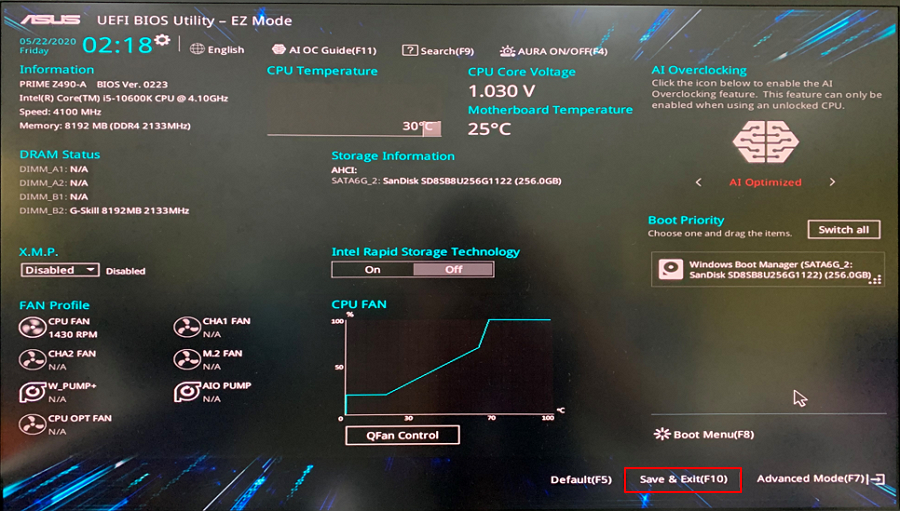
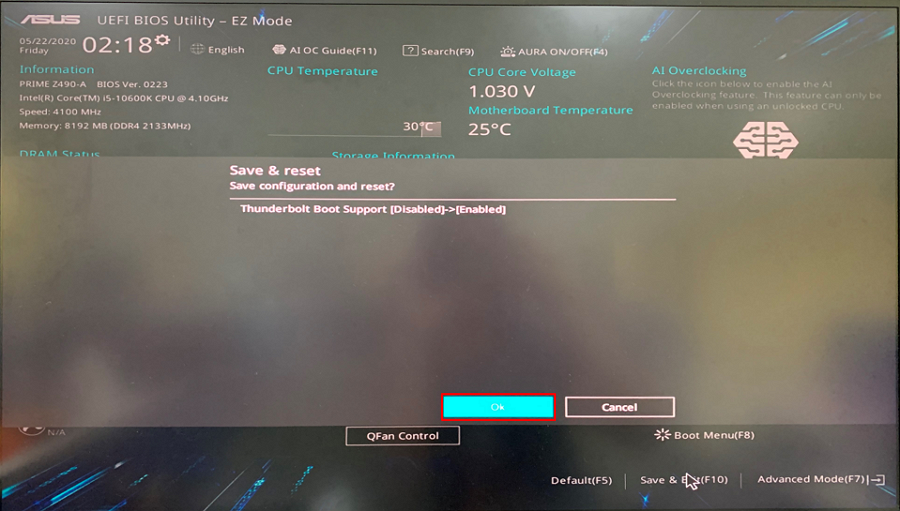
11. Click Save & Exit(F10), and then click OK to complete the setting.
FAQ
Q1: Which model of motherboard support ThunderboltEX 3-TR card?
A1: ASUS Intel 400 series, AMD B550 series and later models with 14-1 pin Thunderbolt header
*Refer to the following link for an up-to-date list of compatible models:
https://www.asus.com/Motherboard-Accessories/ThunderboltEX-3-TR/HelpDesk_Manual/
| ThunderboltEX 3-TR Card Compatible Model List | |
| Z490 Chipset | H470 and B460 Chipset |
| ROG MAXIMUS XII EXTREME | TUF GAMING H470-PRO (WI-FI) |
| ROG MAXIMUS XII FORMULA | TUF GAMING H470-PRO |
| ROG MAXIMUS XII APEX | PRIME H470-PLUS |
| ROG MAXIMUS XII HERO (WI-FI) | ROG STRIX B460-F GAMING |
| ROG STIRX Z490-E GAMING | |
| ROG STRIX Z490-F GAMING | |
| ROG STRIX Z490-A GAMING | |
| ROG STRIX Z490-H GAMING | |
| PRIME Z490-A | |
| TUF GAMING Z490-PLUS (WI-FI) | |
| TUF GAMING Z490-PLUS | |
| PRIME Z490-P | |
| PRIME Z490-V | |
| Z590 Chipset | H570 and B560 Chipset |
| ROG STRIX Z590-E GAMING WIFI | TUF GAMING H570-PRO WIFI |
| ROG STRIX Z590-F GAMING WIFI | TUF GAMING H570-PRO |
| ROG STRIX Z590-A GAMING WIFI | PRIME H570-PLUS |
| TUF GAMING Z590-PLUS WIFI | PRIME H570M-PLUS |
| TUF GAMING Z590-PLUS | ROG STRIX B560-E GAMING WIFI |
| PRIME Z590-A | ROG STRIX B560-F GAMING WIFI |
| PRIME Z590-P WIFI | ROG STRIX B560-A GAMING WIFI |
| PRIME Z590-P | ROG STRIX B560-G GAMING WIFI |
| PRIME Z590-V | TUF GAMING B560-PLUS WIFI |
| PRIME Z590M-PLUS | TUF GAMING B560M-PLUS WIFI |
| TUF GAMING B560M-PLUS | |
| PRIME B560-PLUS | |
| AMD B550 Chipset | |
| ROG STRIX B550-XE GAMING WIFI | TUF GAMING B550-PRO |
| ROG STRIX B550-E GAMING | TUF GAMING B550-PLUS (WI-FI) |
| ROG STRIX B550-F GAMING (WI-FI) | TUF GAMING B550-PLUS WIFI II |
| ROG STRIX B550-F GAMING | TUF GAMING B550-PLUS |
| ROG STRIX B550-A GAMING | TUF GAMING B550-PLUS II |
| Pro B550M-C/CSM | PRIME B550-PLUS |
Q2: Why is there no display after connecting my monitor to the ThunderboltEX 3-TR card?
A2: Please follow the steps below to check:
Step 1: Please check all the cables are well-connected and plugged.
Step 2: Please check the Thunderbolt function is Enabled in BIOS.
Step 3: Please update your ThunderboltEX 3-TR card driver to the latest version.
Step 4: If you connect Mini DisplayPort cable to the motherboard, make sure the processor has integrated graphics. If you connect Mini DisplayPort cable to the add-on graphic card, make sure you have installed the graphics driver.
Step 5: Contact ASUS Service Center if the problem is not resolved.
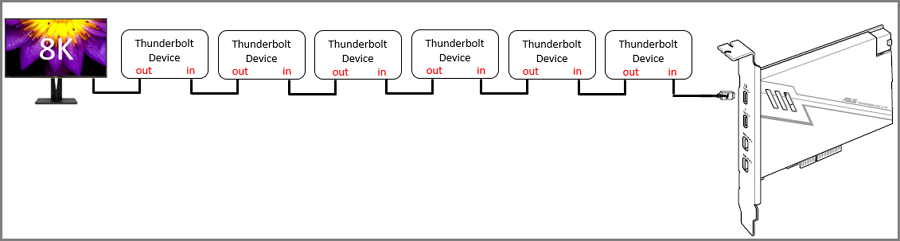
Q3: How to connect Thunderbolt devices in the daisy chain?
A3: Please follow the diagram below to connect the Thunderbolt devices. Make sure your Thunderbolt device has two Thunderbolt 3 ports and use Thunderbolt 3 cable. (Not the regular Type-C cable)
Q4: How to install Graphic Card driver?
A4: Please follow the steps below to install:
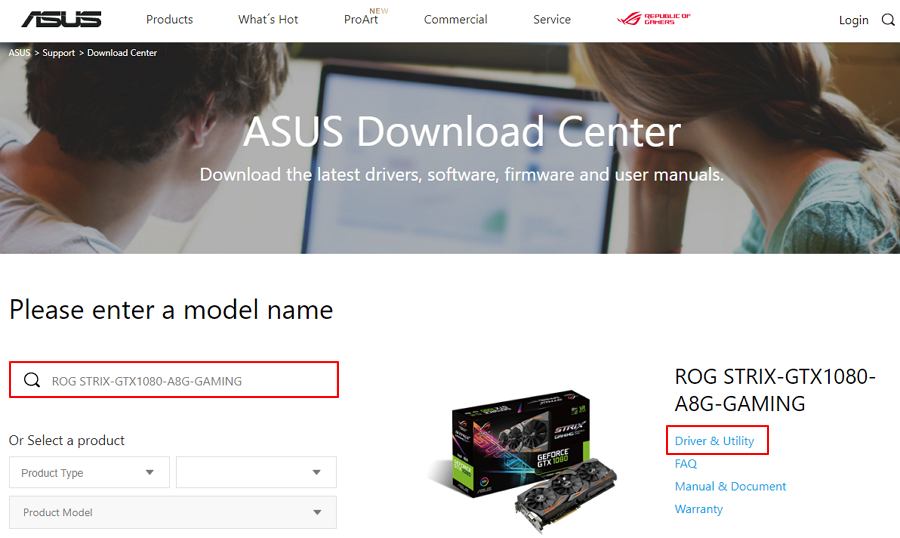
Step 1: Enter your model name and press Driver & Utility from ASUS Download Center. (Take ROG STRIX-GTX1080-A8G-GAMING for example)
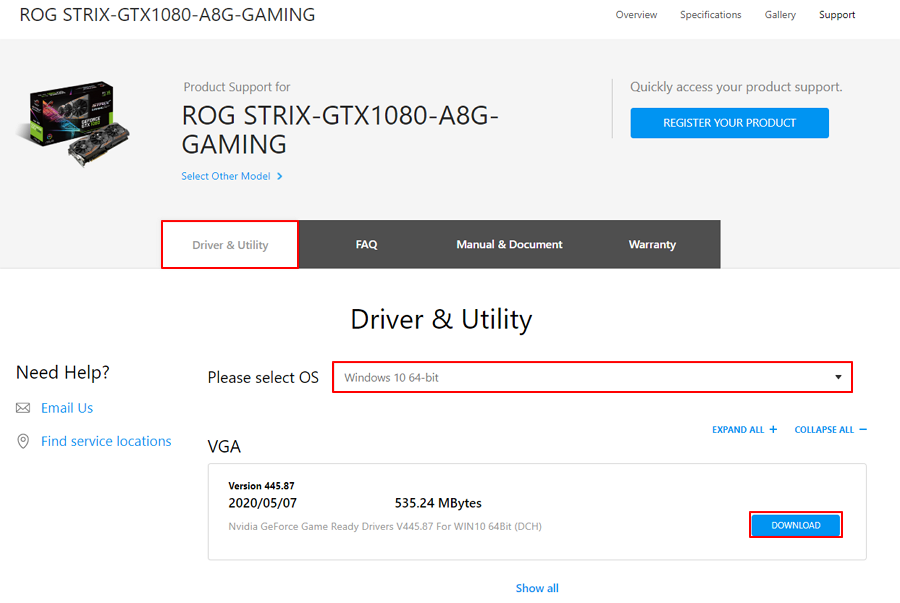
Step 2: Click Driver & Utility and choose your OS system. Click Download to download the driver.
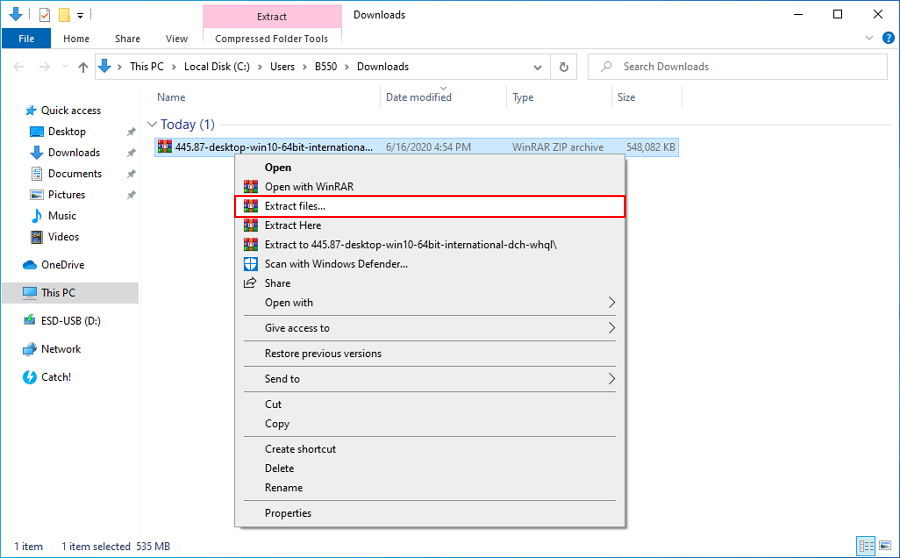
Step 3: Click to Extract the downloaded files.
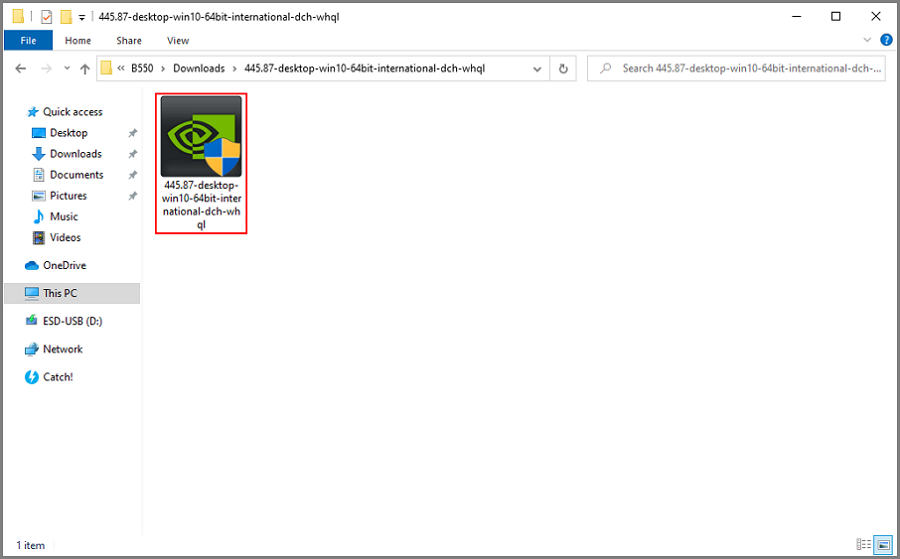
Step 4: Click to install the driver.
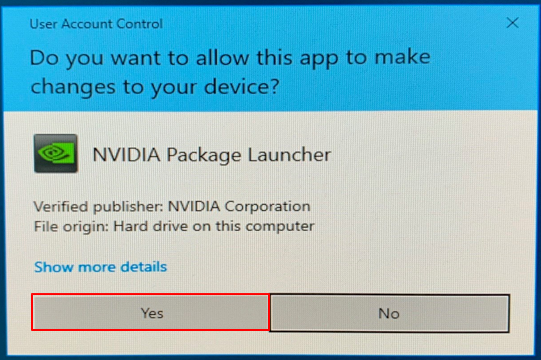
Step 5: Click Yes.
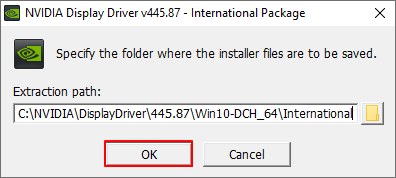
Step 6: Click OK.
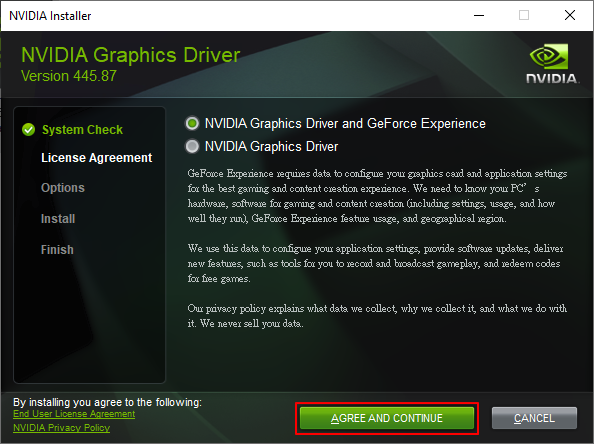
Step 7: Click AGREE AND CONTINUE to install.
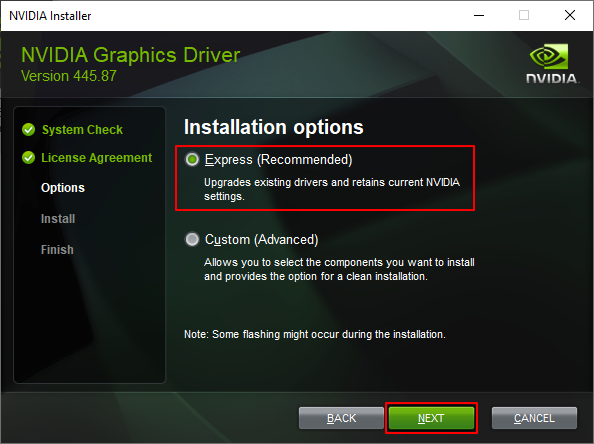
Step 8: Choose Express and click NEXT to install.
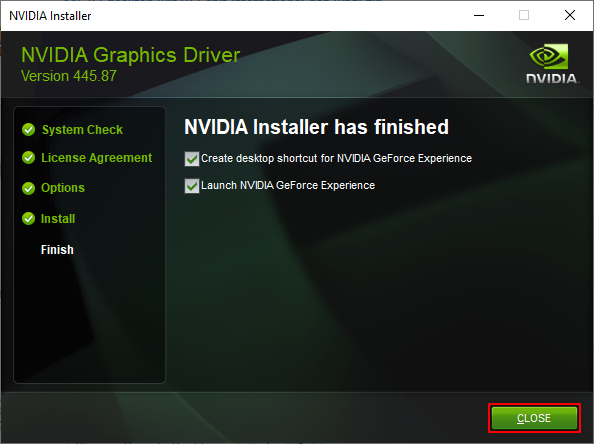
Step 9: Click CLOSE and restart your computer.
Step 10: Contact ASUS Service Center if you cannot resolve the problem with the steps above.