[Motherboard]How to set VT(Virtualization Technology) in BIOS and install Virtual Machine in Windows
How to set VT(Virtualization Technology) in BIOS and install Virtual Machine in Windows
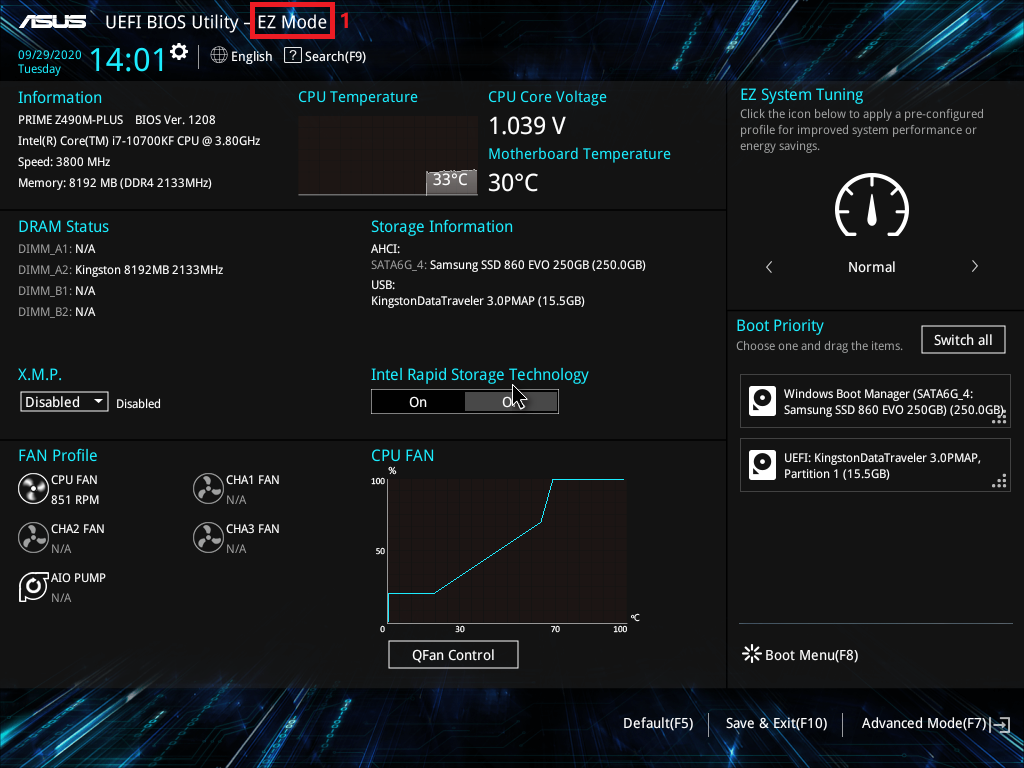
1. Power on the system and press[delete] key to enter BIOS [EZ Mode]
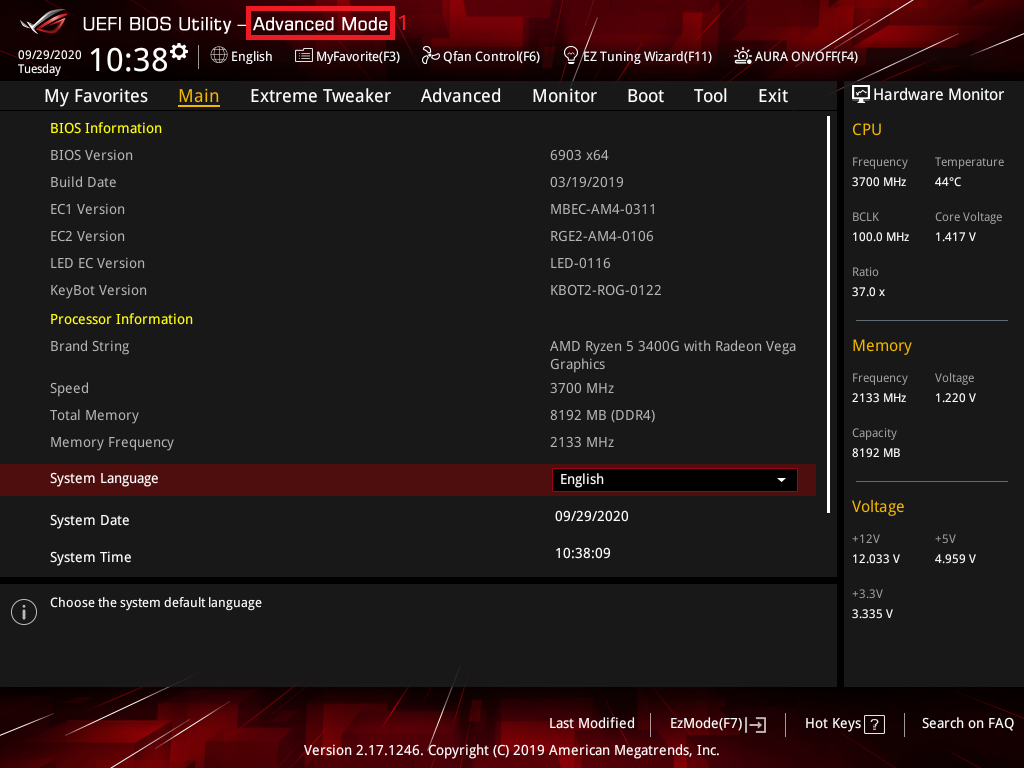
2. Press [F7] key to enter BIOS [Advance Mode] as below picture:
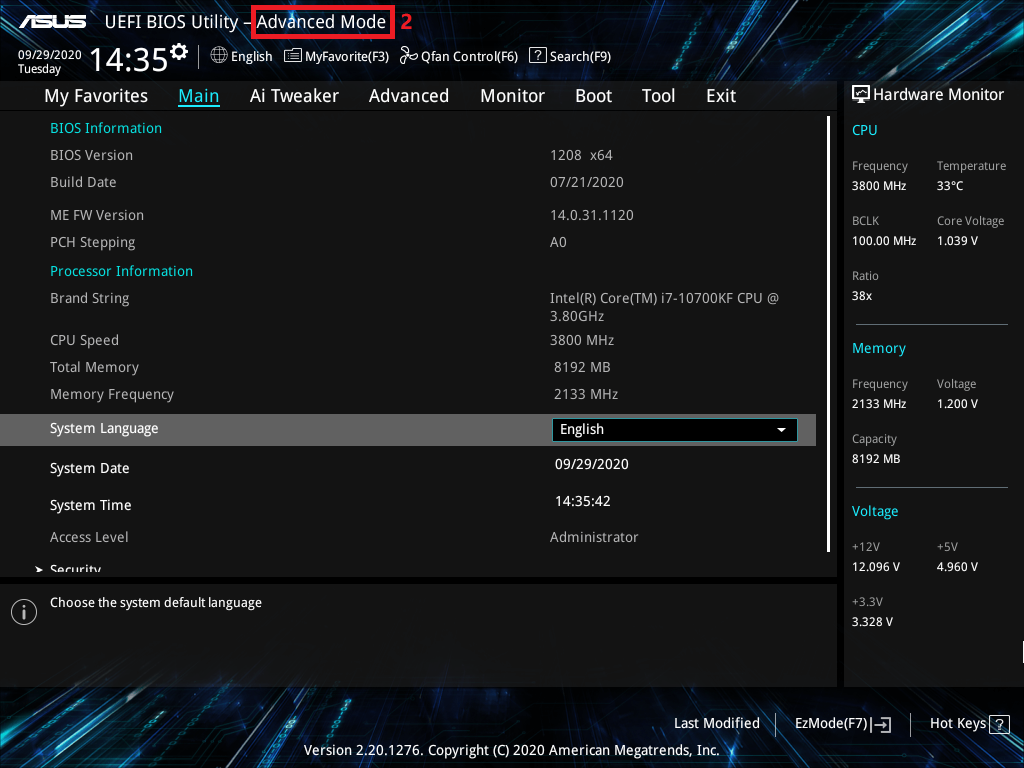
(If press [delete] key to enter [Advanced Mode] directly and then no need to press [F7] key any more)
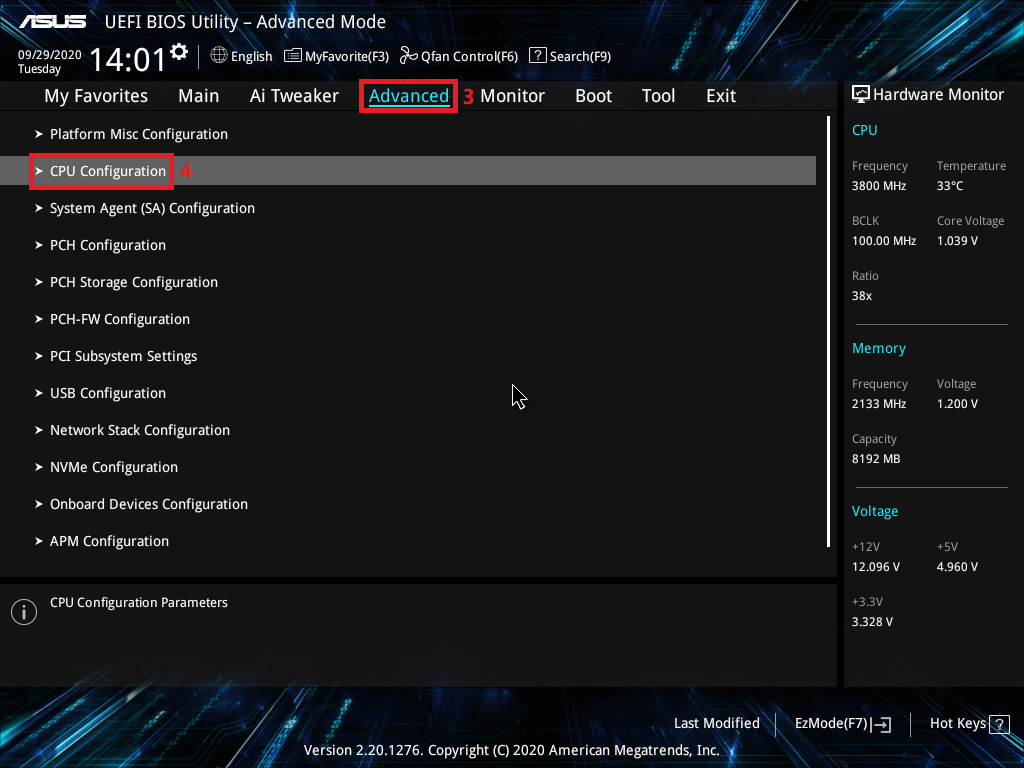
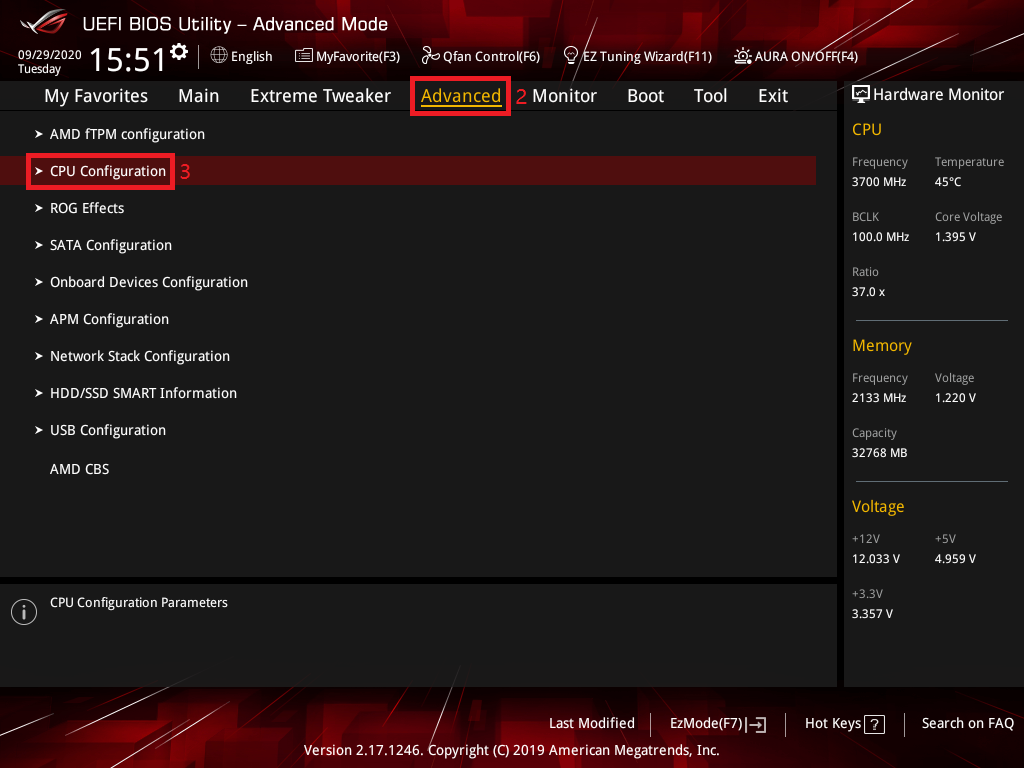
3. Select [Advanced] page and click [CPU Configuration] item
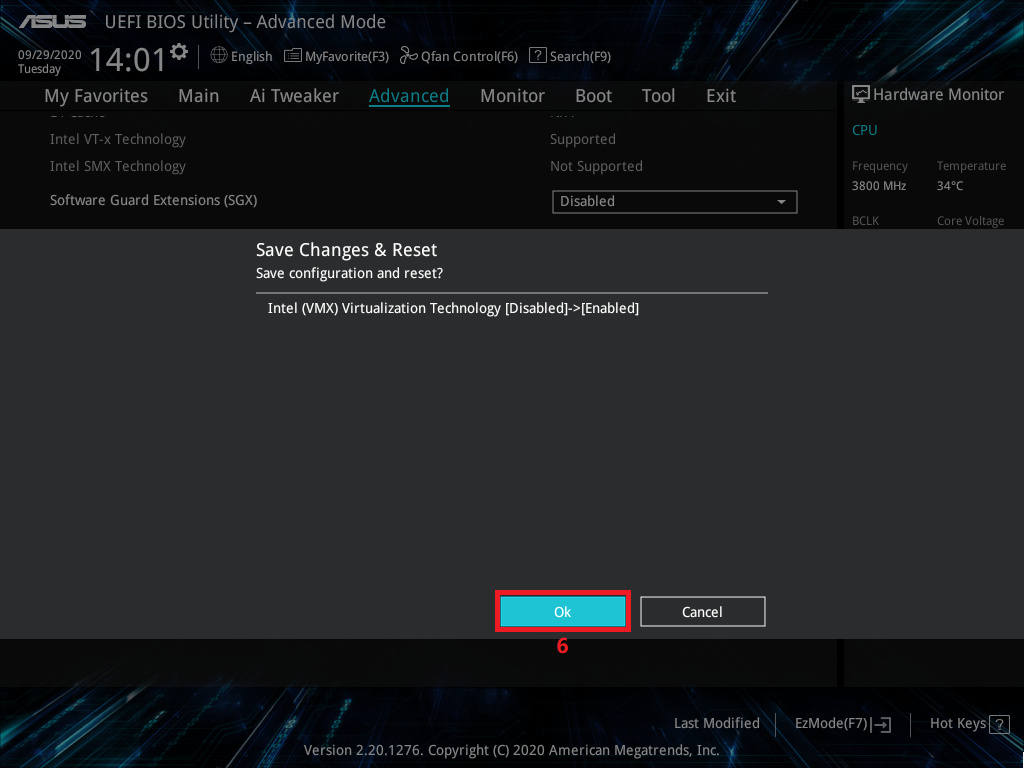
4. Select [Intel(VMX) Virtualization Technology] item and set to [Enabled]

5. Press [F10] key and click [OK] ,the system will auto reboot
1. Power on the system and press[delete] key to enter BIOS [Advanced Mode]
2. Select [Advanced] page and click [CPU Configuration] item
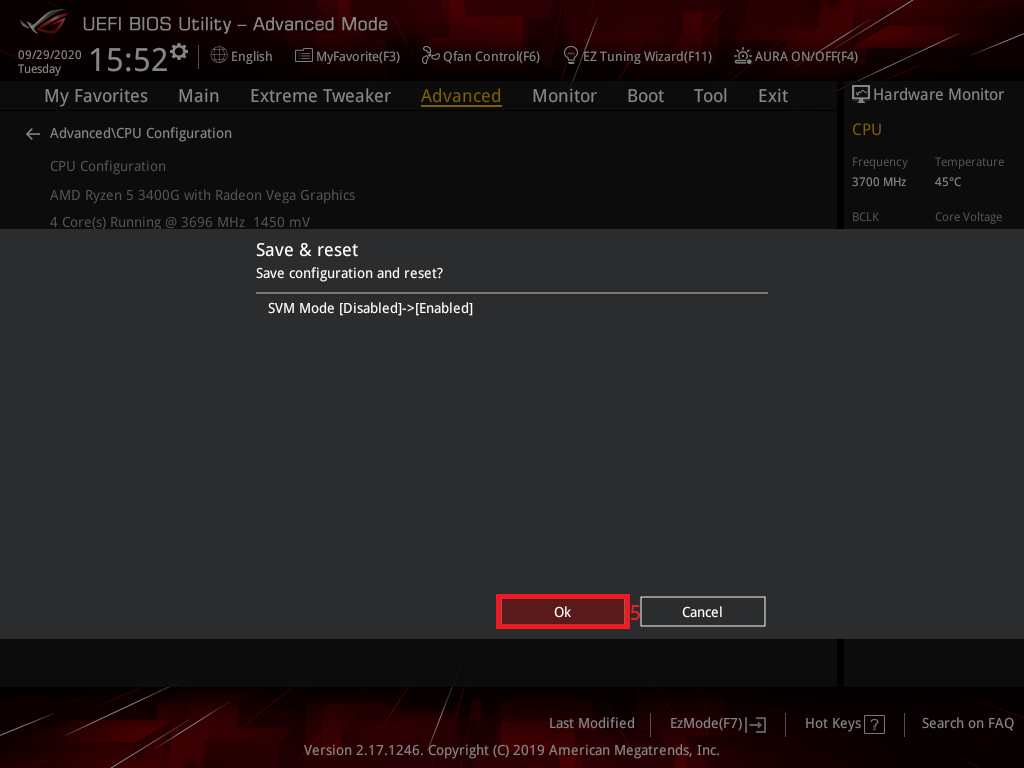
3. click [SVM Mode] item and set to [Enabled]

4. Press [F10] key and click [OK] ,the system will auto reboot
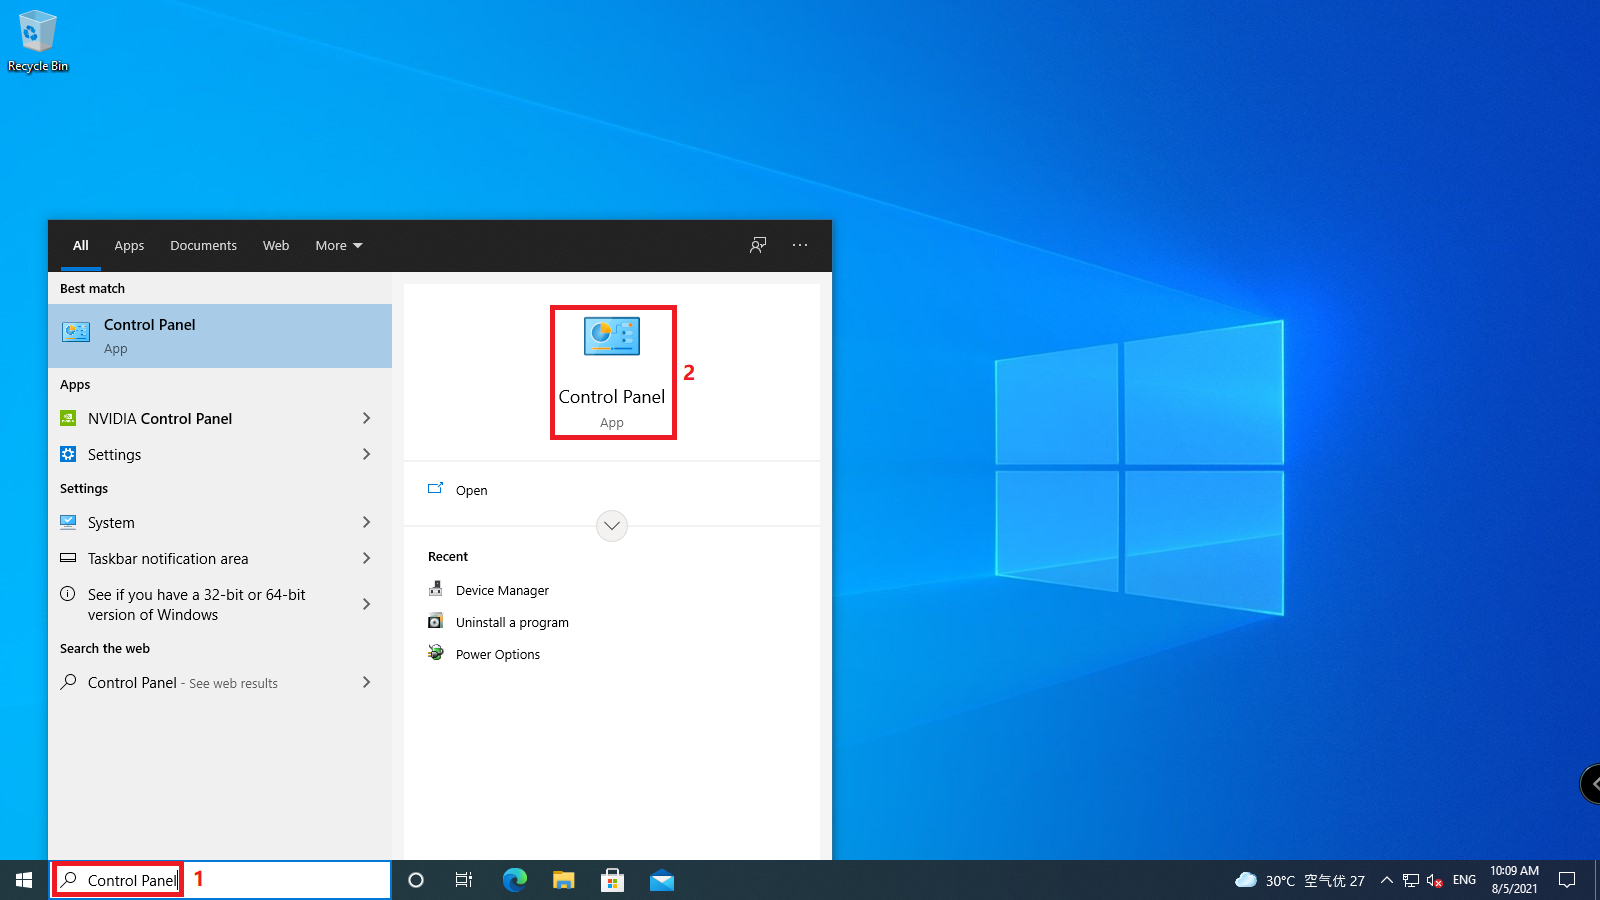
1. In the search box on the taskbar, type [Control Panel], and then select [Control Panel].
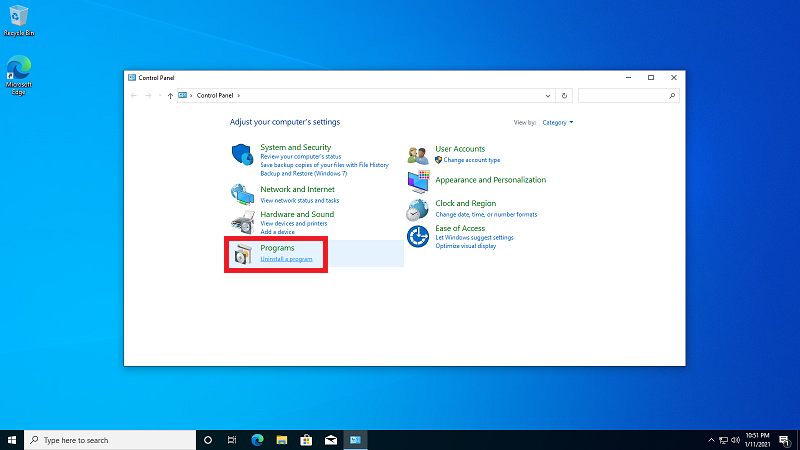
2. Click [Uninstall a program]
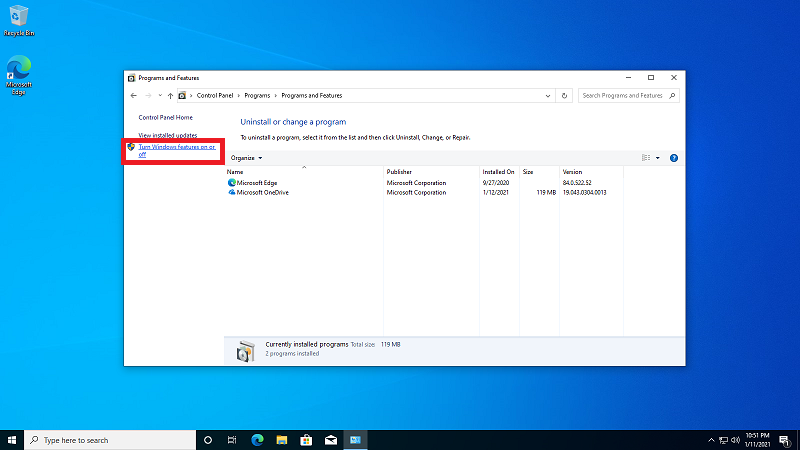
3. Click [Turn Windows feature on or off]
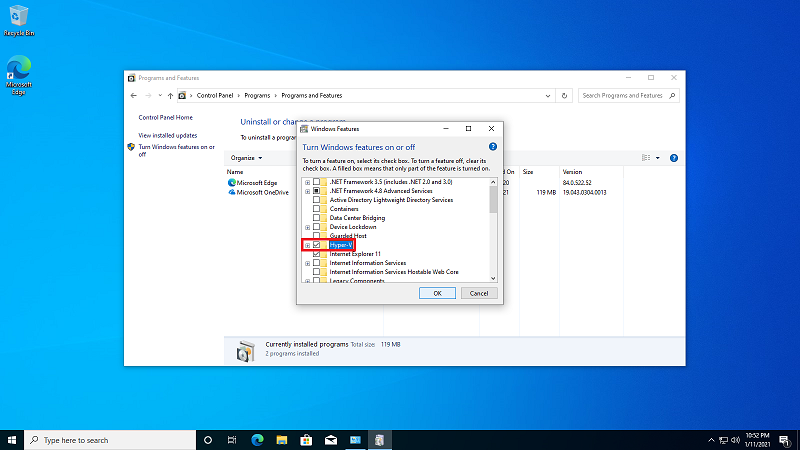
4. Mark [Hyper-V] and click [OK] to continue
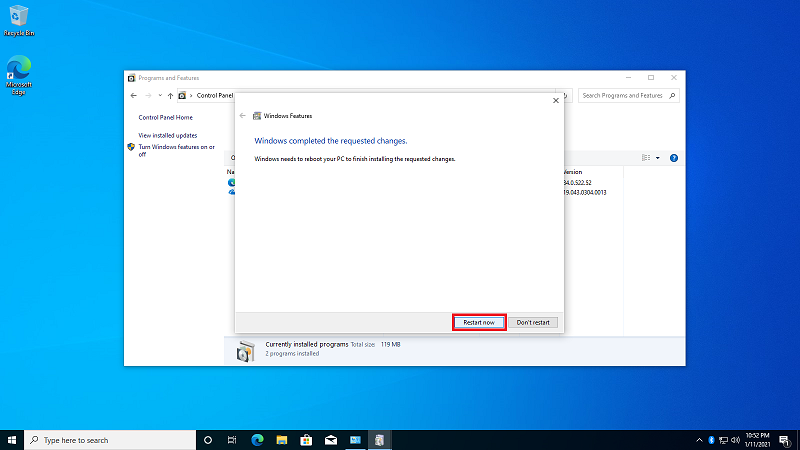
5. Click [Restart now] after installation
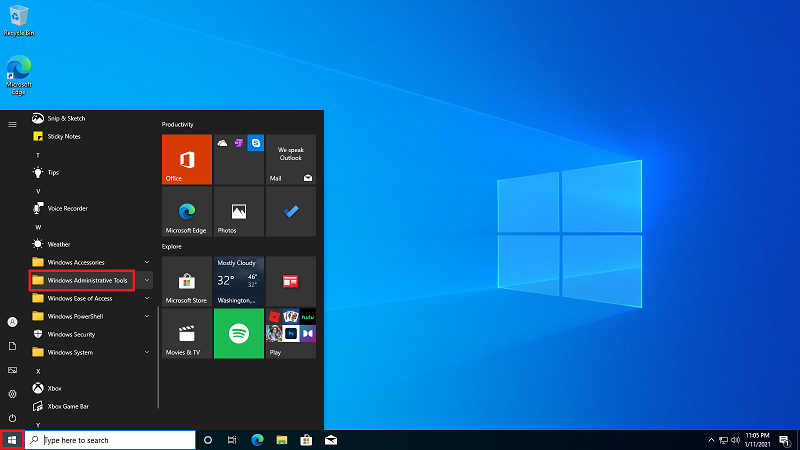
6. Click windows start menu and select [Windows Administrative Tools]
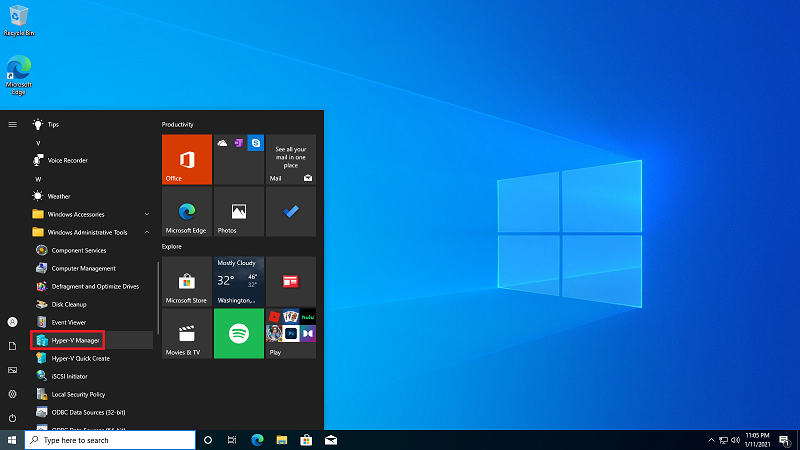
7. Click [Hyper-V Manager]
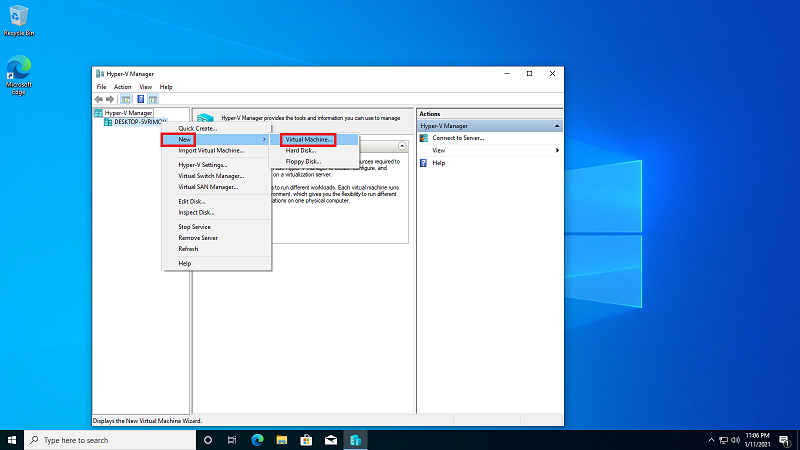
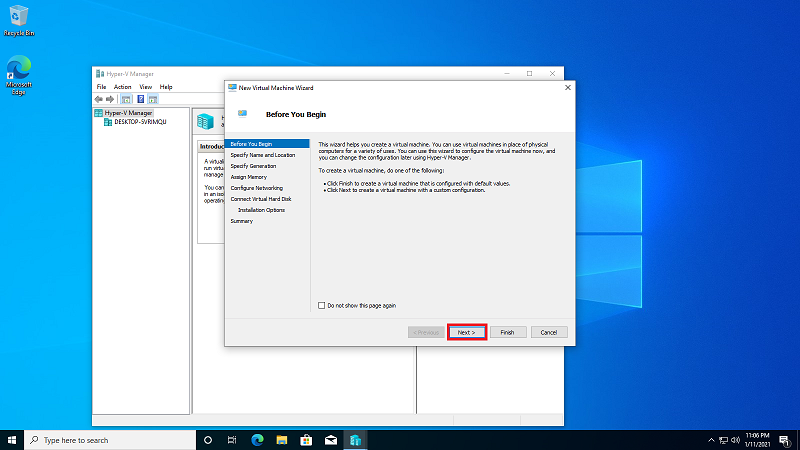
8. Right click and select [New] ,and select [Virtual Machine]
9. Click [Next]
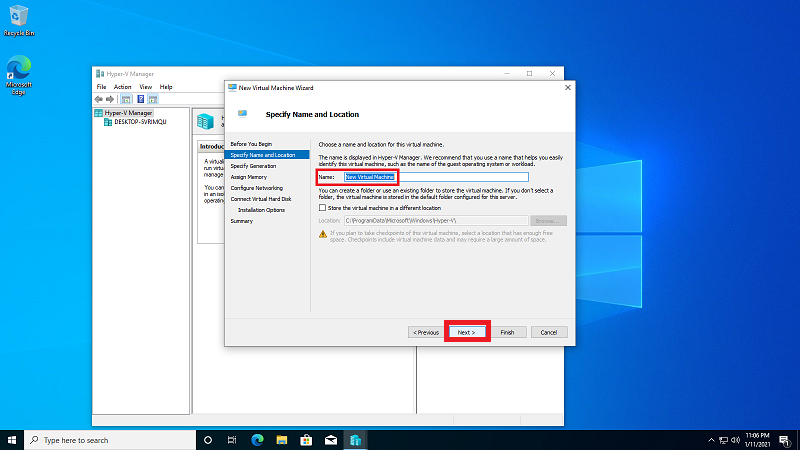
10. Set [New Virtual Machine] name and click [Next]
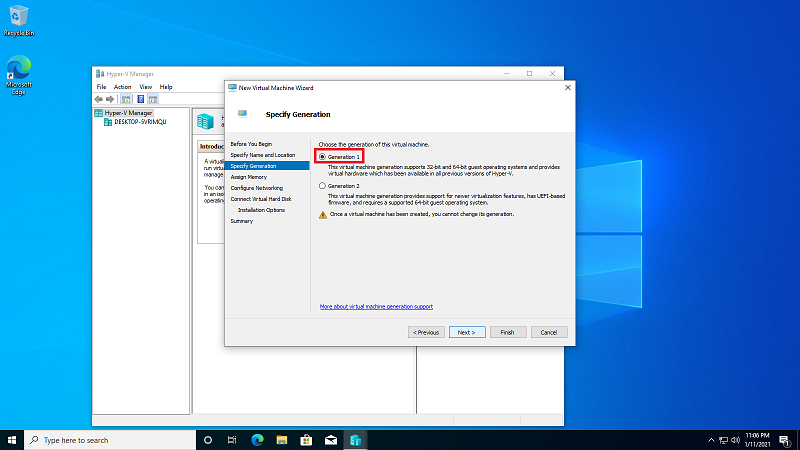
11. Choose the generation of this virtual machine ,for example [Generation 1]
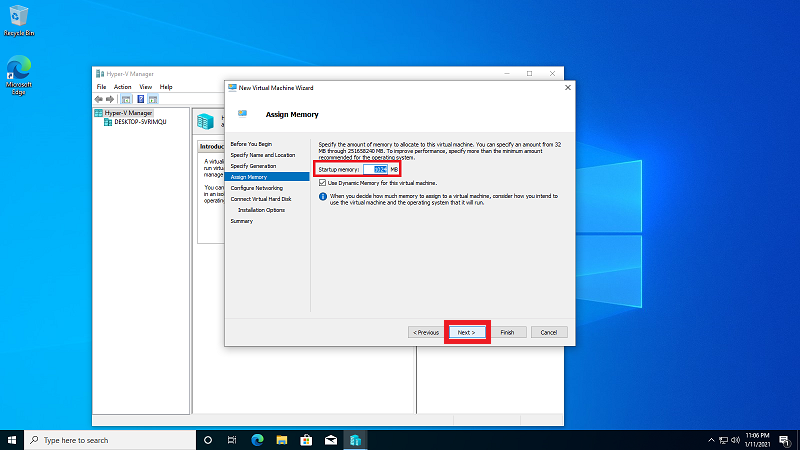
12. Set [Startup memory] size and click [Next]
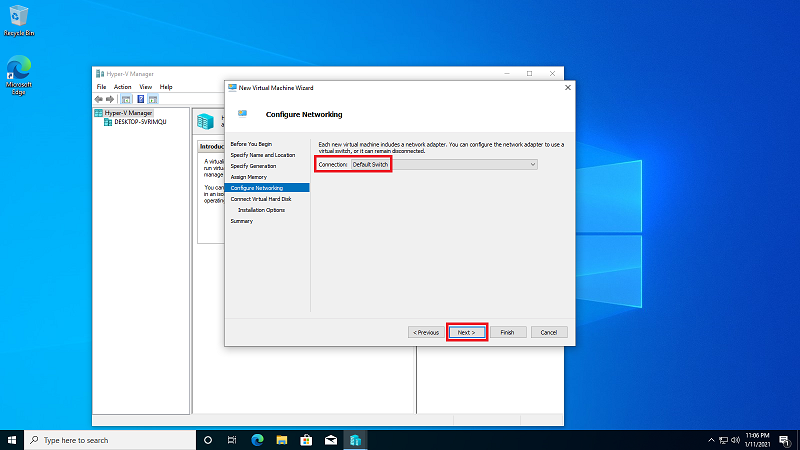
13. Set network connection to [Default Switch] and click [Next]
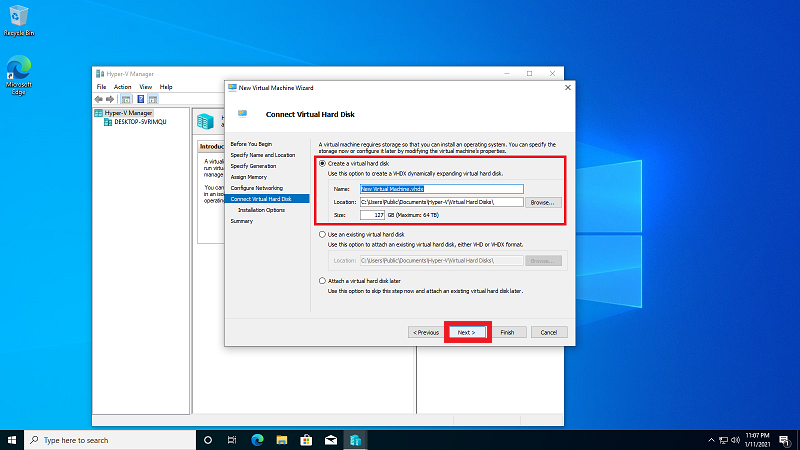
14. Set Virtual Machine [Name] [Location] [Size] and Click [Next]
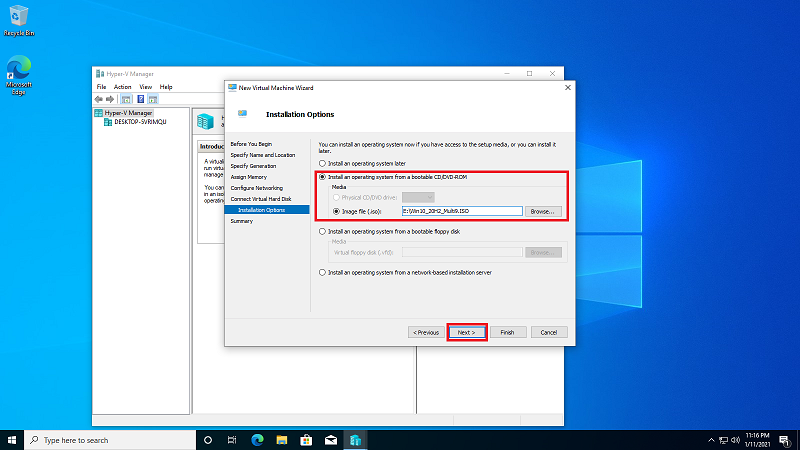
15.Set Boot Image file and click [Next]
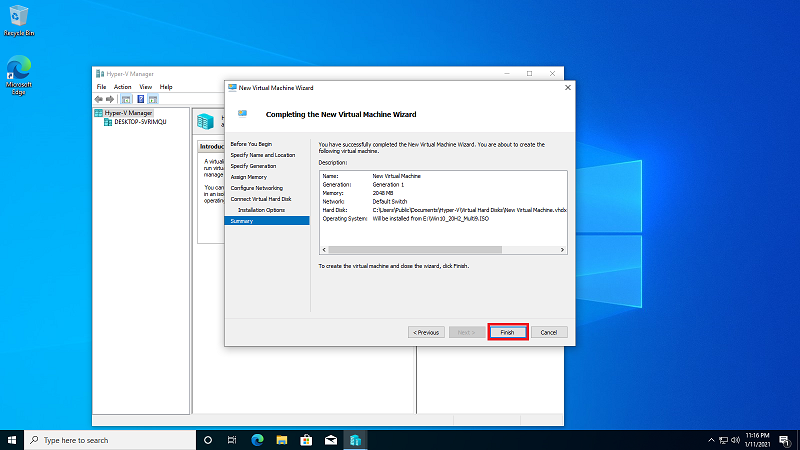
16. Click [Finish]
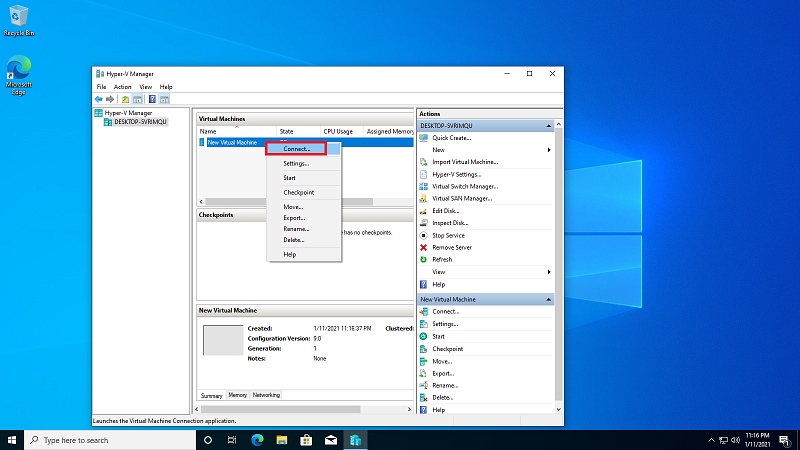
17. right click [New Virtual Machine] and select [Connect]
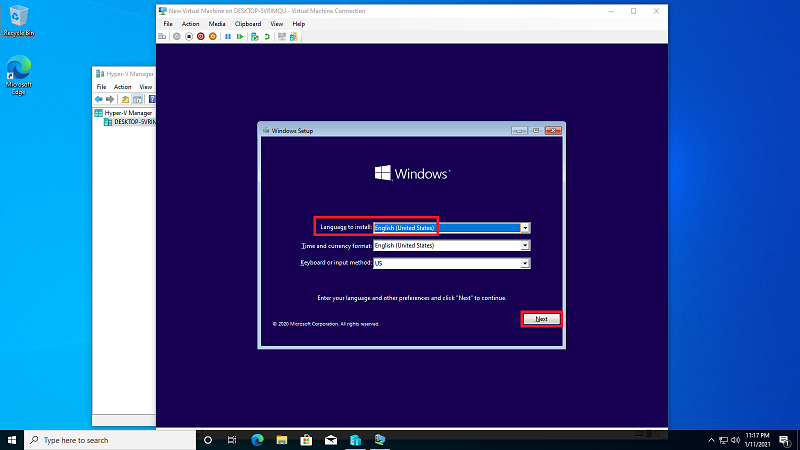
18. Select install language and click [Next]
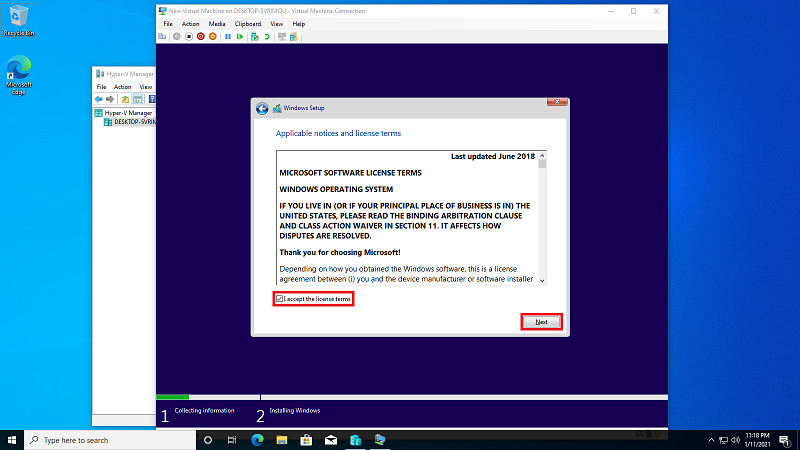
19. Mark [I accept the license terms] and click [Next]
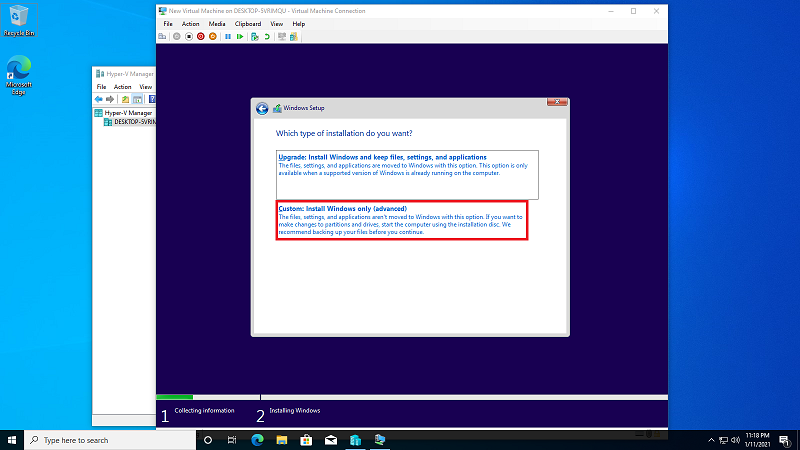
20. Select [Custom: Install Windows only(advanced)]
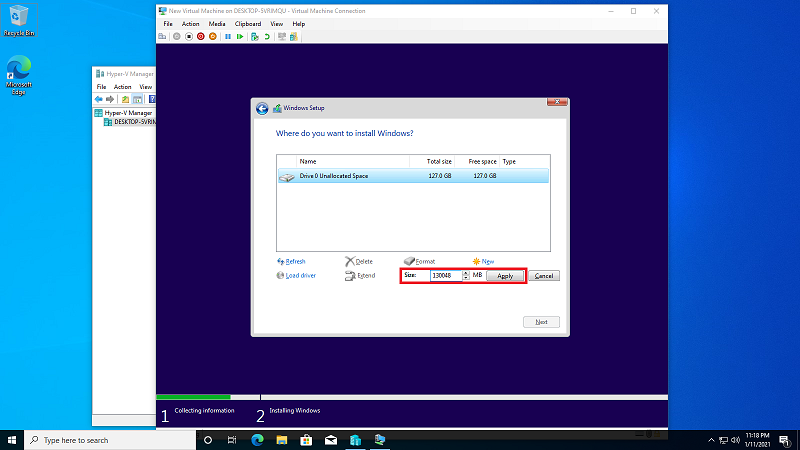
21. Set the [Size] and click [Apply]
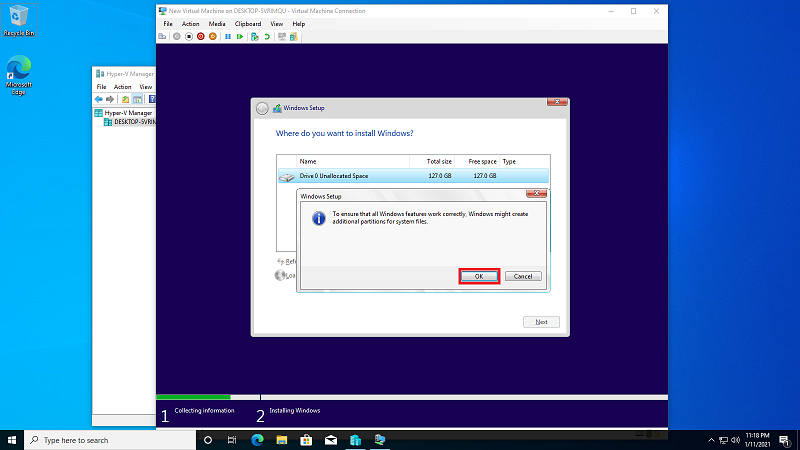
22. Click [OK]
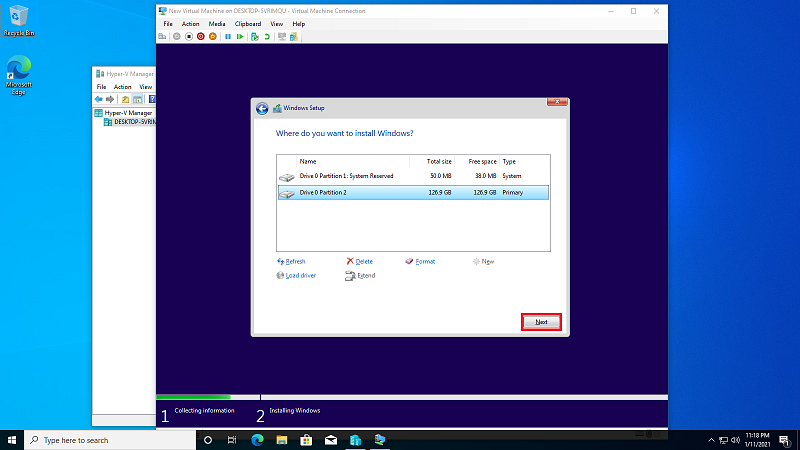
23. Click [Next]
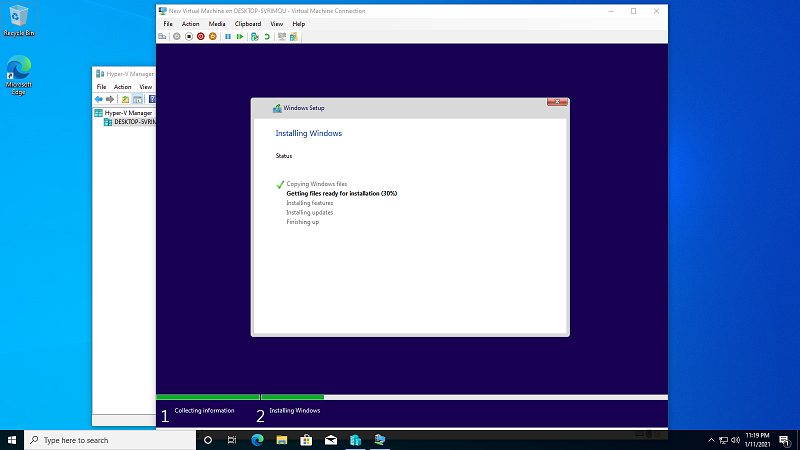
24. Wait for installing
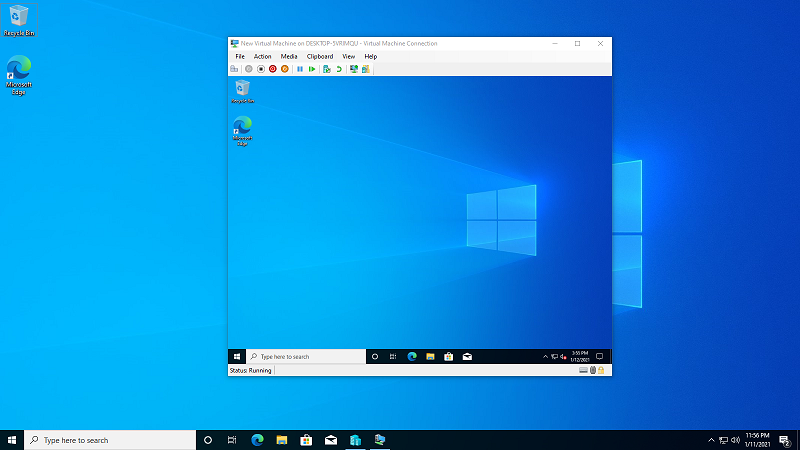
25. Open Virtual Machine after installation