[Wireless Router] How to set up PPPoE Relay in ASUS router?
If your Internet Service Provider (ISP) provides a PPPoE WAN connection and you have a device in the intranet that needs to get a public WAN IP service, you can set up the PPPoE relay in ASUS router to let your end devices (such as a computer or NAS) to get a public WAN IP.
Note: If you are not sure about the WAN connection type, please confirm with your Internet Service Provider (ISP)
How to set up PPPoE Relay?
First is to enable the router PPPoE Relay function and then set up the PPPoE connection in the end devices.
Here we take a ZenWiFi XT8 (in router mode) and a Windows 10 computer as an example.
Set up PPPoE relay in ASUS router
Step1. Connect your computer to the router via wired or WiFi connection and enter your router LAN IP or router URL http://www.asusrouter.com to the WEB GUI.

Note: Please refer to How to enter the router setting page(Web GUI) (ASUSWRT)? to learn more.
Step2. Key in your router's username and password to log in.

Note: If you forget the user name and/or password, please restore the router to the factory default status and setup.
Please refer to [Wireless Router] How to reset the router to factory default setting? for how to restore the router to default status.
Step3. Click [WAN]>[NAT Passthrough]
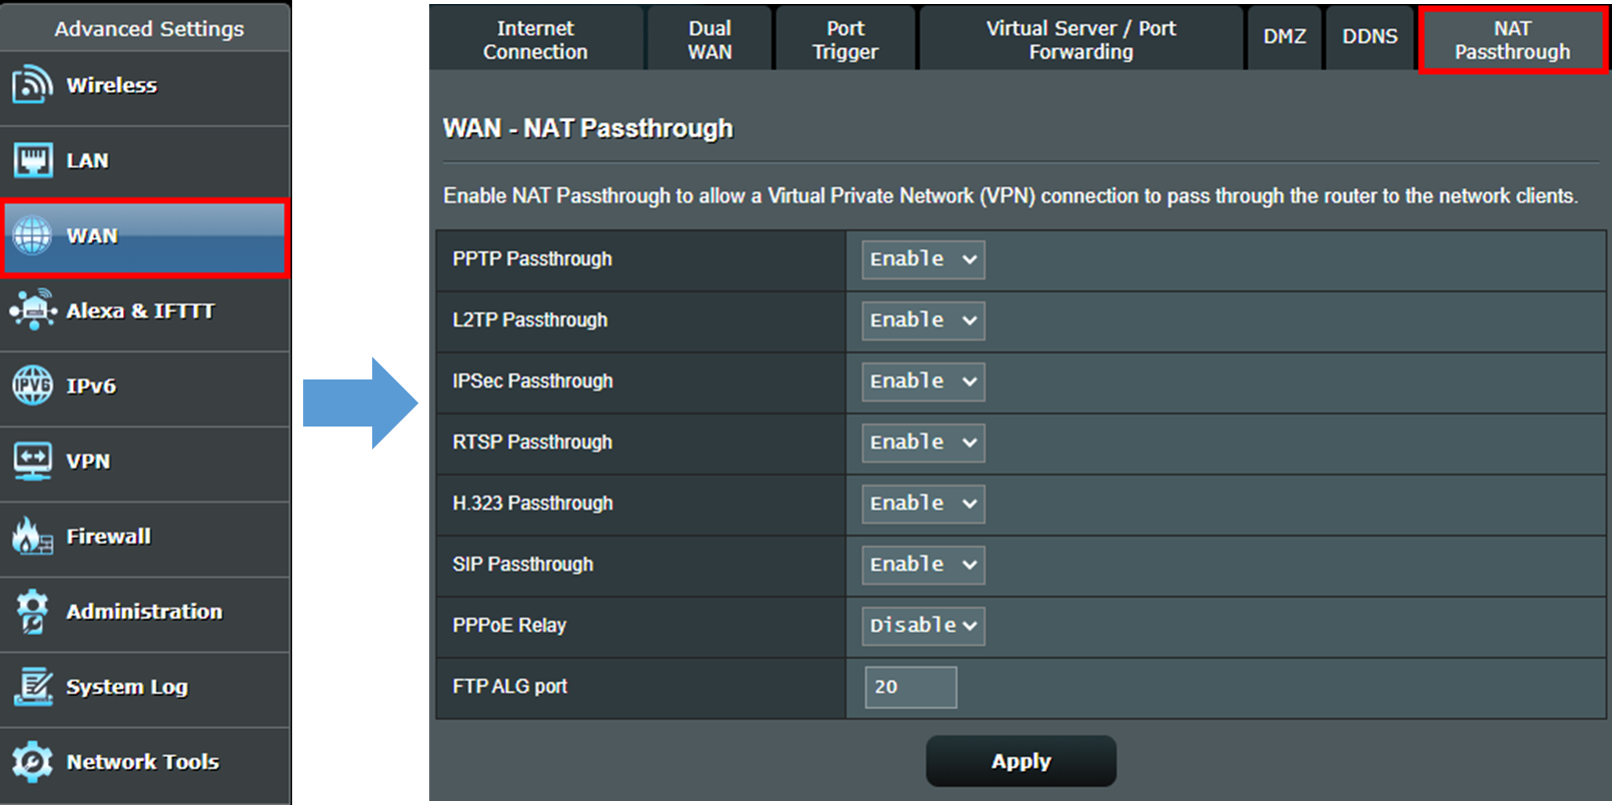
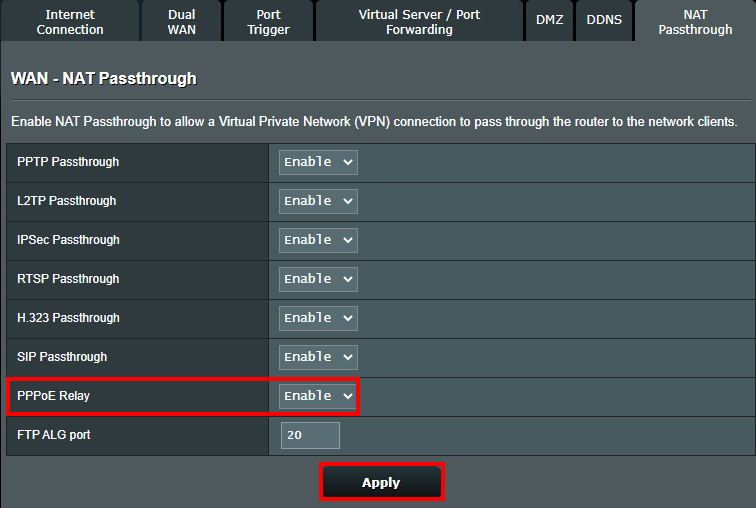
Step4. Find [PPPoE Relay] option and choose [Enable] option. Then click [Apply] to complete the setting.
Set up a PPPoE connection in end devices
Here we take a Windows 10 computer as an example
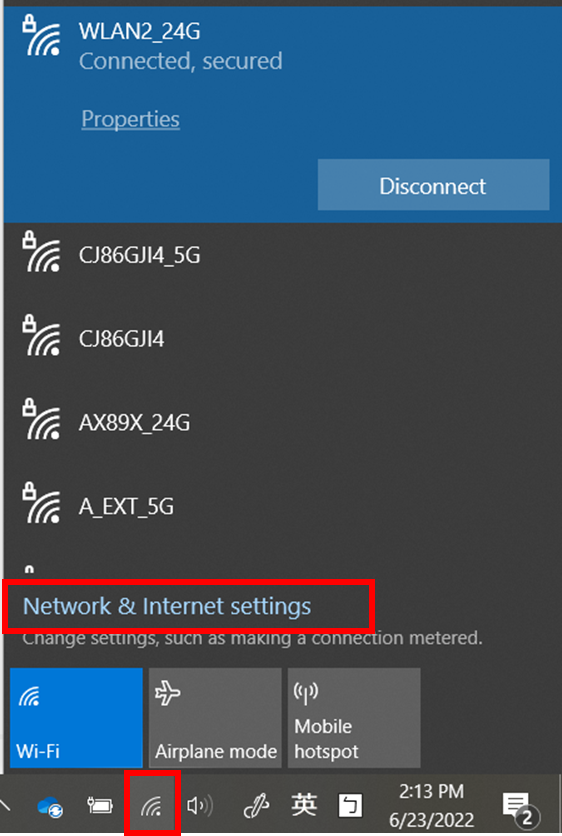
Step1. Connect your computer to the router via wired or wireless connection and then click the network icon  on the left corner and find [Network and Internet settings] option.
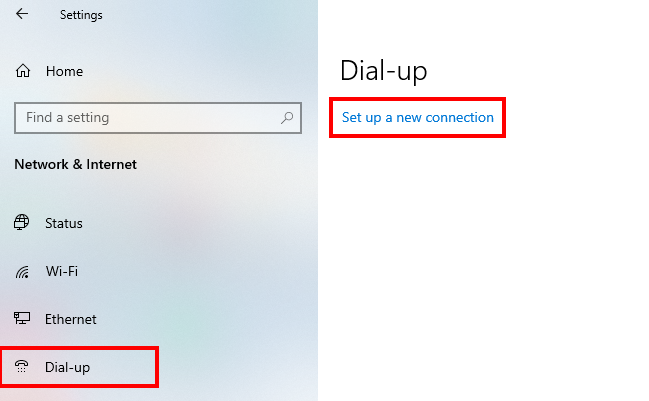
Step2. Enter [Network and Internet settings] and go to [Dial-up]>[Set up a new connection]
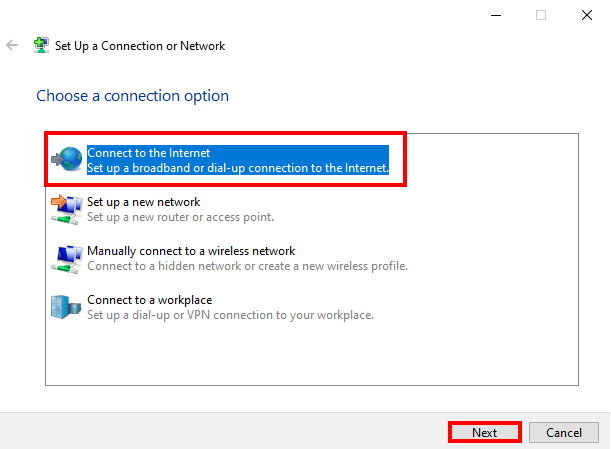
Step3. Choose [Connect to the Internet] to set up a broadband or dial-up connection to the Internet.
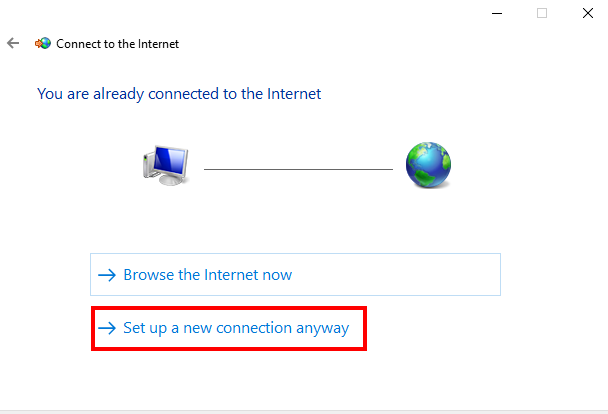
Step4. You will be told you already connect to the Internet , please click [Set up a new connection anyway]
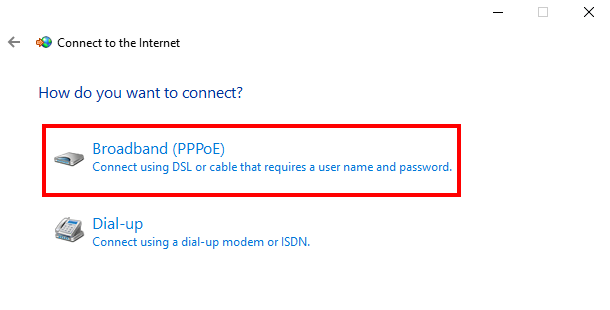
Step5. Choose to set up a [Broadband (PPPoE) ]connection.
Step6. Please enter the username and password of the PPPoE service provided by your Internet Service Provider (ISP), then click [Connect]
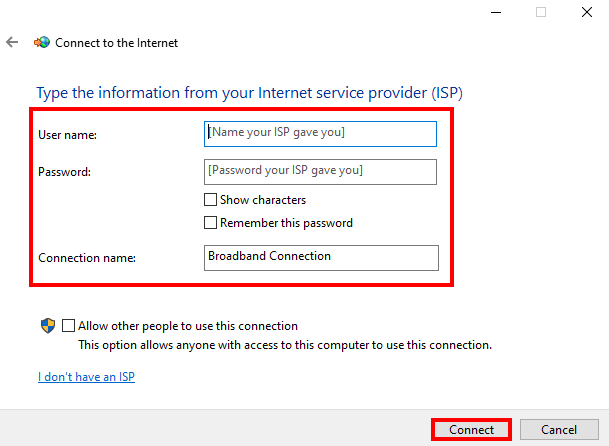
Note: If you are not sure about the username and password for PPPoE connection, please check with your Internet Service Provider (ISP).
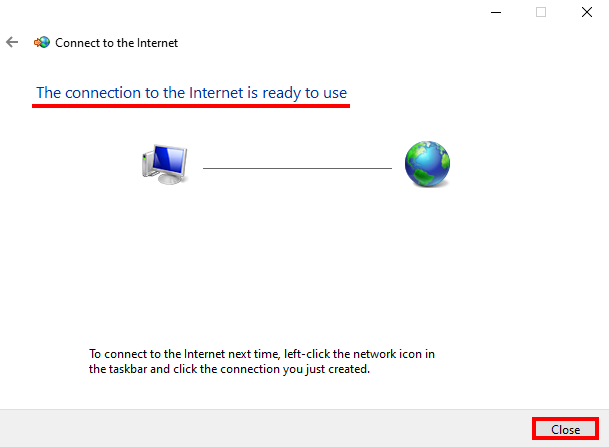
Step7. Once PPPoE connection is ready, you will see message as below. Click [Close] to leave this page and enjoy the PPPoE connection.
FAQ
1. How to check the physical IP obtained by the backend device?
Below take a Windows 10 computer as an example.
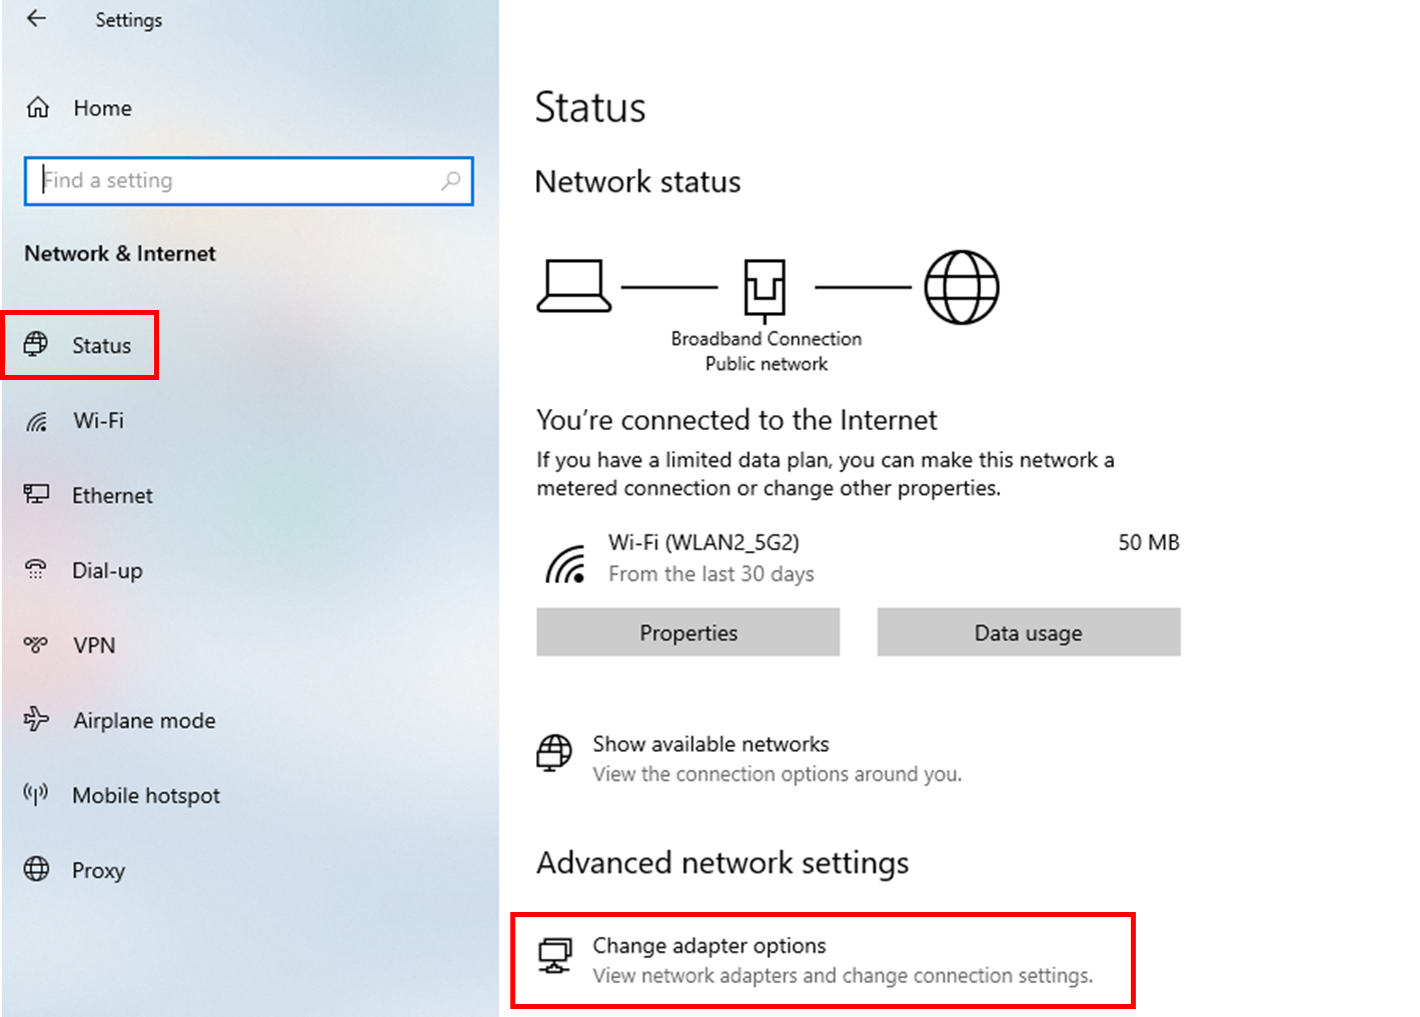
After PPPoE connection established, please go to [Network and Internet]>[Status]> [Change adapter options]
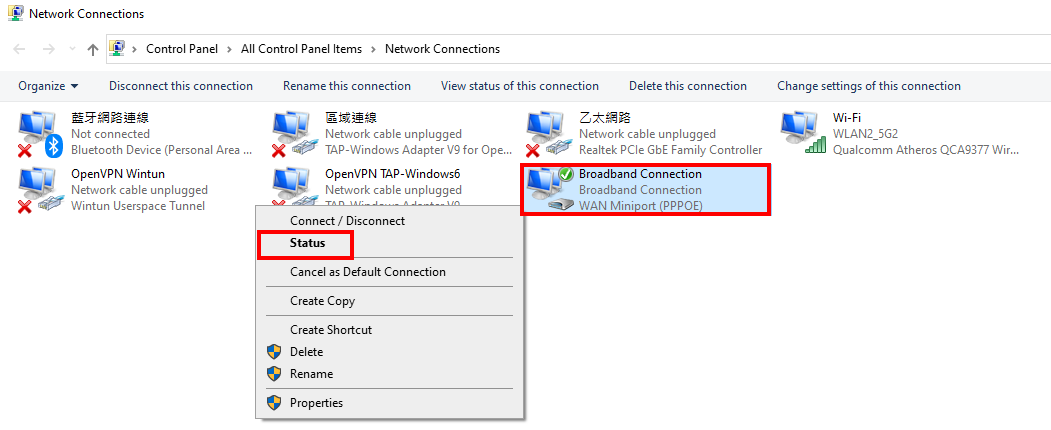
Find the connection you just added (default name is "Broadband connection"), then right click the icon and go to [Status]
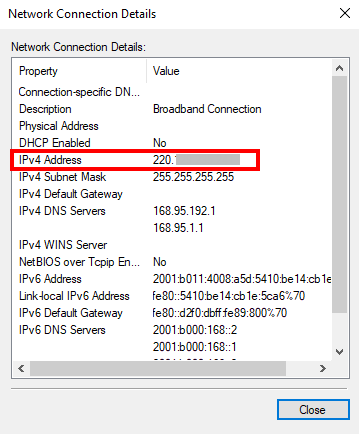
Click [Details]
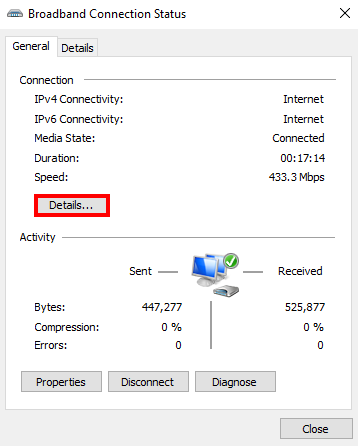
You will see the public WAN IP address that computer received in the IPv4 address column.
2. How many end-devices can do PPPoE connection after PPPoE relay is enabled?
Please confirm how many PPPoE connections you can establish at the same time with your Internet Provider (ISP)
For example, if your ISP can provide one PPPoE account with 8 devices connected at the same time, then you can have total 8 public WAN IP received for your router and end devices.
How to get the (Utility / Firmware)?
You can download the latest drivers, software, firmware and user manuals in the ASUS Download Center.
If you need more information about the ASUS Download Center, please refer this link.