[Gaming Cases] TUF Gaming GT301 gaming case fan (front/back) disassembly and assembly instructions
To provide you more detailed instruction, you can also click ASUS Youtube video link below to know more about TUF Gaming GT301 gaming case fan (front/back) disassembly and assembly
https://www.youtube.com/watch?v=0Po611zTGAQ
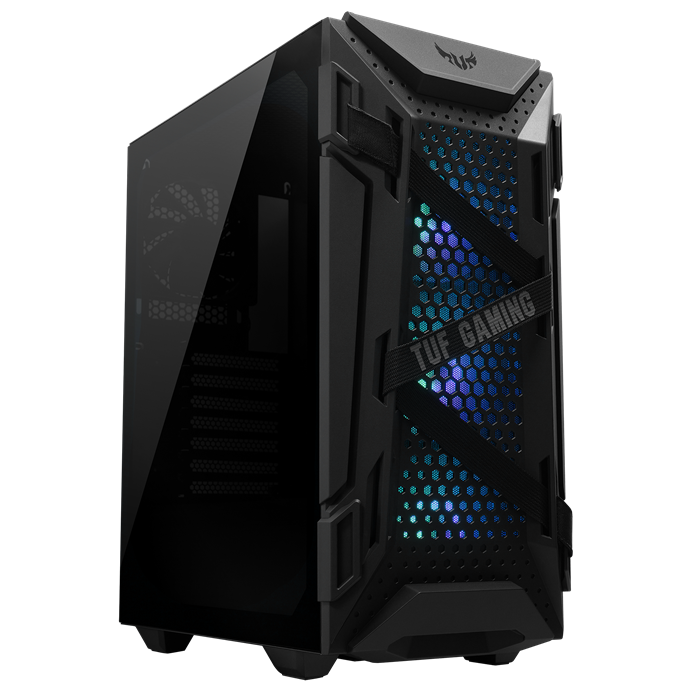
Note: Do not pick TUF Gaming GT301 case up by the front fabric straps.
1. Preparation
- Phillips Screwdriver PH2
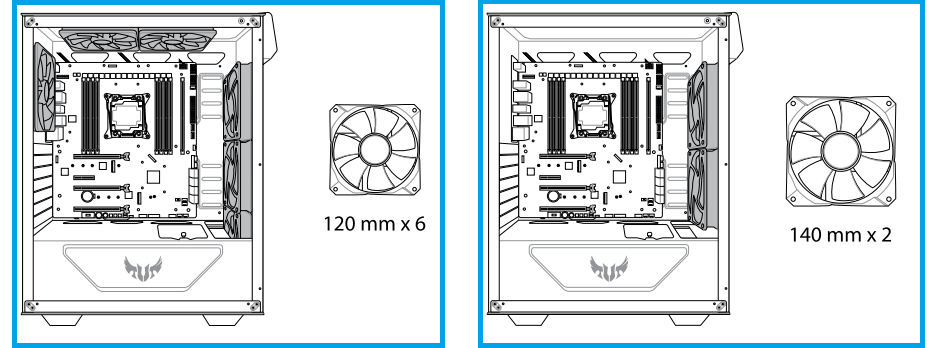
2. Confirm the fan specification
3. Disassemble the fan
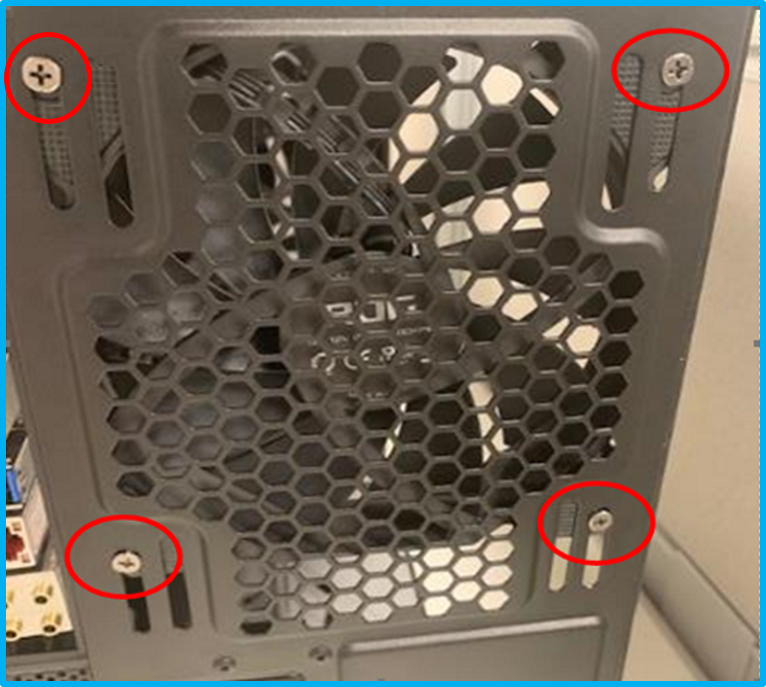
- Back fan:
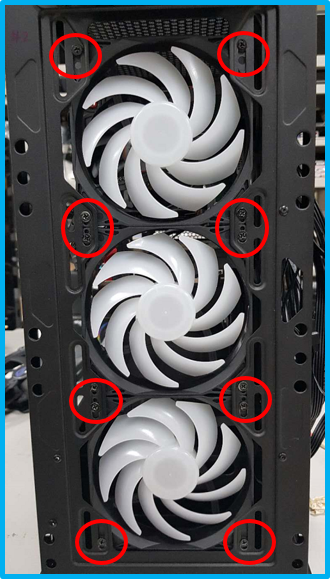
Use a Phillips screwdriver to remove the four screws (circled in red) to replace with a new fan.
- Front RGA fan:
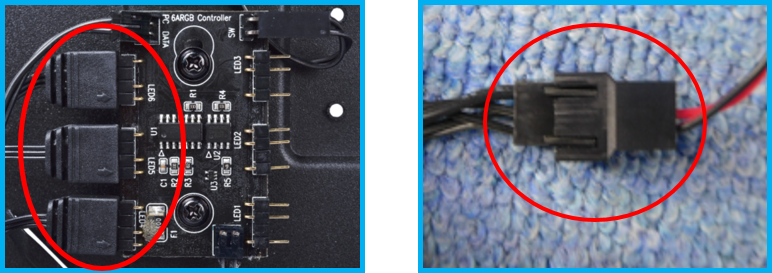
(1) Remove all the wires connected to the front RGB fan first.
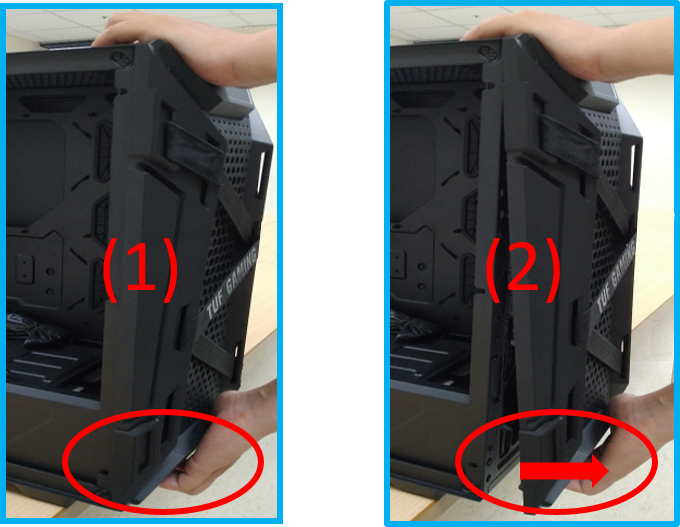
(2) Hold the notch on the bottom of the front panel (see Figure 1) and pull it up (see Figure 2), and then remove the front panel.
(3) Remove the four screws (circled in red) to replace with a new fan.
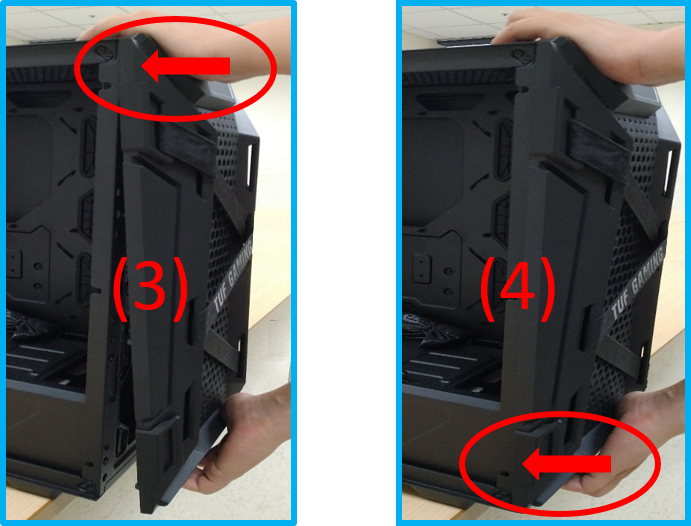
(4) Install the Front Panel
After replacing with a new fan, press the two clips on the top of front panel until it clicks (see Figure 3), and press back two clips on the bottom of it (see Figure 4). Then, the front panel is installed successfully.
(5) Connect the front RGB fan to all wires and you finish installing the fan.
For more information about ASUS products, please refer to our official website: https://www.asus.com/Motherboards-Components/Gaming-Cases/TUF-Gaming/TUF-Gaming-GT301/