Related Topics
[Wireless Router] How to set up a network printer using LPR/LPD on Windows?
You can share your printer with computers running on Windows and MAC operating system using LPR/LPD (Line Printer Remote/Line Printer Daemon).
Please refer to the following steps for Windows operating systems to set up an LPR network printer:
Note: If a local printer is already installed on your computer, please refer to the official Windows instructions for Install a printer in Windows - Microsoft Support
1. Please connect your USB printer to ASUS router and connect your computer to the same router using a wired or WiFi.
2. Type and search [ Printers and scanners ] in the Windows search bar, click [Open].
3. Next to Add a printer and scanner, click [Add device]. If your printer isn't in the list, next to The printer that I want isn't listed, click [Add manually].
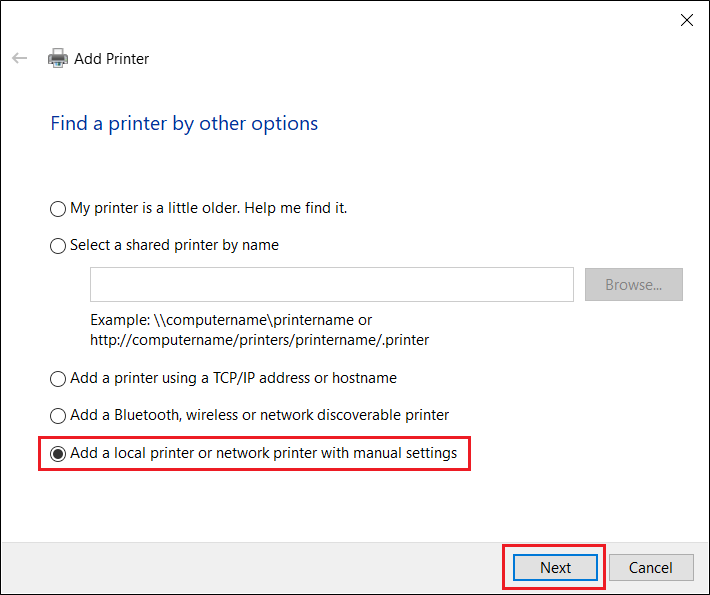
4. Select [ Add a local printer or network printer with manual settings], click [Next].
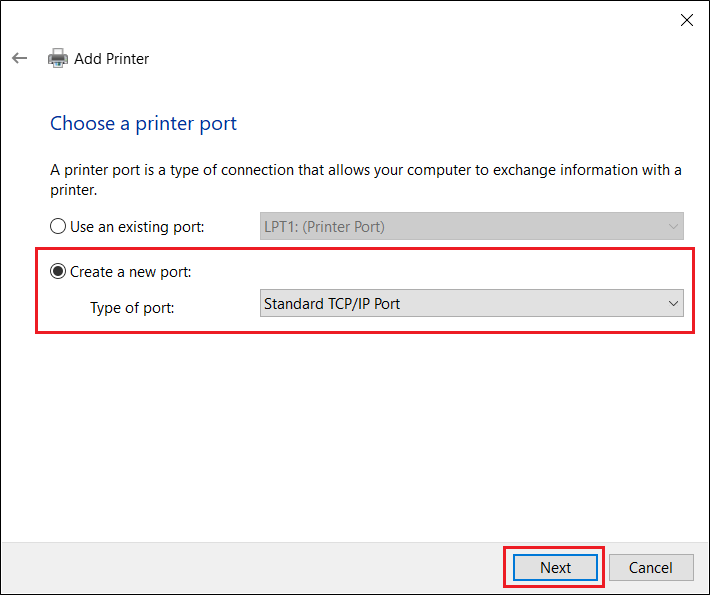
5. Select [ Create a new port ] then set Type of Port to [ Standard TCP/IP port ], click [ Next ].
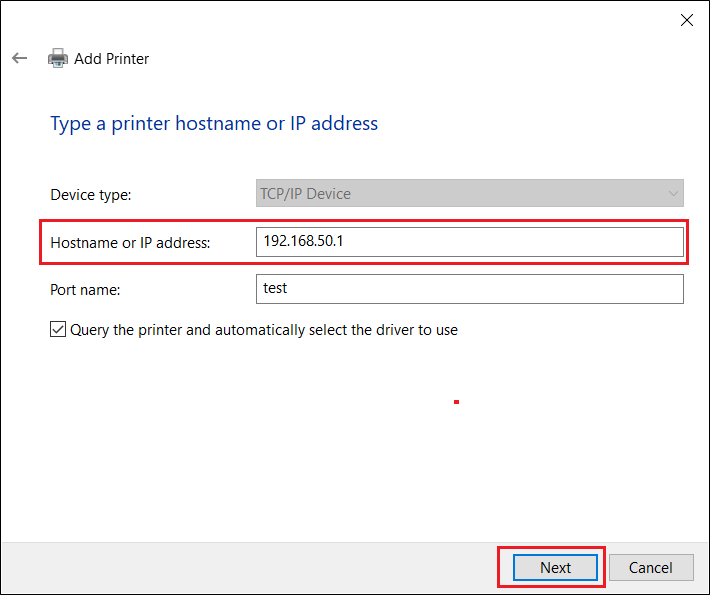
6.Type the IP address of the router in the Hostname or IP address (for example, 192.168.50.1), click [ Next ].
To check the IP address of the ASUS router, please refer to FAQ [LAN] How to change LAN IP on ASUS Router
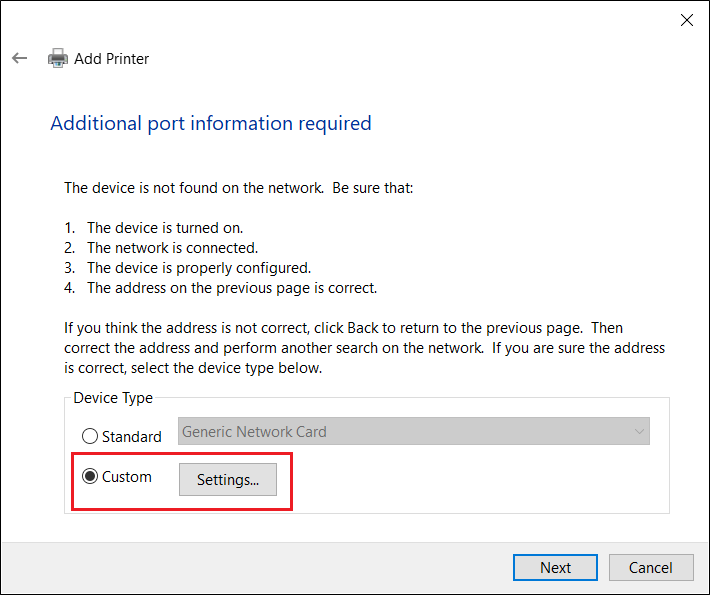
7. Select [ Custom ] and click [ Settings ].
8. Set [ Protocol ] to [ LPR ]. In the Queue Name, type [ LPRServer ] then click [ OK ] to continue. 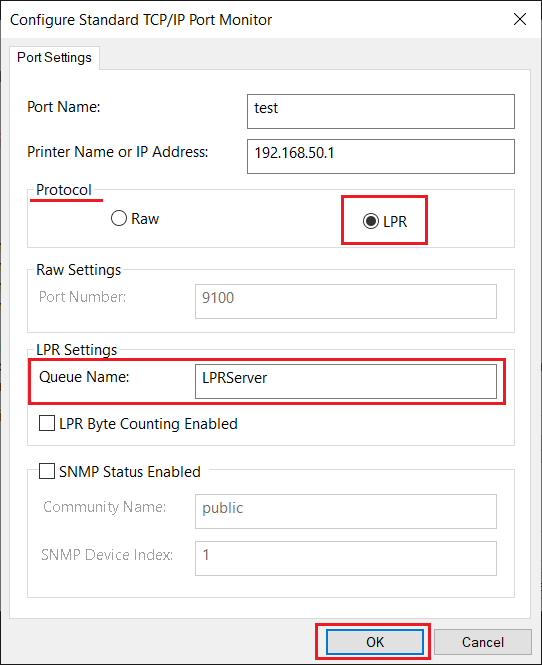
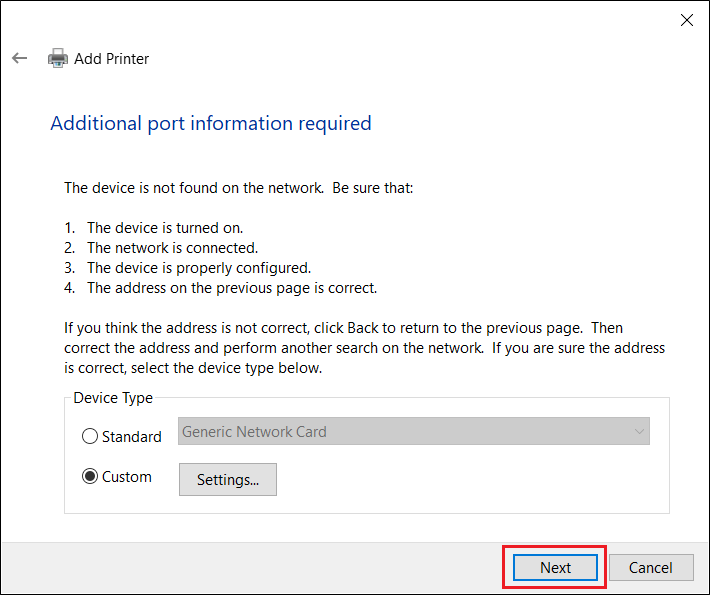
9. Click [ Next ] to finish setting the standard TCP/IP port.
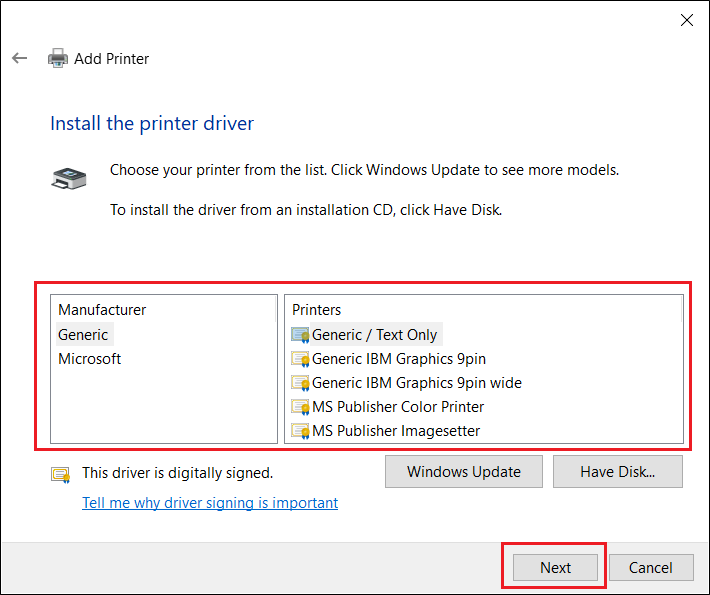
10. Select and install the printer driver from the manufacturer list then click [ Next ] to continue.
If your printer is not in the list, click[ Have Disk ] to manually assign the driver's location.
Please refer to the official Microsoft Windows operating system website for instructions How to download and install the latest printer drivers - Microsoft Support
11. Click [ Next ] to accept the default name for the printer.

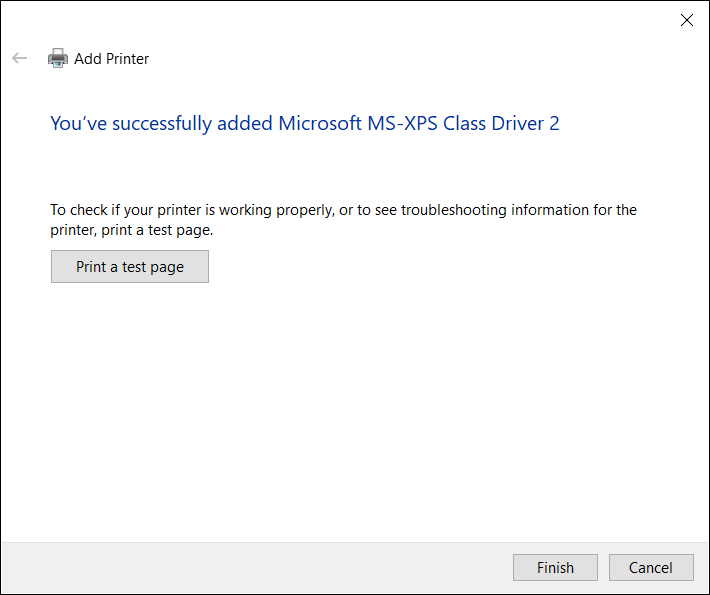
12. As shown in the figure below, the installation of the new printer has been completed.