Related Topics
Installation Procedure for AMD Chipset Drivers
Applicable Products: Notebook, Desktop, All-in-One PC, Gaming Handheld
Below are the detailed steps to install AMD chipset drivers. These steps are applicable if you've downloaded the drivers from the ASUS official website. Updating drivers contributes to system stability and optimization, so it's recommended to check regularly for the latest versions for your device.
If you're unsure how to download drivers, please refer to this article: How to Search and Download Drivers.
When downloading AMD chipset drivers from the ASUS official website, there are two file types you may encounter. Please choose the appropriate installation method based on the file type of the driver:
Installation for Drivers in Application Format (.exe)
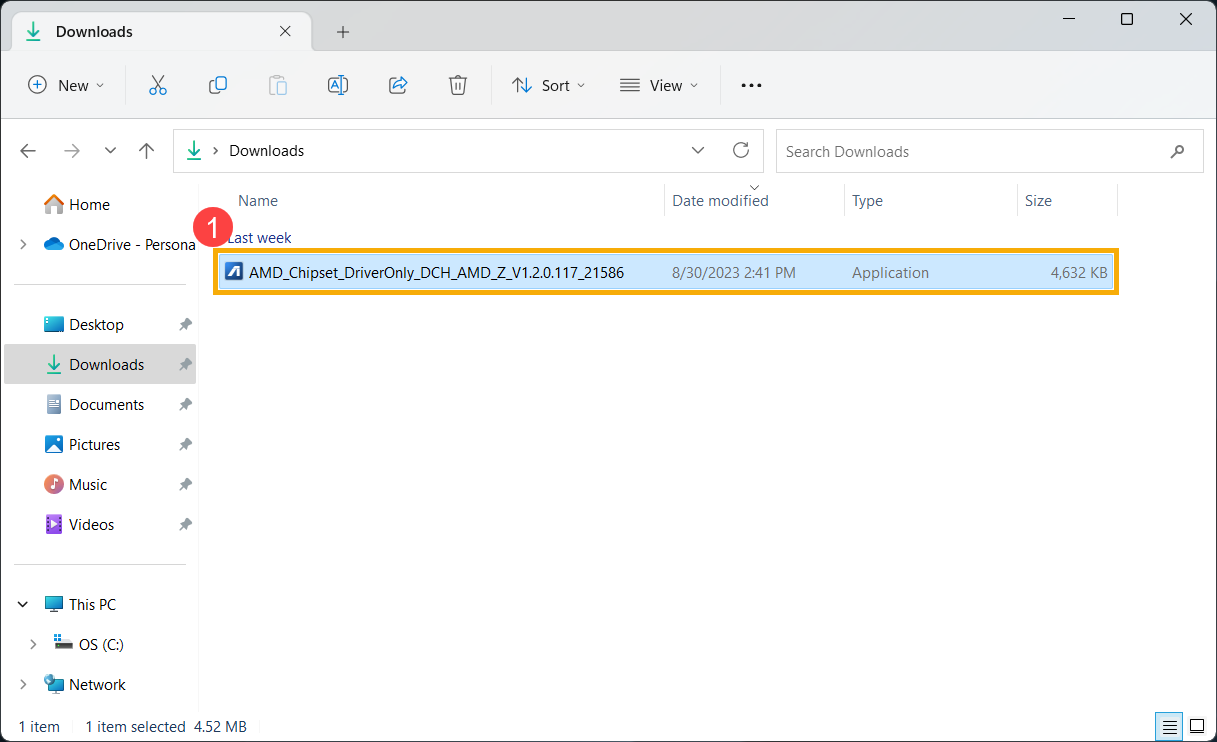
- Double-click the AMD chipset driver file that you downloaded from ASUS① to begin the installation process.
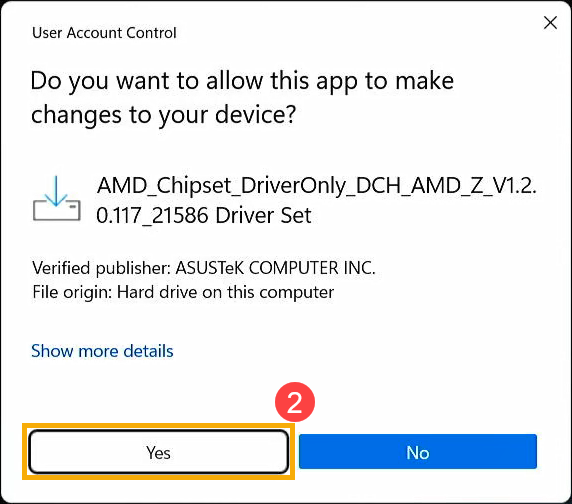
- If the User Account Control window appears, click [Yes]②.
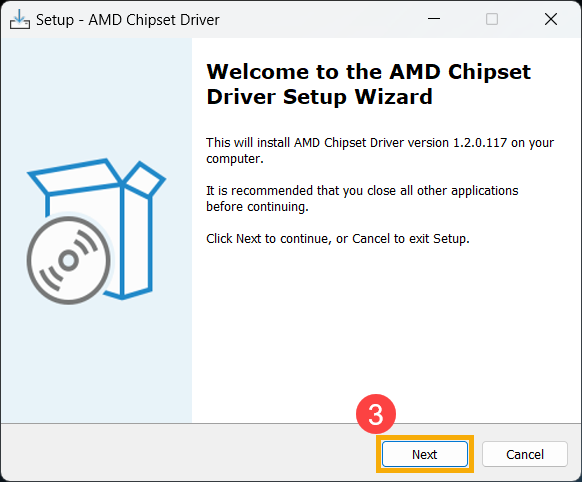
- After the installation program opens, click [Next]③ to proceed with the installation.
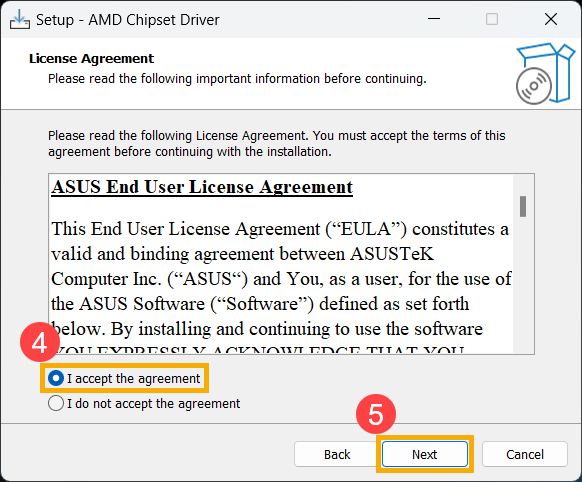
- Read the Software License Agreement, then check [I accept the agreement]④ and click [Next]⑤ to continue.
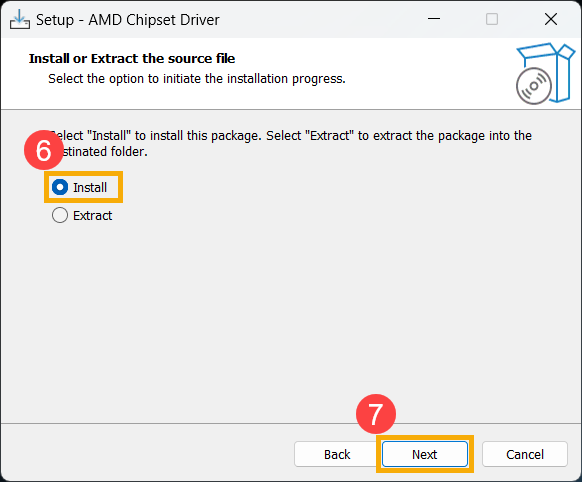
- Select [Install]⑥ and click [Next]⑦.
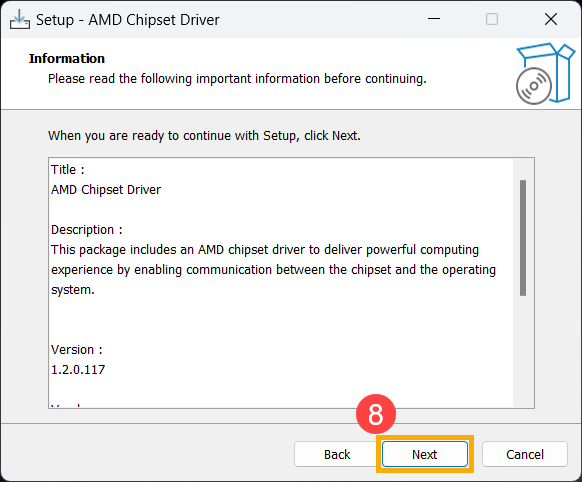
- Review the important information provided and click [Next]⑧ to proceed with the installation.
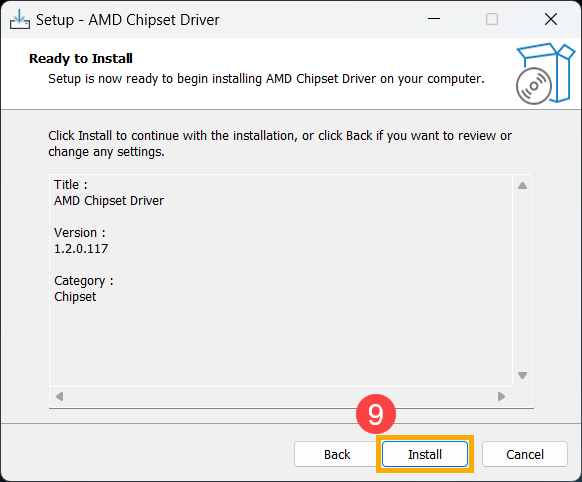
- The installation process is prepared. Click [Install]⑨ to start installing the driver.
- After installation, your device may need to restart. Select [Yes, restart the computer now]⑩, and then click [Finish]⑪. Your device will restart.
Please note: Ensure you've saved your data before restarting to prevent data loss.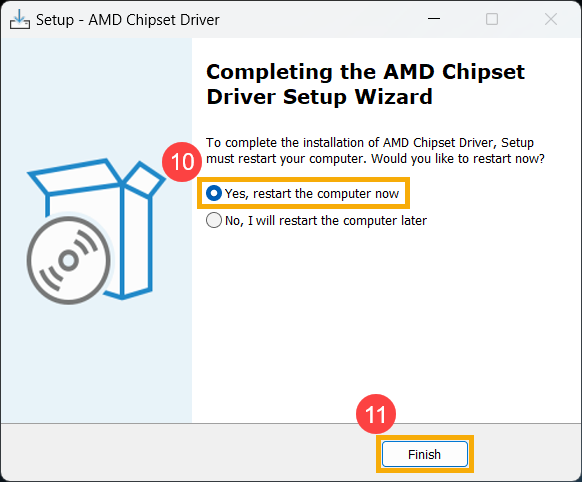
Installation for Drivers in Compressed (Zipped) Folder Format (.zip)
If you've downloaded AMD chipset drivers from the ASUS official website in a compressed format, you need to first remove any previously installed AMD drivers from your device using AMD's official removal tool. Then, you can proceed to install the new drivers. Follow these steps:
- First, please refer to the AMD Cleanup Utility's instruction article to download the AMD Cleanup Utility.
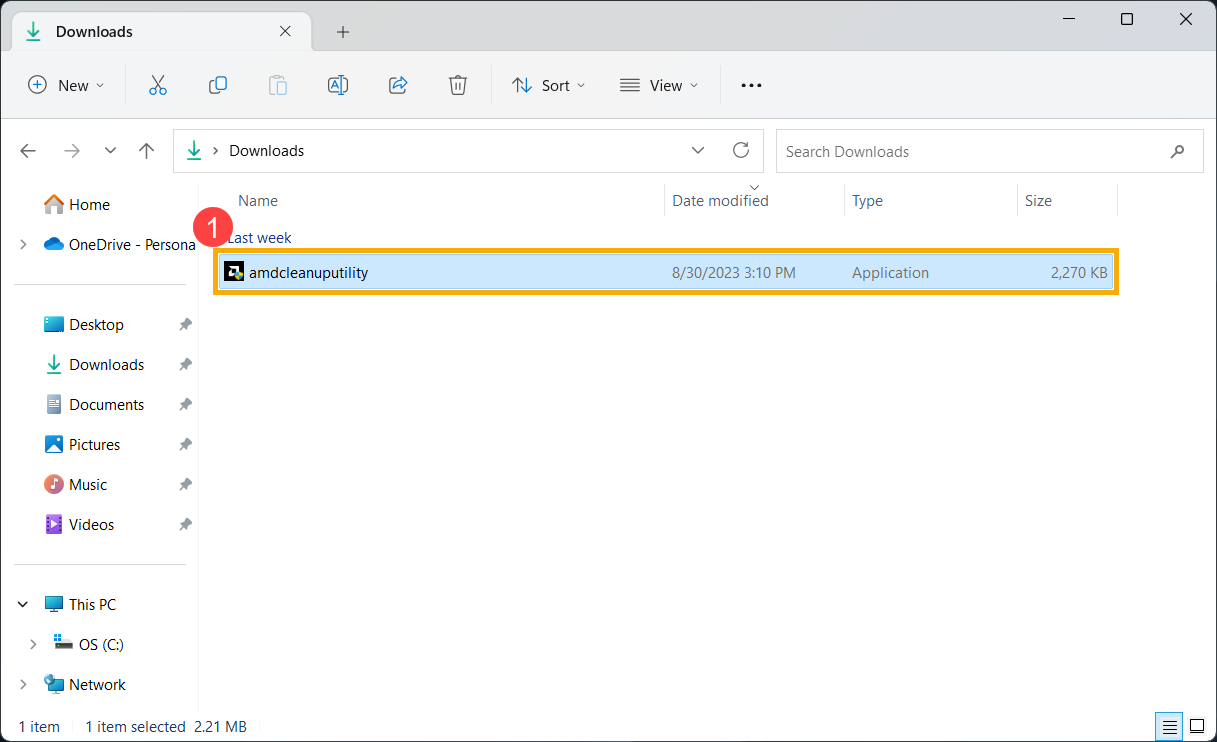
- After the download is complete, double-click the amdcleanuputility application①.
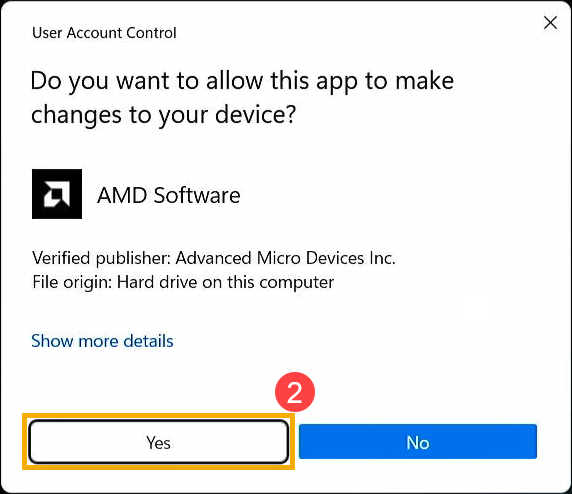
- If the User Account Control window appears, click [Yes]②.
- When prompted, it's recommended to run this in Windows Safe Mode for the best results. Click [Yes]③, and your device will restart and enter Safe Mode.
Please note: Ensure you've saved your data before restarting to prevent data loss.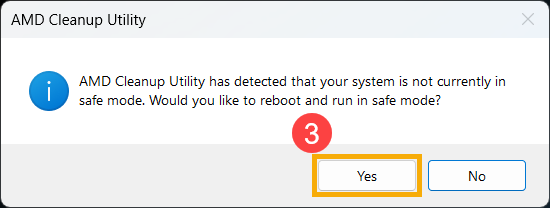
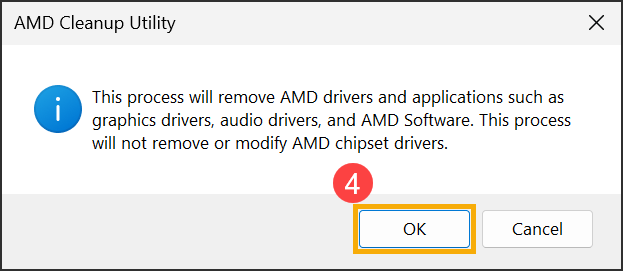
- When your device enters Safe Mode and displays the prompt, click [OK]④ to start removing AMD drivers.
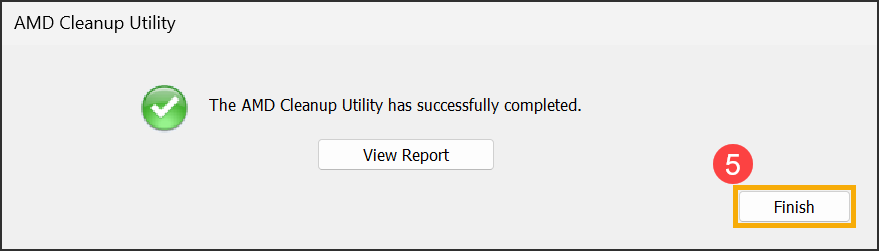
- When the AMD Cleanup Utility successfully completes its task, you'll see the following prompt. Click [Finish]⑤ to close the window.
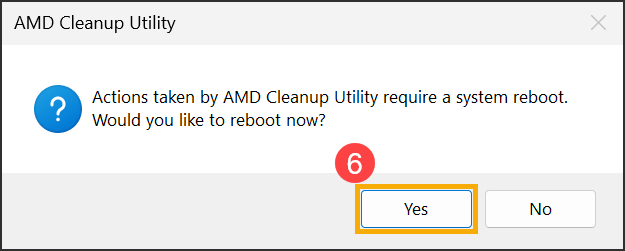
- After the uninstallation is complete, your device will need to restart. Click [Yes]⑥ to restart your device.
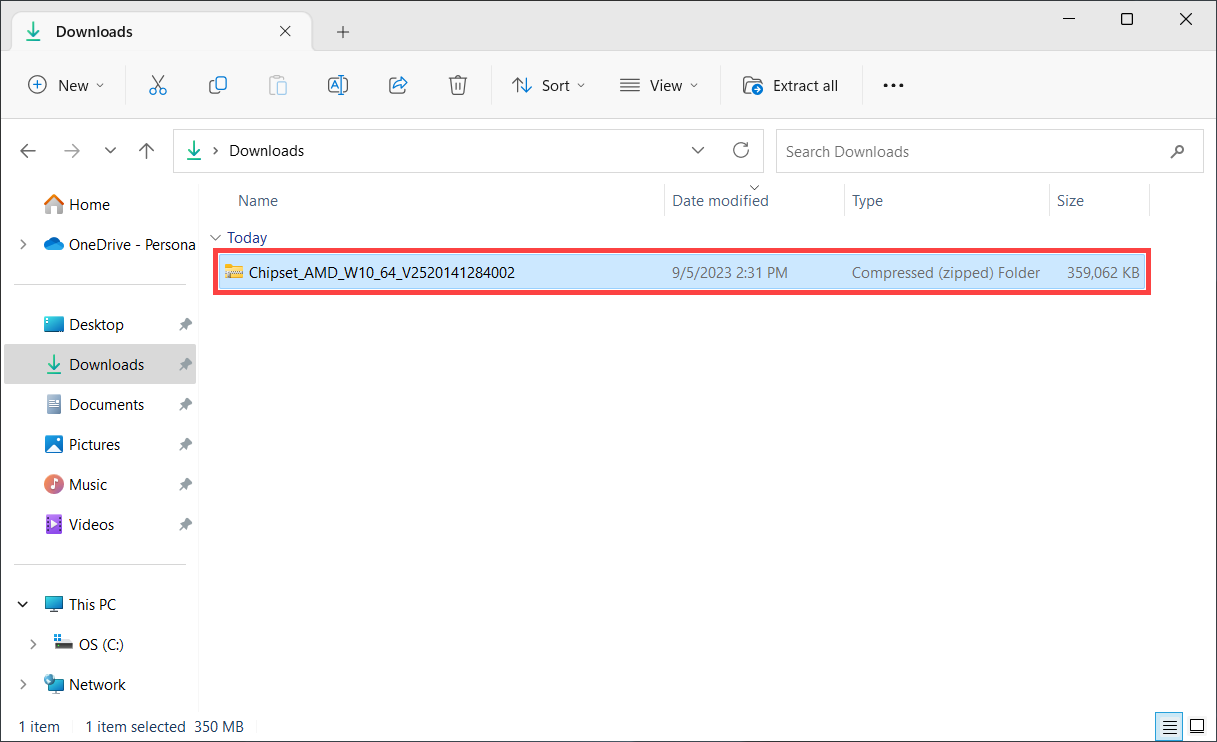
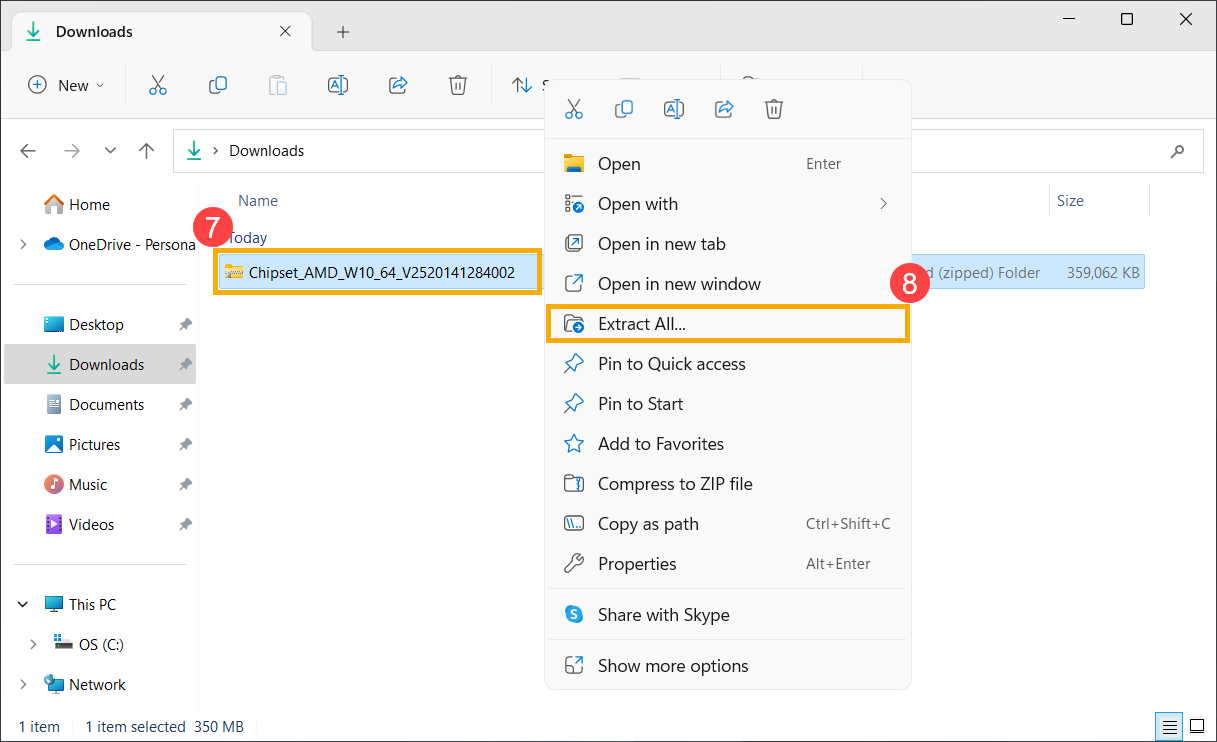
- With the previously installed AMD drivers removed, you can now begin installing the new drivers. Right-click on the AMD chipset driver file⑦ and select [Extract All]⑧.
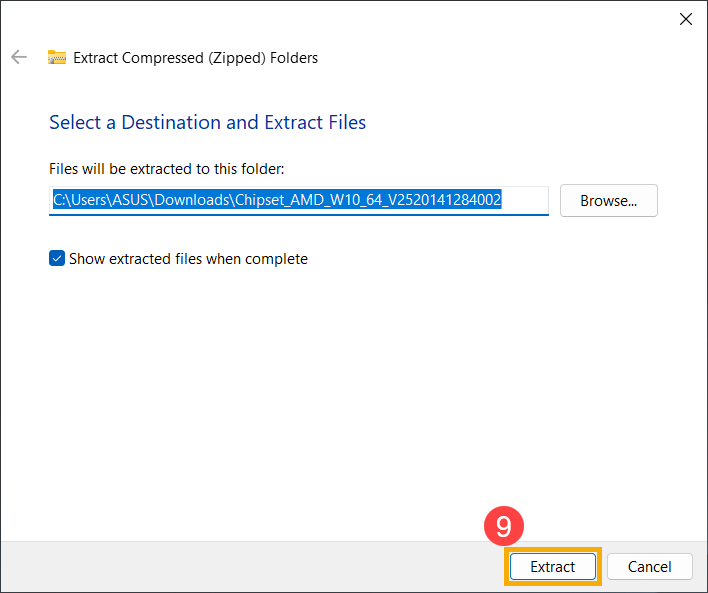
- Click [Extract]⑨.
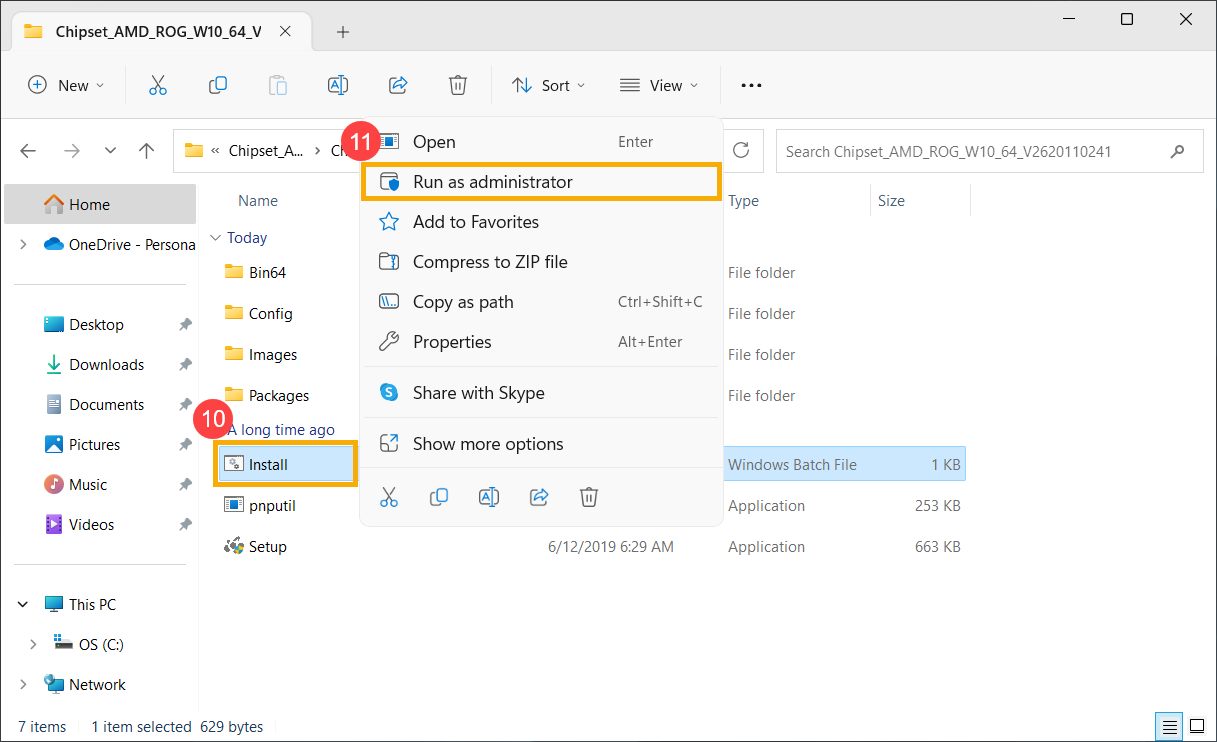
- Once the extraction is complete and the AMD chipset driver folder is open, right-click on the [Install] Windows batch file⑩, and then select [Run as administrator]⑪.
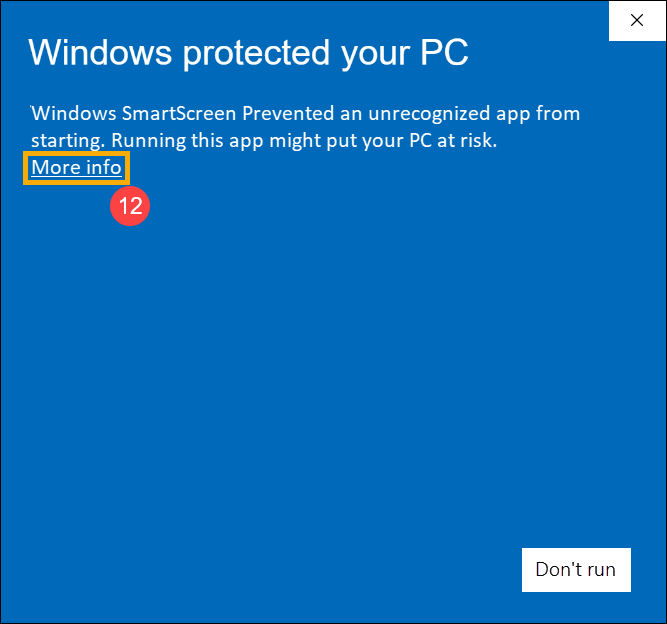
- If you see a 「Windows protected your PC」 prompt, click [More info]⑫.
Click [Run anyway]⑬.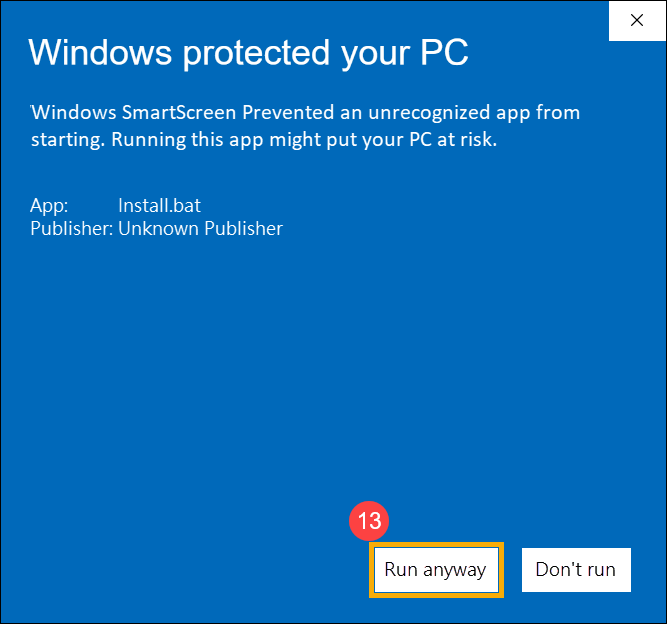
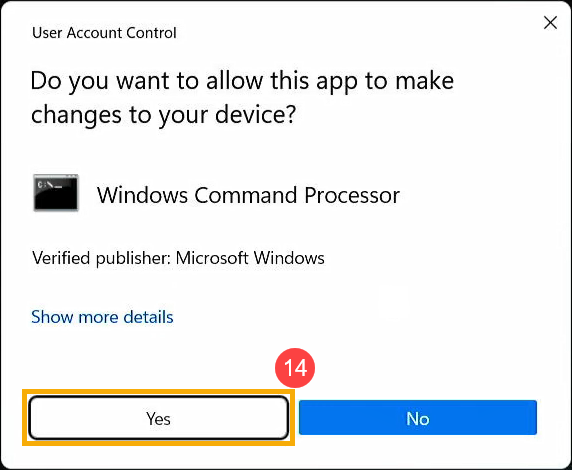
- If the User Account Control window appears, click [Yes]⑭.
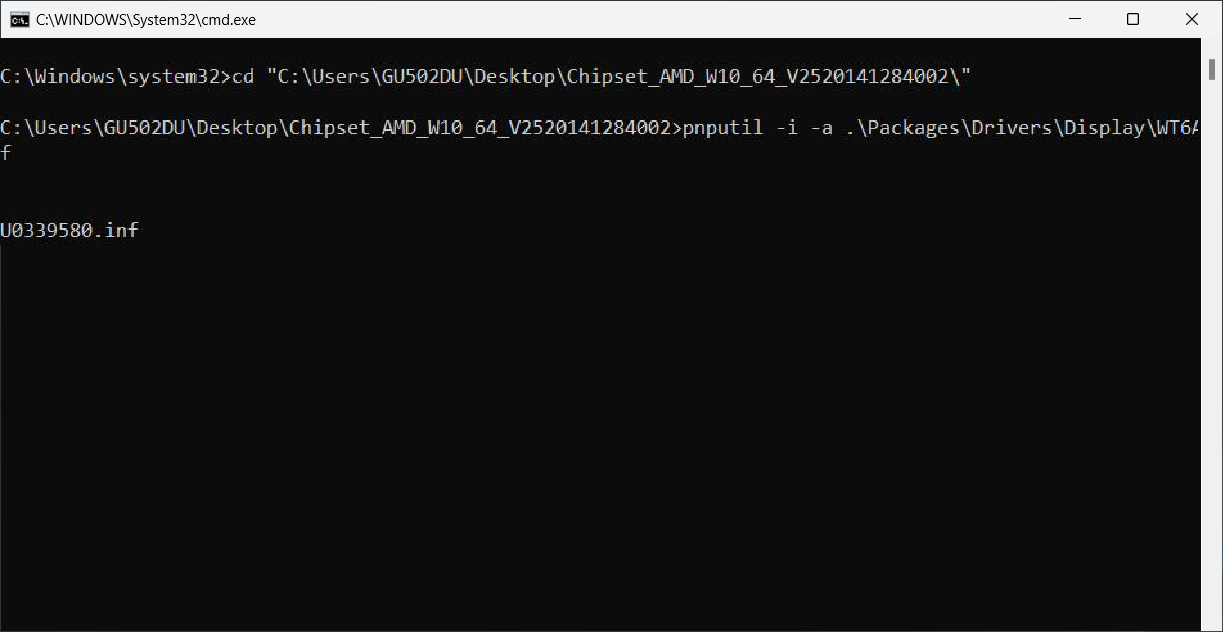
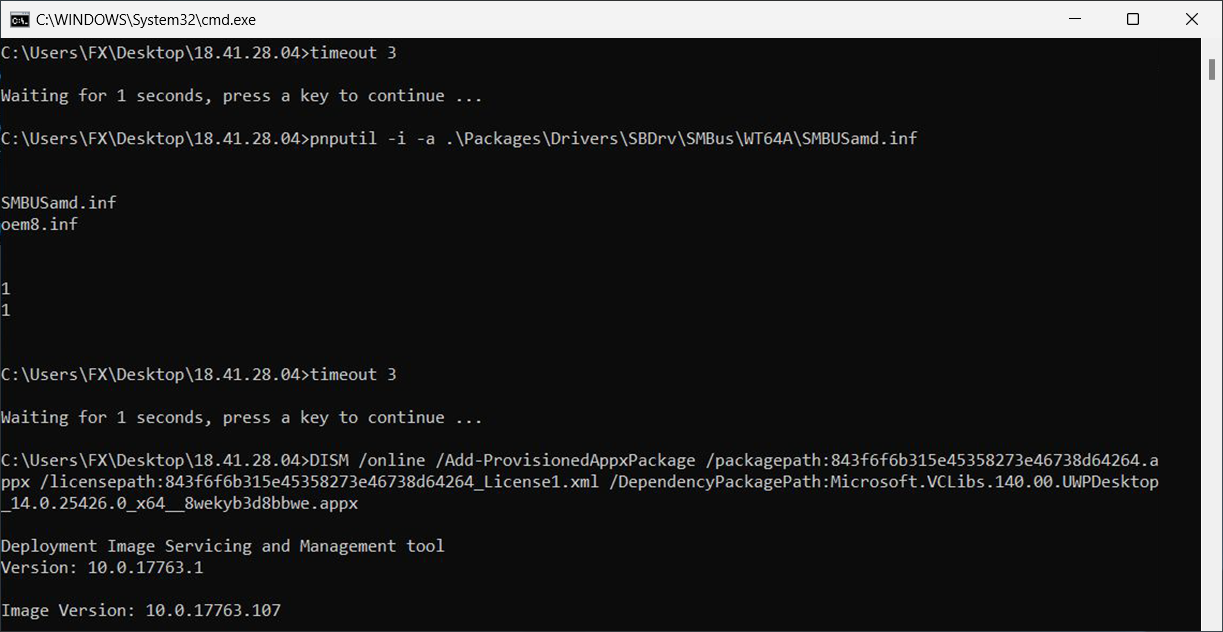
- The system will begin installing the AMD chipset driver.
- Installation successful. Please restart your device first to complete the setup.
If your issue remains unresolved, please contact ASUS Customer Support for further assistance.